WARNING:
!
Only use the number of track sections required to
make a cut, adding or removing track sections as necessary.
WARNING:
!
The Accu-Cut
™
is designed for use without clamps
only with two or more track sections joined together. Do not attempt a cut
using only one track section without rst clamping the track section to the
work piece.
WARNING:
!
Completely support the workpiece and cutoff with
2x4s or [2"] [50mm]-thick rigid foam insulation laid at on the oor.
WARNING:
!
When using one or two track sections and more than
12" of the end of the track opposite the starter block extends beyond
the workpiece, support the protruding end of the track with an auxiliary
surface that it is ush with the workpiece.
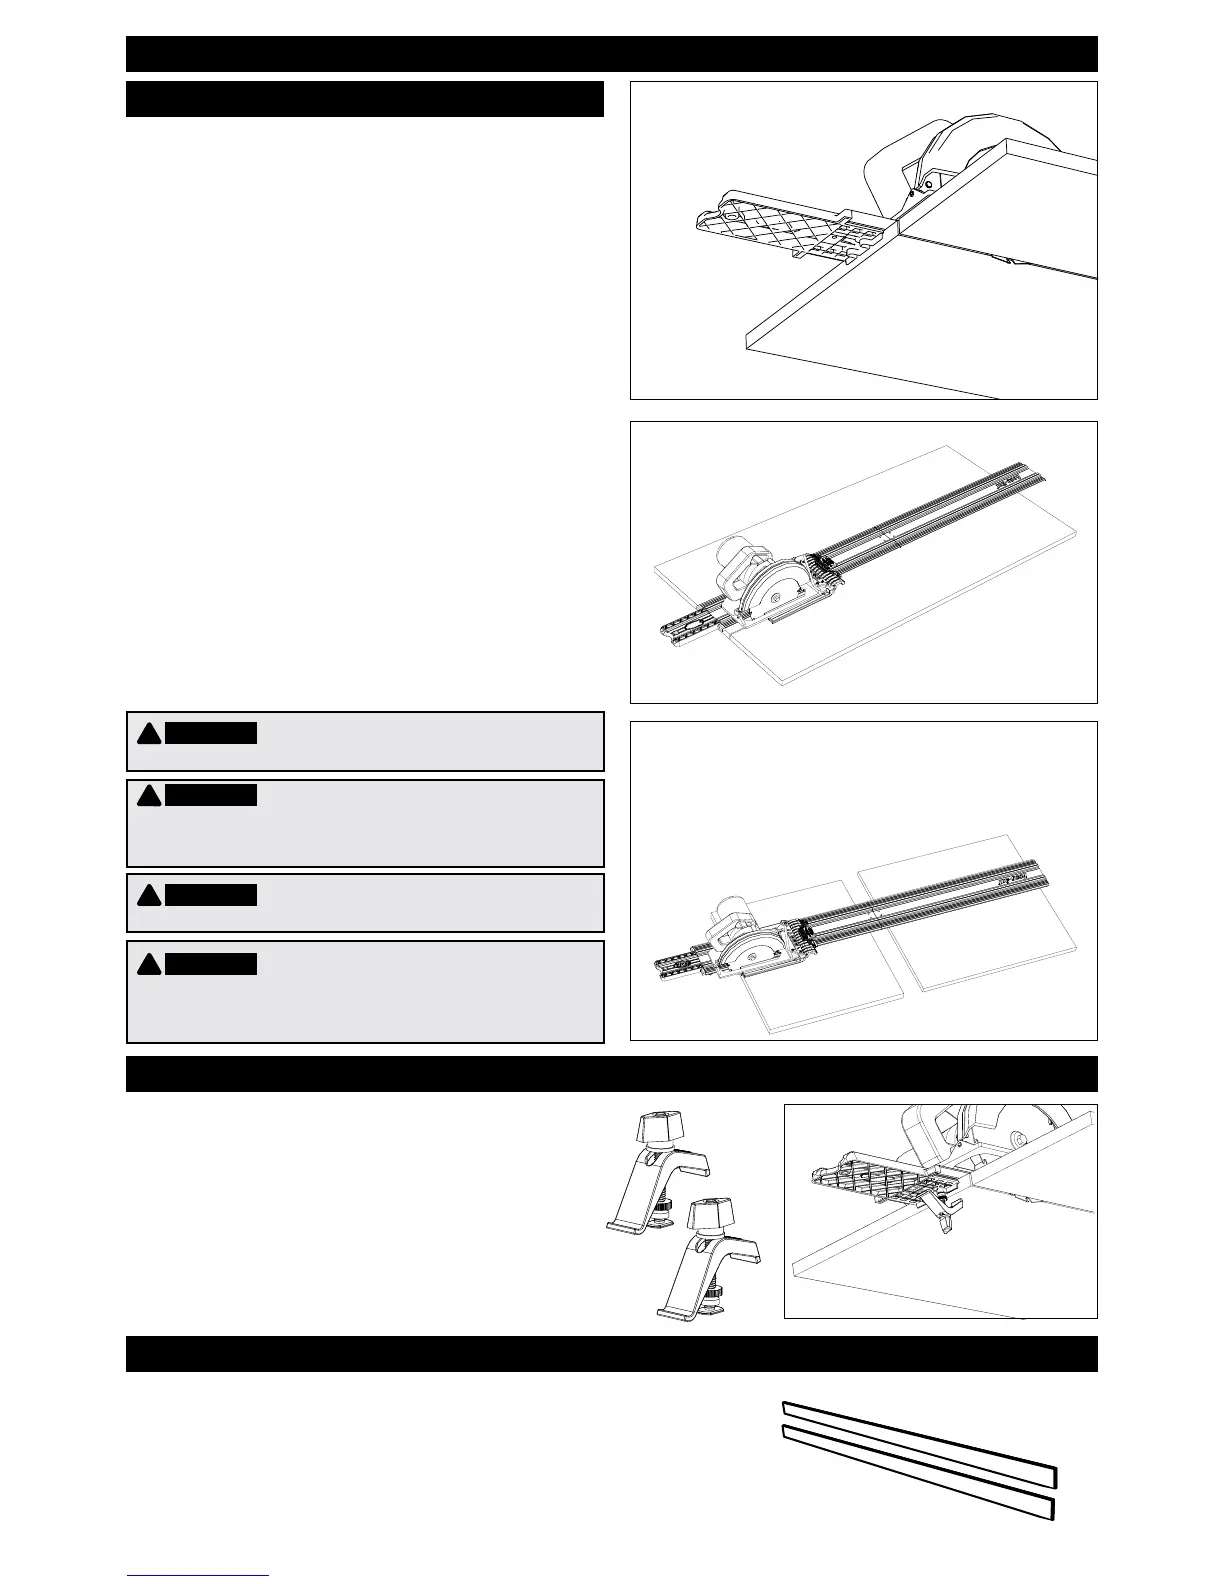
1) For the best results, install a 40-tooth
blade on your saw.
2) Mark the cutline on your workpiece.
Position the track with the edge
of the guide strip on the cutline and the
starting block edge stop against the edge
of the workpiece. Always make cuts with
the workpiece under the track and the
waste to the outside.
3) Place the saw/sled assembly on the starter
block, using the indicator clip to align the
sled with the track. Adjust the depth of
cut so the blade will protrude [⅛"] [3mm]
through the workpiece during the cut.
4) Connect your saw to power. With both
hands on the saw and the blade clear
of the workpiece, turn on the saw.
Applying light downward pressure on the
saw and maintaining a steady, controlled
pace, make the cut. Turn o the saw and
allow the blade to stop before removing
the saw/sled assembly from the track.
USING THE ACCU-CUT
TM
XL
Recommendations
OPTIONAL ACCESSORIES
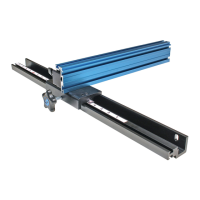
Kreg Track Clamp (Sold separately)
These clamps slide into notches in the starter block
and T-slots in the track to allow the track to be
clamped to the workpiece. They are recommended
when cutting material with a slippery surface, such
as melamine-coated particleboard, or when any of
these conditions exist: the entire length of the track is
not fully supported by the workpiece, the workpiece
is not at, or when making cuts with a single section
of track.
REPLACEMENT PARTS
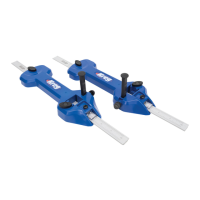
Guide Strips (Sold separately)
Over time, the guide strips can become worn and
no longer provide accurate alignment of the track
and zero-clearance chip prevention. This package
of two guide strips restores the accuracy and cut
quality of your Accu-Cut
™
. You’ll need four packs for
the Accu-Cut
™
XL.
ENGLISH
 Loading...