ATTENTION
!
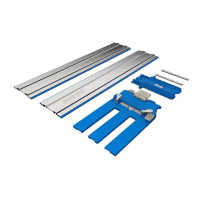
Fully assembled track should contain six steel
connector bars with all 24 set screws installed and tightened.
ATTENTION
!
Wipe the track surfaces that receive the guide strips
with a clean cloth before applying the strips as this will ensure proper
adhesion between the guide strip and track.
ATTENTION
!
Adhesive on the guide strip is off center and does
not cover the entire face of the strip.
Assembly
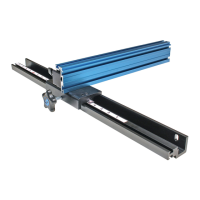
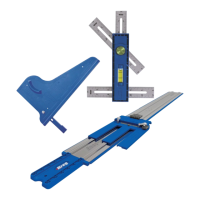
Position the two track pairs end to end.
Keeping the tracks in this orientation, turn them
upside down. Join and align the two track pairs
at the center joint with the remaining connector
bars and set screws in the same manner as
you did for each track pair.
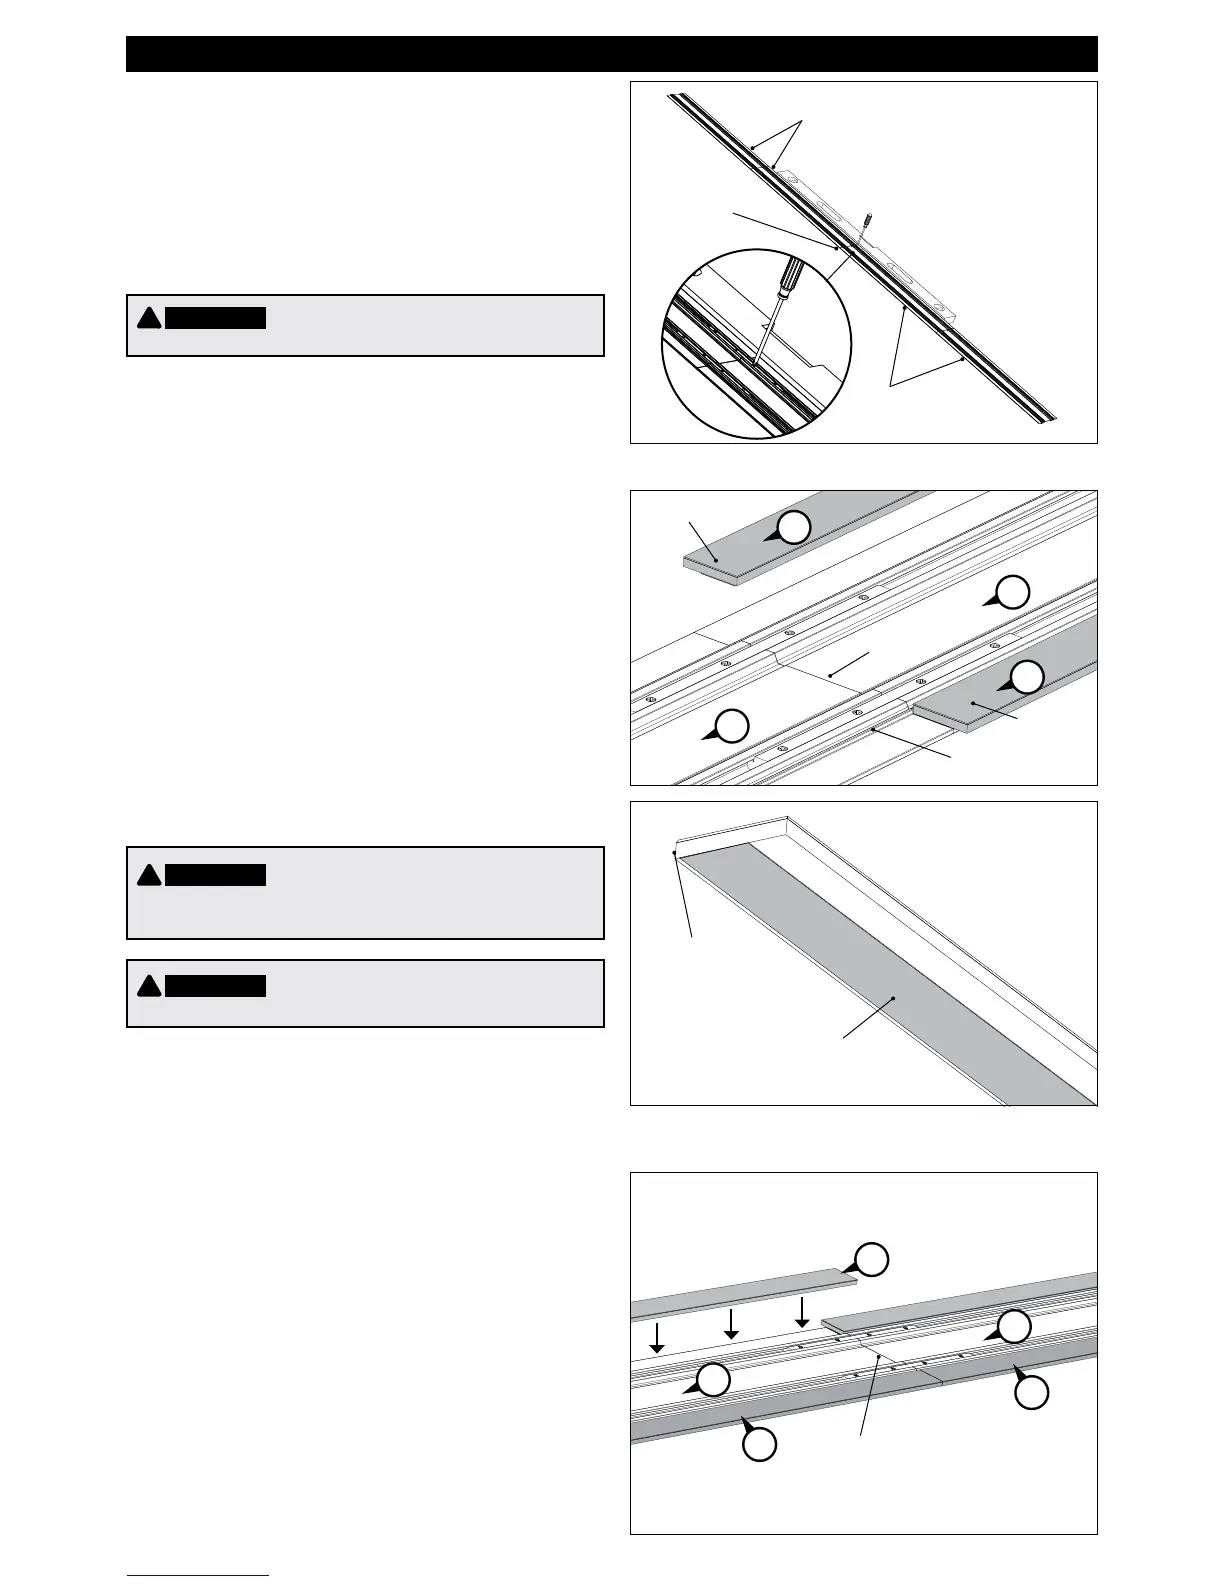
Orient the fully assembled track upside down.
Peel the backing from the rst guide strip
(B). Orient the strip with the adhesive portion
down and toward the center of the track (A).
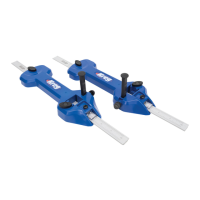
Align one end of the strip with the center joint,
butt the edge of the strip against the raised
shoulder of the track section, and rmly
press the guide strip in place. Make sure
the adhesive is in full contact with the track
section and is not exposed when the track is
right side up. Apply a second guide strip (B)
at the other edge of the track section.
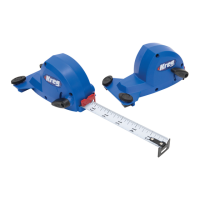
Apply the remaining six guide strips (B) in
line with the rst two, tightly tting together
the ends. Do not leave gaps between guide
strips.
Center joint
Paired tracks
Paired tracks
Center joint
First guide strip
Raised shoulder
Second guide strip
This edge against track
section shoulder
Adhesive
Center joint
B
A
A
B
B
A
A
B
B
ENGLISH
 Loading...