_________________________________________________________________________________________
Kreyer – Picture guide to installation and start-up Chilly (page 2 of 18) v.11-2015
Dear Chilly user – Brewer, winemaker, hobby user!
Congratulations on your new CHILLY unit !!
The following guide includes pictures to show you the step-for-step installation
and start-up of your new Chilly to help you get started fast and easy.
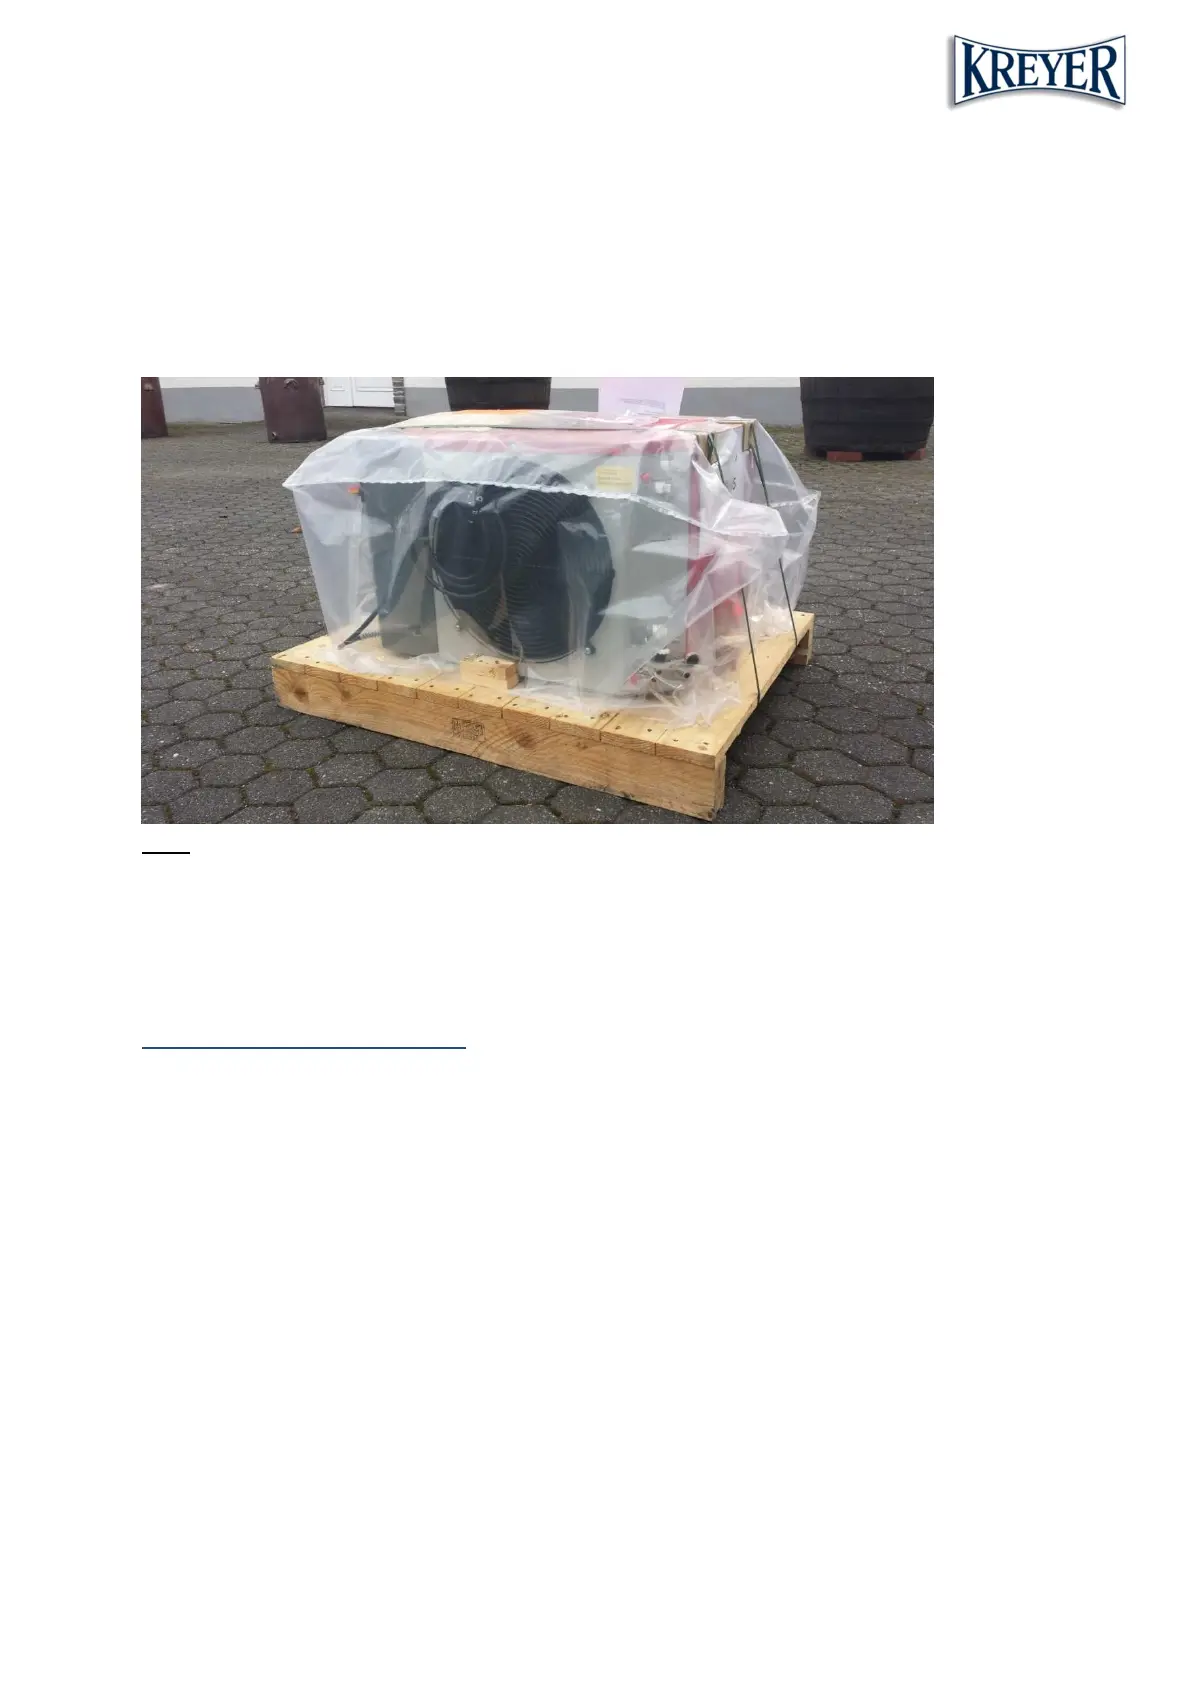
Pic.1: Your new CHILLY would be delivered secured on a pallet with protective foil and safety bands, eventually
in carton packaging.
Please check at arriving on possible transport damages and claim these immediately to the transporter.
If you are not sure please unpack the unit together with the transporter.
Transport damages cannot enforcement later!!
Correct place of installation:
In a well aired room.
If set outside, the unit should be under an awning or in a shed providing protection from the elements
(sunshine, rain, snow) and well aired.
The unit operates between the ambient temperatures:
Min. +10°C / 50°F
Max. + 42°C / 107°F
Distance / placement:
Free space in front of the cool air intake min. 0,5 meter / 2 feet
Free space in front of the hot air outlet min. 1,0 meter / 3,5 feet
For exact installation conditions, please refer to the manual.