5
ENGLISH
Always hold the appliance by the handle during operation and until it has cooled
down.
This appliance is not intended to be operated by means of an external timer or
separate remote-control system.
CAUTION: Ensure that the appliance is switched off before removing it from its stand.
WARNING: Be careful to avoid any spillage on the connector during cleaning,
lling or pouring.
WARNING: Risks of injuries if you don’t use this appliance correctly.
WARNING: The heating element surface is subjected to residual heat after use.
WARNING: To preserve and prevent scratching the coating, we recommend
that you use plastic utensils. The use of metal accessories in your appliance
risks damaging the milk frother’s non-stick coating.
Refer to the instructions for assembling the appliance and any accessories.
Refer to the instructions for cleaning and maintaining your appliance.
SAVE THESE INSTRUCTIONS
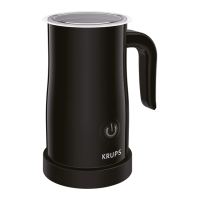
DESCRIPTION OF THE APPLIANCE
A Transparent anti-spill lid
B Multi-directional pouring rim
C Stainless steel Jug with non-stick
coating (Easy to clean)
D Base with 360° rotation
E Removable stirrer
F ON/OFF button
INSTRUCTIONS FOR USING THE APPLIANCE
3 steps for optimum results:
1. Pour in the milk (fig 1).
2. Switch on the milk frother (fig 2).
3. Switch off the milk frother and serve. (fig 3).
Stirrer Functions Maximum Capacity Completion Time
Frothing & Heating 150ml 60-100s
Heating
(Stirrer without spring)
300ml 80-160s

 Loading...