2 SETUP 3
2.1 Unpacking and setting up the vehicle
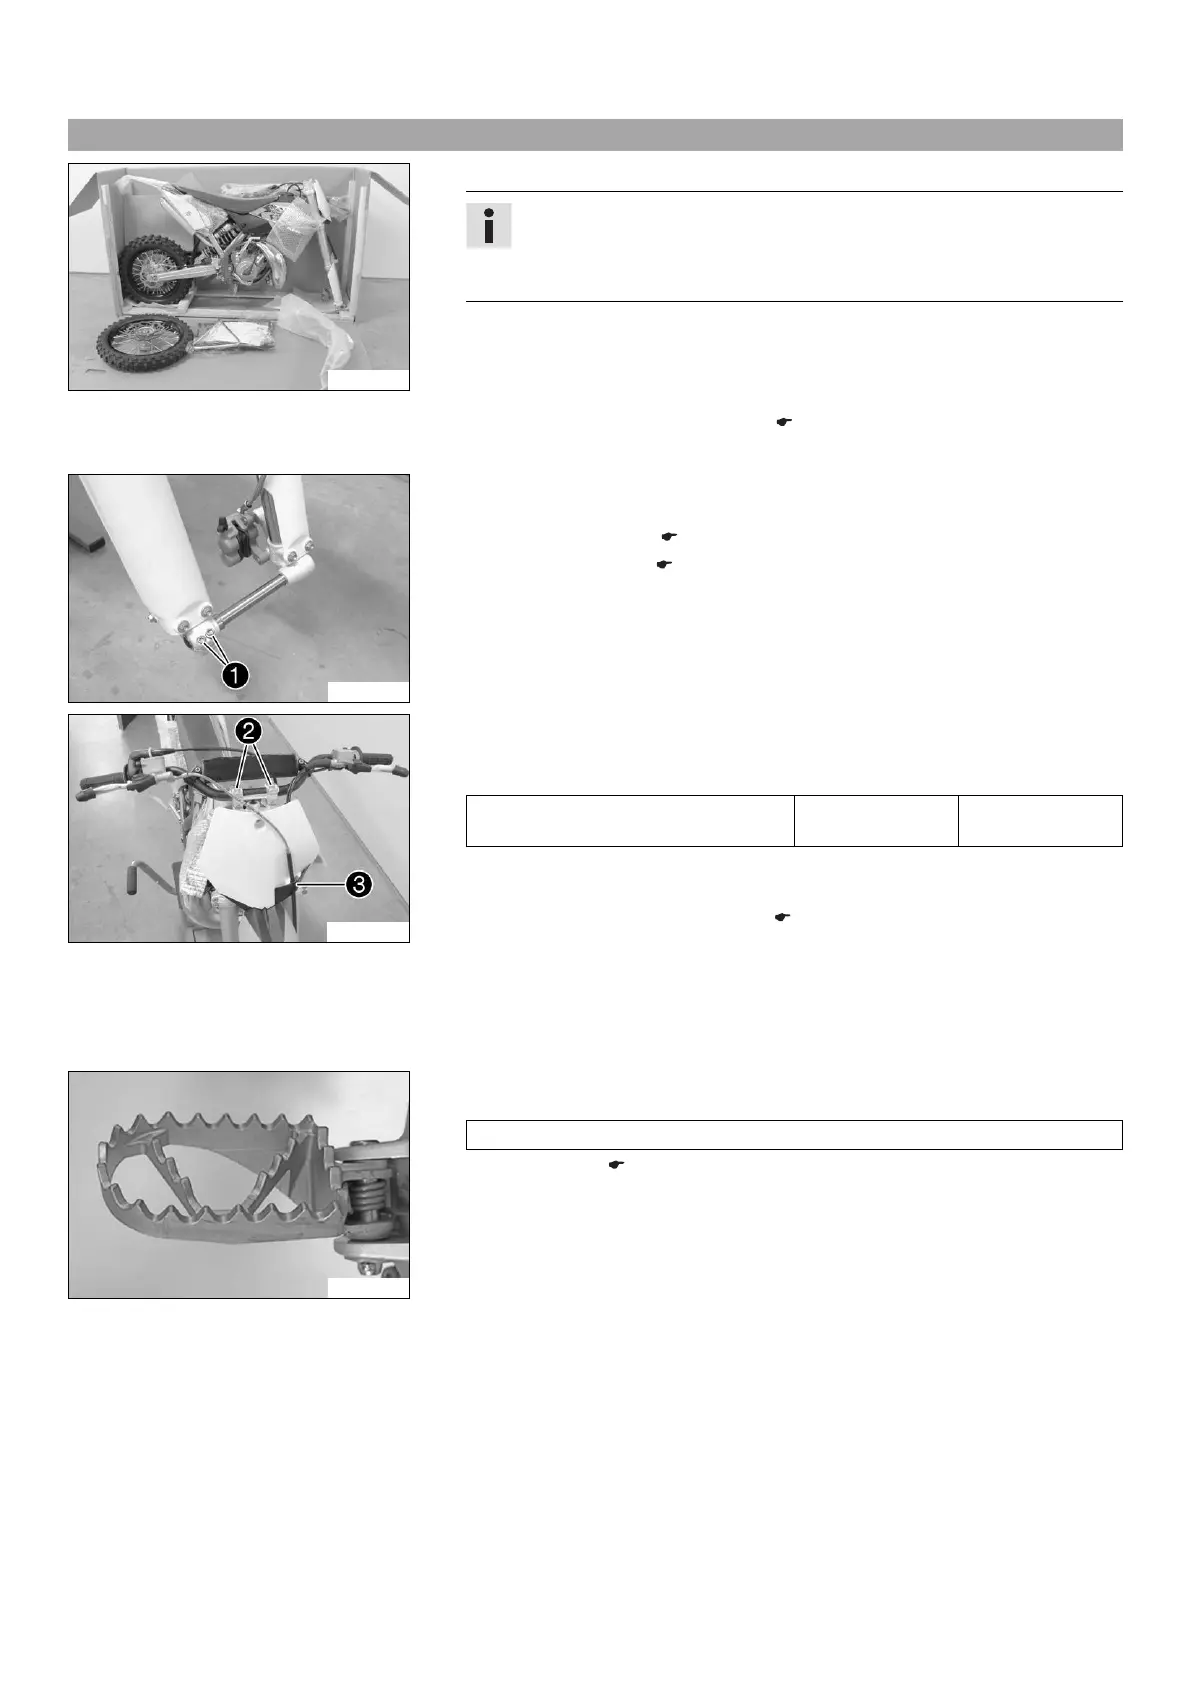
201951-10
– Open the box.
Info
To avoid damaging the vehicle while setting it up, do not remove the protec-
tive film on each component until installing the component, and leave it on
the vehicle where possible until work has been completed.
– Remove the front wheel, fender, and the separate enclosure from the box.
– Remove the separate enclosure and unpack it. Check that the scope of supply is
complete on the basis of the enclosed packing list.
– Lift the vehicle out of the box with the assistance of another person.
– Raise the motorcycle with a lift stand. ( p. 4)
– Check the vehicle for transport damage.
201952-10
–
Loosen screws
.
– Remove the wheel spindle.
– Install the front fender. ( p. 6)
– Install the front wheel. ( p. 4)
– Remove the protective film from the handlebar and start number plate.
K00344-10
–
Position the handlebar with handlebar clamps
.
– Mount and tighten the screws.
Guideline
Screw, handlebar clamp M8 20 Nm
(14.8 lbf ft)
– Check the handlebar position.
» If the handlebar position is not adjusted as required by the customer:
– Adjust the handlebar position. ( p. 5)
–
Remove the screw of brake line guide
. Position the brake line. Mount the brake
line guide again and tighten the screw.
– Check that the wiring harness, throttle cables, and brake line have the necessary
freedom of movement and are correctly routed.
– Check that the controls on the handlebar are correctly positioned and firmly seated.
800042-10
– Mount the footrests with the springs and pins. Secure the pins using the washers
and cotter pins.
Pliers for footrest spring (58429083000)
– Fill up with fuel. ( p. 6)
– Prepare the vehicle according to the specifications in the KTM Dealer.net for han-
dover to the customer.
 Loading...