Do you have a question about the Kubota LA1154A and is the answer not in the manual?
Procedures for dealers unpacking and assembling the product.
Essential safety guidelines for preparation and assembly procedures.
Instructions for unpacking the wooden crate.
Ensure all loader components are included by checking against the illustration.
Instructions for adjusting tractor settings for loader compatibility.
Procedures for removing tractor components to prepare for loader installation.
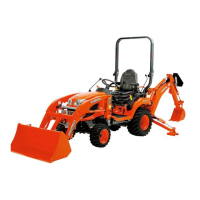
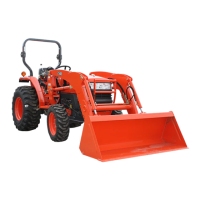
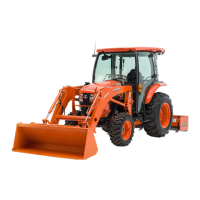
Specific assembly instructions for the LA1154A/EA loader.
Attaching the quick hitch frame to the boom and bucket links.
Mounting the level indicator in place.
Steps for attaching and securing the boom stands.
Instructions for attaching the tool box to the main frame.
Assembly instructions for the standard control valve kit for CAB models.
Instructions for assembling the self-leveling valve kit.
Assembly for standard control valve kits for M6060/M7060 tractors.
Instructions for assembling self-leveling valve kits.
Steps for fitting tractor console cover, holder, and connecting cables.
Instructions for fitting the orifice to the accumulator assembly.
Connecting hydraulic hoses to the accumulator assembly.
Instructions for fitting the orifice to the accumulator assembly.
Instructions for connecting adapters and hoses for the 3rd function valve.
Instructions for connecting adapters and hoses for the 3rd function valve.
Securing tubes and installing hydraulic hoses onto the boom.
Removing console cover, lever boot, and control lever.
Attaching relay stay and assembling solenoid valve parts.
Attaching relay stay and assembling solenoid valve parts.
Applying a label to the loader.
Detaching loader and disconnecting hoses for multi coupler.
Connecting hydraulic hoses for the standard valve.
Connecting hydraulic hoses for self-level valve.
Interconnecting multi coupler 1 and multi coupler 2.
Attaching the front guard in position on the tractor.
Positioning the loader, stopping the engine, and connecting hoses.
Starting the engine, operating the control lever, and securing components.
Starting the engine, raising the boom, and storing stands.
Lubricating all grease fittings with SAE multipurpose grease.
Checking and adding tractor transmission fluid as needed.
Verifying the loader operates correctly, including abnormal movement detection.
Testing the self-leveling function's activation and inactivation.
Testing the front remote hydraulic control system functions.
Estimated time for assembling the loader.
Torque specifications for various bolt and nut sizes.
Torque specifications for adapters, elbows, and hose fittings.
| Model | LA1154A |
|---|---|
| Type | Front End Loader |
| Lift Capacity at Pivot Pin | 1154 kg (2544 lbs) |
| Lift Capacity (at pins) | 2542 lbs |
| Bucket Width | 72 inches |
| Lift Capacity | 2542 lbs |
| Breakout Force (at pins) | 1530 kg (3373 lbs) |
| Maximum Lift Height | 124.4 inches |