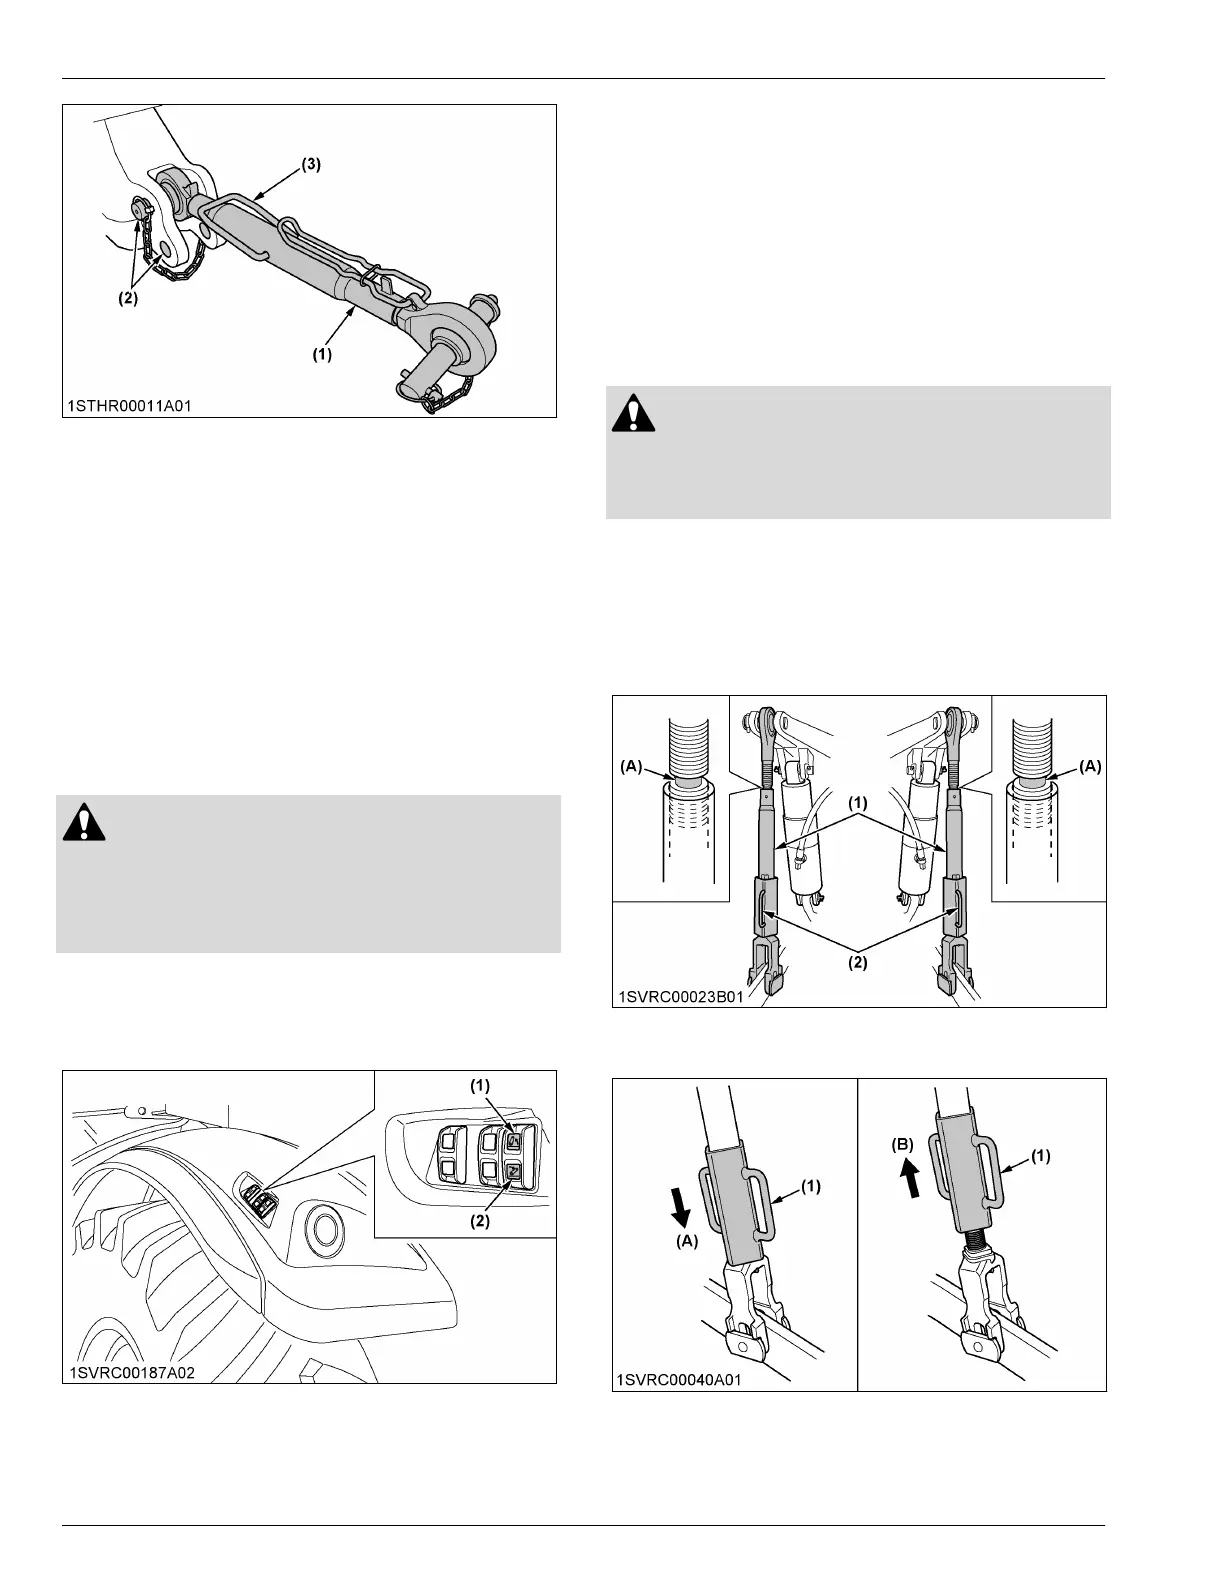
(1) Top link
(2)
Mounting hole
(3) Handle
3. Drawbar
Remove the drawbar if a close-mounted implement is
attached.
4. Remote hitch “UP” switch and
“DOWN” switch
These switches provided on both of the rear fenders
are
used to raise and lower the 3-point hitch for aligning
the arm with the implement only.
WARNING
T
o avoid personal injury or death:
• Do not use the remote hitch “UP” switch and
“DOWN” switch when the implement is attached
on the 3-point hitch.
Press the “UP” switch and 3-point hitch goes up. Press
the “DOWN” switch and the 3-point hitch comes down.
Movement of the 3-point hitch stops when the switch is
released.
(1) “UP” switch
(2)
“DOWN” switch
NOTE :
• If
these switches are pushed, the 3-point hitch's
position lock is activated and 3-point lifting or
lowering indicator starts flashing (2 or so
flashes every second). If it flashing, press the 3-
point quick raise switch or 3-point quick lower
switch to release the position lock (the indicator
goes off or turns on).
5. Lifting rod
WARNING
T
o avoid personal injury or death:
• Do not extend lifting rod beyond the groove on
the threaded rod.
1. T
o adjust the length of the lifting rod, lift the
adjusting handle and turn to desired length.
2. After adjusting, lower the lifting rod adjusting handle
to the “LOCK” position.
3. When extending the rod using the adjusting handle,
do not exceed the groove on the rod thread.
(1) Lifting rod
(2)
Adjusting handle
(A) “GROOVE”
(1) Adjusting handle (A) “LOCK POSITION”
(B)
“UNLOCK POSITION”
3-POINT HITCH AND DRAWBAR THE 3-POINT HITCH SETUP



 To Next Page