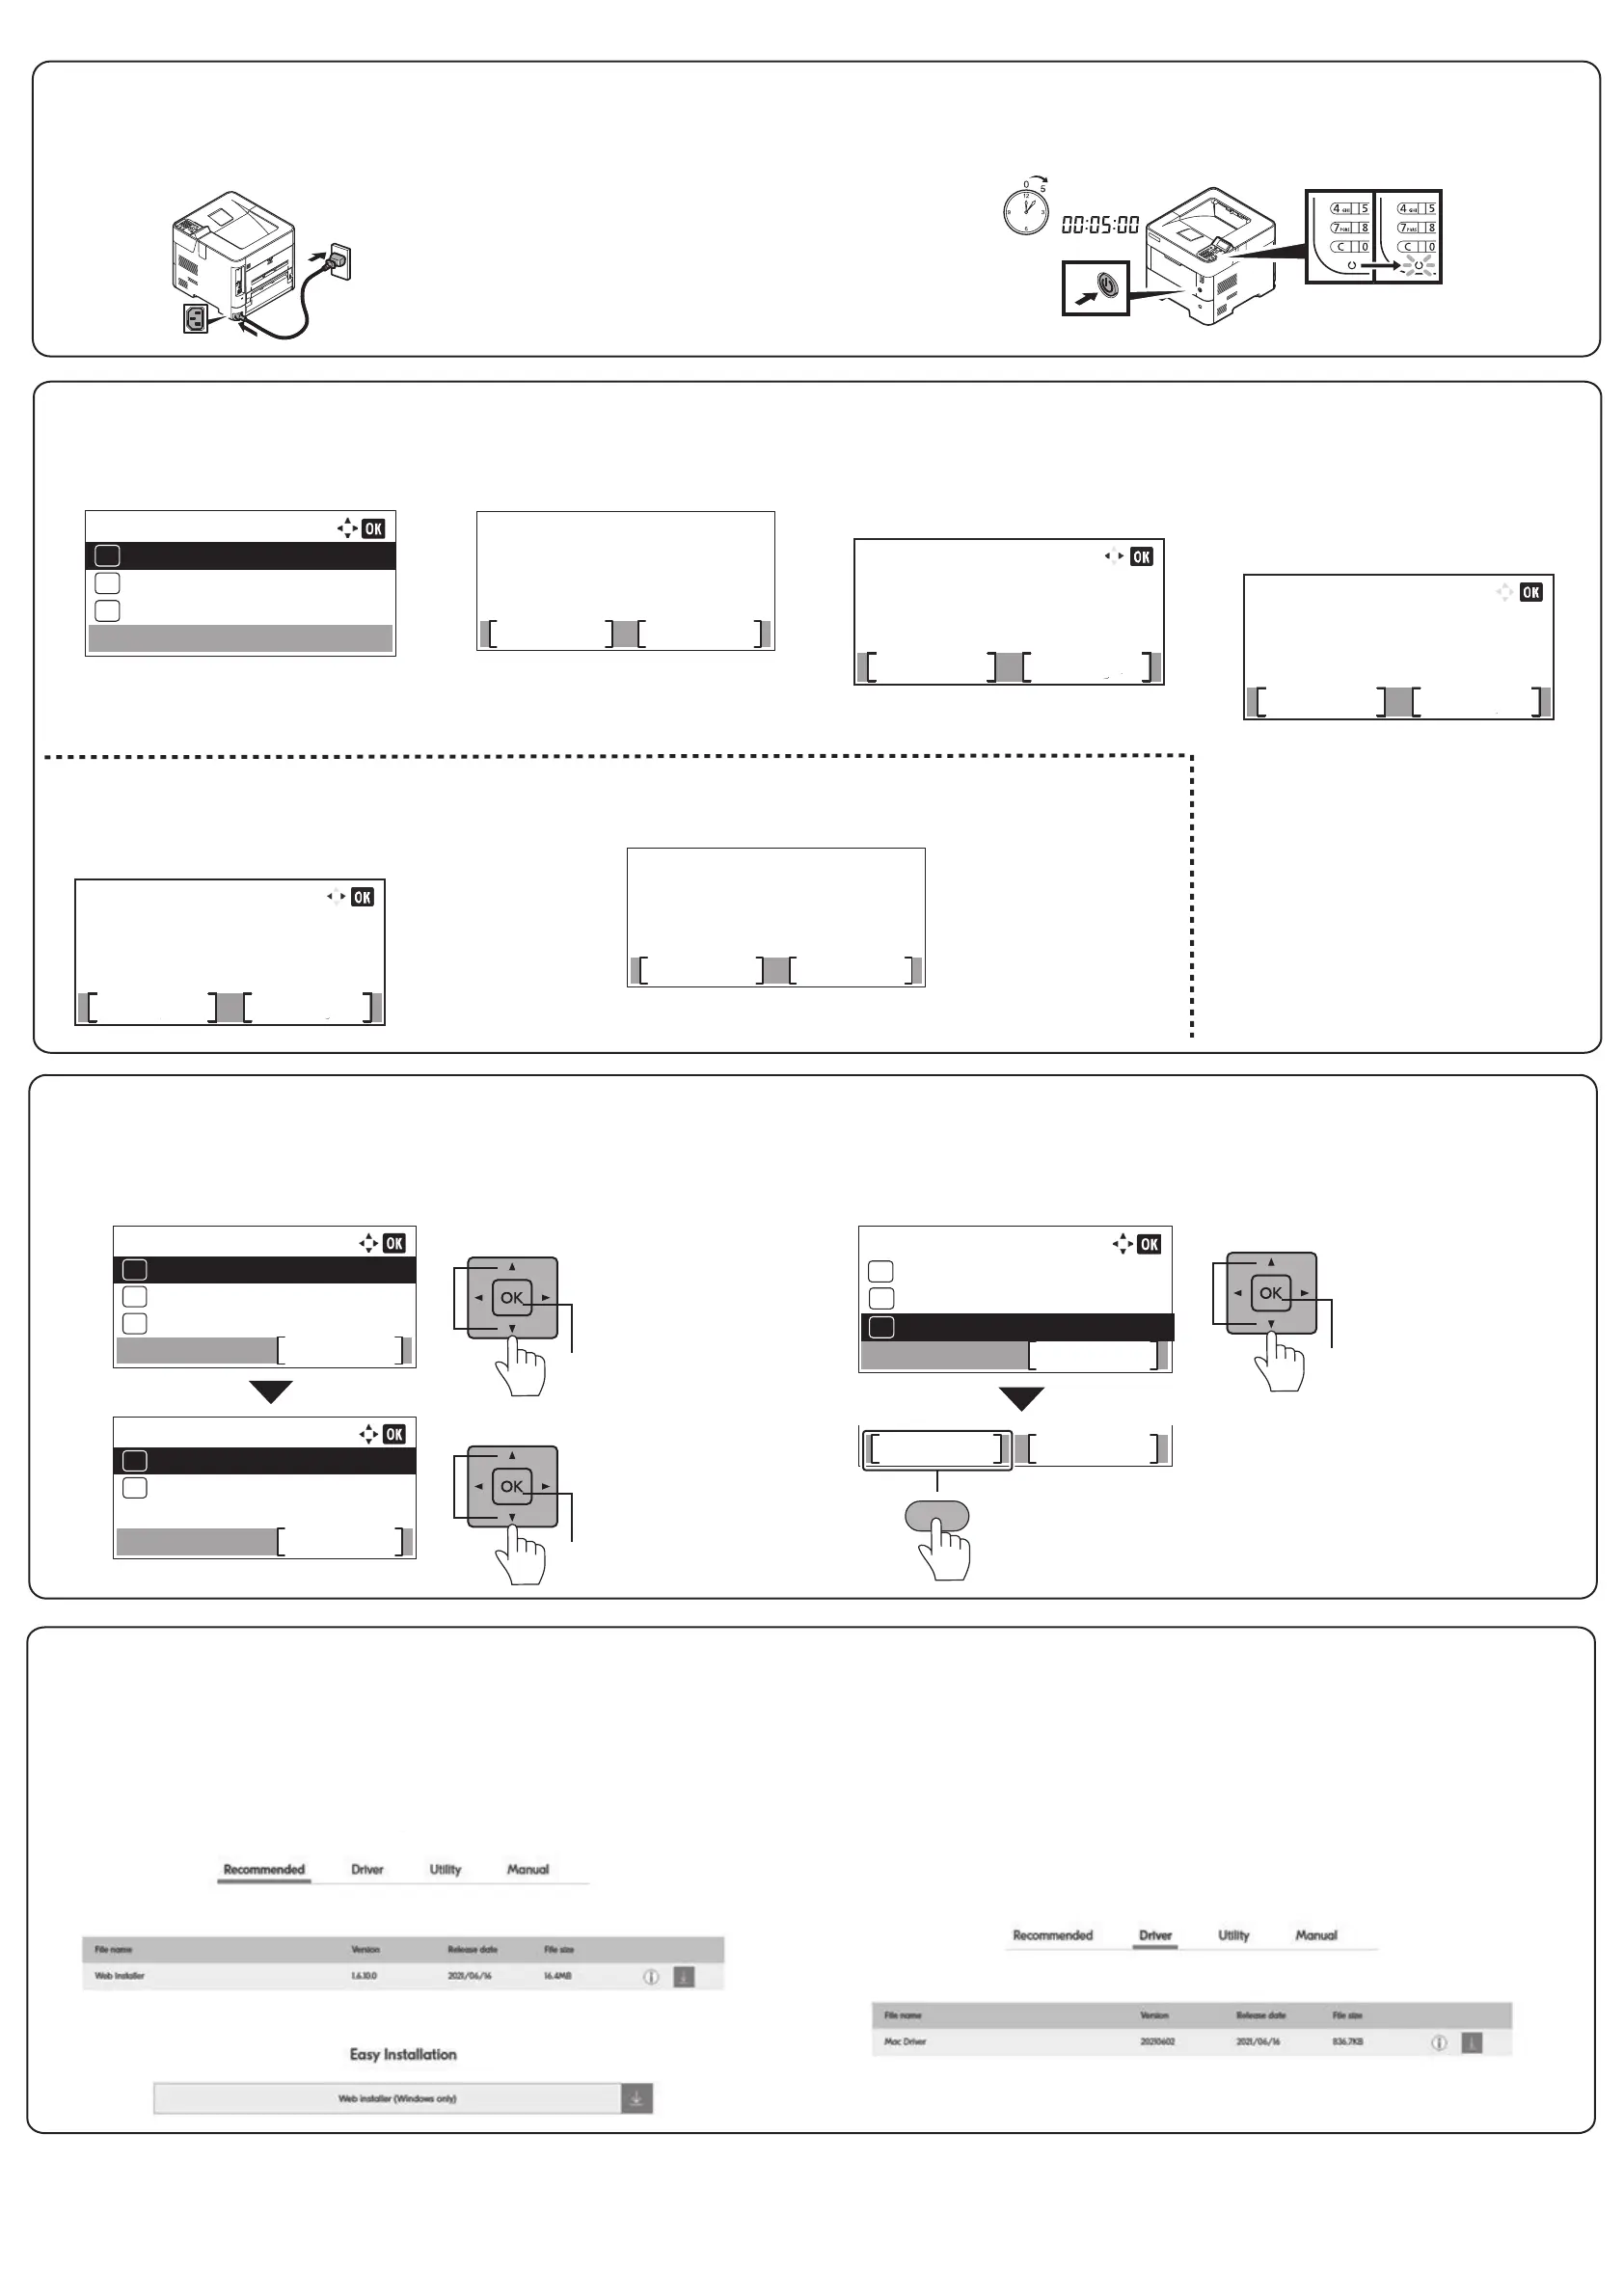
Step 7 Installing Software
Access the following URL and select your model and OS.
Download Center: https://kyocera.info/
For Windows
Download and run the Web Installer and follow the
on-screen instructions to install the driver and software.
For Mac
Download and run the driver and follow the on-screen
instructions to install.
Report Print:
Exit
Menu Map
Yes No
2
01
03
Print.
Are you sure?
Status Page
[
▲
] [
▼
] key > [Status Page] > [OK] key > [Yes]
1
2
Status Page
Config. List
02
Menu:
03
02
01
Report:
Report Print
01
Job Log History
02
1
Report
USB Drive
Counter
Exit
[Menu] key > [
▲
] [
▼
] key > [Report] >
[OK] key > [
▲
] [
▼
] key > [Report Print] > [OK] key
1
2
1
2
Step 6 Printing a Status Page
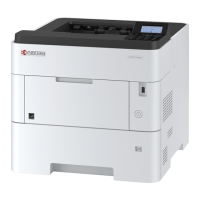
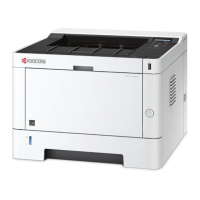
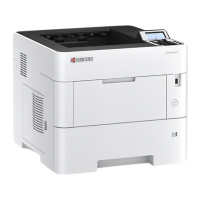
Step 4 Powering on the Printer
2
1
Turn the power switch ON at the front of the printer.
2
Connect the power cord to the rear of the machine and the
other end to the power outlet.
1
NOTE
Prepare the device and
information according to
the your environment.
For details of the network
settings, refer to the
Operation Guide.
6
When the following screen
appears, select [Finish].
Completing Setup
Please read the [Read
me] to make more
detail settings.
Readme Finish
5
Select [Change] when you set whether
notify low toner via panel or not.
If you set it later, select [Skip].
Skip
Setup (3/3)
Set whether norify
low toner via
Paner or not.
Change
Skip
Setup (1/3)
Set the time zone,
date and time.
Change
Select [Change] when you
change the time zone, date
and time. Follow the instruc
tions on the screen. If not,
select [Skip].
3
The setup screen appears.
2
Select [Yes].
Welcom.
Set up your machine
now.
Are your sure?
Yes No
1
Language:
English
01
Deutsch
02
Français
03
*
Press [
◀
] [
▶
] key to select
default language > [OK] key.
Step 5 Default Settings of the Machine
The screen moves to the
next step.
4
The screen moves to the next
setp.
Select [Change] when you
set the IP address to use
the machine on the network.
Follow the instructions on the
screen. If you set it later,
select [Skip].
Skip
Setup (2/3)
Set the IP address to
enable the machine to
run on your network.
Change
 Loading...