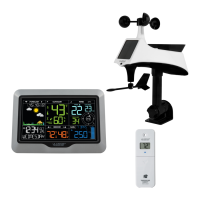
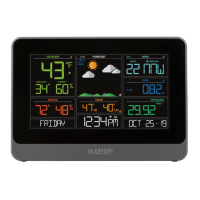
Adjusting the LCD Display Brightness
Press and release the LIGHT button on the front
of the station to adjust the backlight intensity.
There are 4 brightness levels, plus an o option.
09 10
LCD Display Brightness
BASICS BASICS
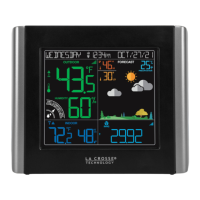
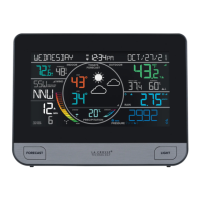
Note: Only the hour can be set. The Auto-Dim Icon ( ) will appear on the LCD when the Auto-Dim feature
is activated.
Auto-Dim Settings
Program your display to automatically dim during preselected times.
1. Hold the LIGHT button to enter the Auto-Dim
Settings Menu.
2. Press the +/- buttons to turn the Auto-Dim
feature on/o. Press LIGHT to confirm.
3.
Press the +/- buttons to adjust the starting
hour. Press LIGHT to confirm.
4. Press the +/- buttons to adjust the stopping
hour. Press LIGHT to confirm and exit.
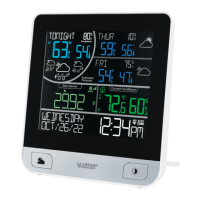
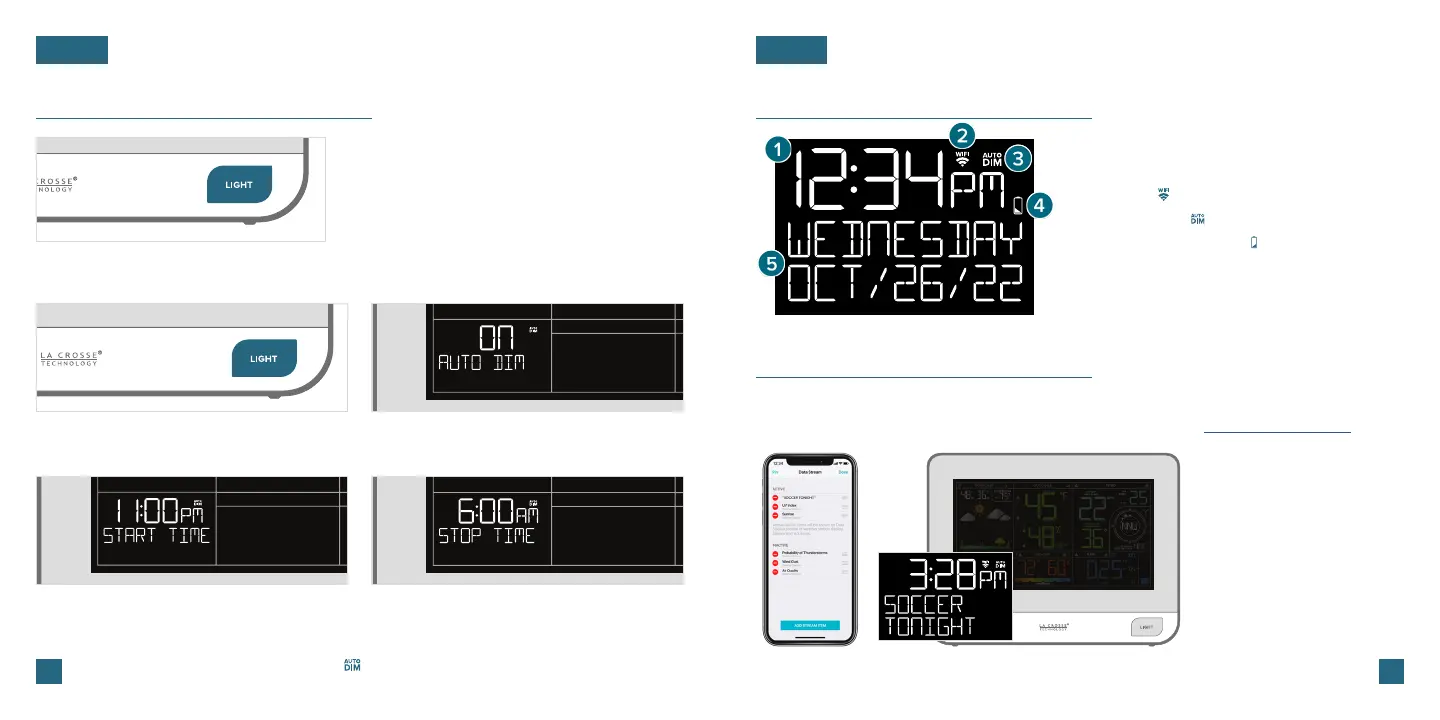
Time & Calendar Display
Data Stream Technology®
Data Streams allow you to see additional AccuWeather information in the time & calendar
section on the LCD. Learn how to set these up in our video here: bit.ly/datastream_vid
1. 12/24 HOUR TIME: Time will automatically update when
connected to Wi-Fi.
2. WI-FI ICON ( ): Indicates active Wi-Fi connection.
3. AUTO-DIM ICON ( ): Indicates active Auto-Dim setting.
4. LOW BATTERY INDICATOR ( ): Appears when station
battery needs to be replaced.
5. CALENDAR: Select order (Month/Date or Date/Month)
in the Settings Menu.
* Your display must be connected to Wi-Fi to receive Data Stream information.
Check the La Crosse View app
for a comprehensive list of
Data Stream options.
Stream Options Examples:
• UV Index
• Sunrise/Sunset Times
• Chance of Thunderstorms
• Air Quality
• Personal Message