4
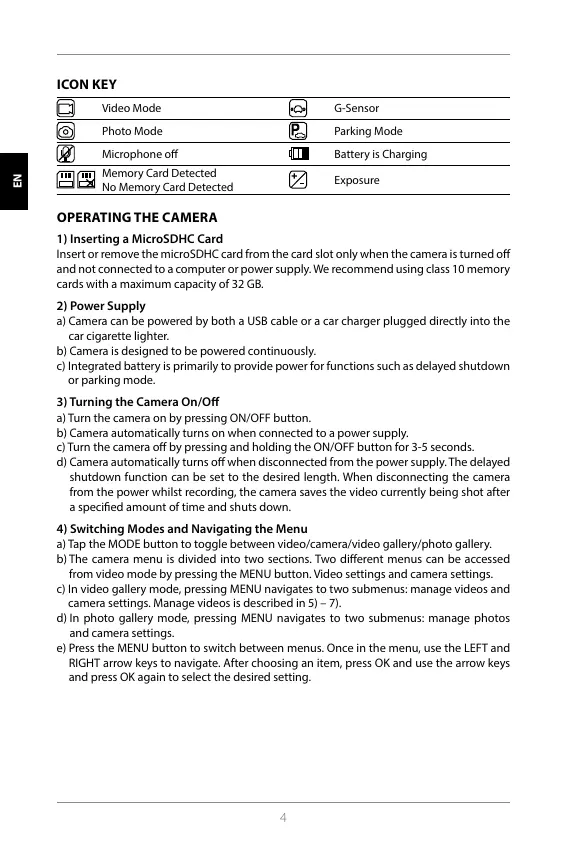
ICON KEY
Video Mode G-Sensor
Photo Mode Parking Mode
Microphone o Battery is Charging
Memory Card Detected
No Memory Card Detected
Exposure
OPERATING THE CAMERA
1) Inserting a MicroSDHC Card
Insert or remove the microSDHC card from the card slot only when the camera is turned o
and not connected to a computer or power supply. We recommend using class 10 memory
cards with a maximum capacity of 32 GB.
2) Power Supply
a) Camera can be powered by both a USB cable or a car charger plugged directly into the
car cigarette lighter.
b) Camera is designed to be powered continuously.
c) Integrated battery is primarily to provide power for functions such as delayed shutdown
or parking mode.
3) Turning the Camera On/O
a) Turn the camera on by pressing ON/OFF button.
b) Camera automatically turns on when connected to a power supply.
c) Turn the camera o by pressing and holding the ON/OFF button for 3-5 seconds.
d) Camera automatically turns o when disconnected from the power supply. The delayed
shutdown function can be set to the desired length. When disconnecting the camera
from the power whilst recording, the camera saves the video currently being shot after
a specied amount of time and shuts down.
4) Switching Modes and Navigating the Menu
a) Tap the MODE button to toggle between video/camera/video gallery/photo gallery.
b) The camera menu is divided into two sections. Two dierent menus can be accessed
from video mode by pressing the MENU button. Video settings and camera settings.
c) In video gallery mode, pressing MENU navigates to two submenus: manage videos and
camera settings. Manage videos is described in 5) – 7).
d) In photo gallery mode, pressing MENU navigates to two submenus: manage photos
and camera settings.
e) Press the MENU button to switch between menus. Once in the menu, use the LEFT and
RIGHT arrow keys to navigate. After choosing an item, press OK and use the arrow keys
and press OK again to select the desired setting.
HR SLO LT HU PL SK CZ DE EN
HR SLO LT HU PL SK CZ DE EN
 Loading...