This document provides a comprehensive user and installation guide for the Lamona Built-in Conventional Oven models LAM3201, LAM3205, and LAM3206. It covers the appliance's functions, technical specifications, usage, and maintenance.
Function Description
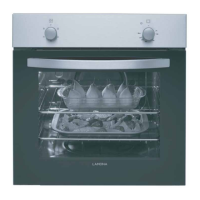
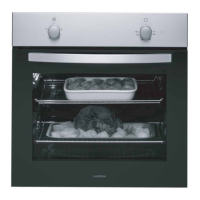
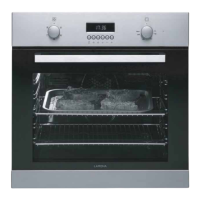
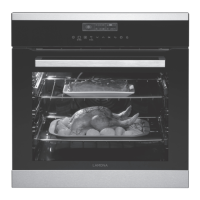
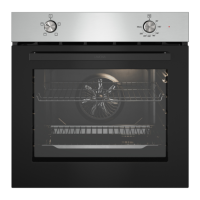
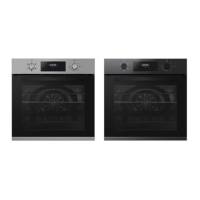
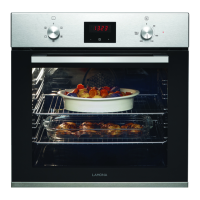
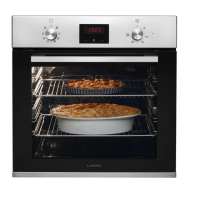
The Lamona Built-in Conventional Oven is designed for domestic cooking purposes. It features a main oven with various operating modes for baking, roasting, and grilling. The oven is equipped with top and bottom heating elements, and a full grill element for versatile cooking. A cooling fan is integrated to cool both the front of the appliance and the surrounding cabinetry during and after operation.
Important Technical Specifications
General:
- Voltage/Frequency: 220-240 V ~ 50 Hz
- Total Power Consumption: 2.4 kW
- Fuse: min. 13A
- Cable Length: max. 2m
- Cable Type/Section: HO5W-FG1.5mm², 3 core or equivalent
Oven/Grill:
- External Dimensions (height/width/depth): 594 mm / 595 mm / 567 mm
- Installation Dimensions (height/width/depth): 585-595 mm / 560 mm / min. 500 mm
- Main Oven Type: Conventional Oven
- Energy Efficiency Class: A
- Energy Consumption: 0.88 kWh/cycle
- Inner Lamp: 240 V / 15-25 W / E14 SES / T 300 °C
- Grill Power Consumption: 2.2 kW
- Weight (M): 27 kg
- Number of Cavities: 1
- Volume (V): 65L
- EEI cavity: 106.9
Usage Features
Operating Modes:
The oven offers several operating modes, selected via the oven/grill function knob:
- Top and Bottom Heat: Heats foodstuffs simultaneously from above and below, suitable for cakes, cookies, and casseroles. Recommended for cooking with one tray for best results.
- Bottom Heat: Uses only the bottom heating element, ideal for dishes like pizza that require baking from beneath.
- Grill-Small: Activates the inner grill element, suitable for small or medium-sized portions. Requires correct shelf position and temperature setting, with food turned as needed for even cooking.
- Grill-Full: Activates the full grill element, suitable for grilling larger dishes.
Operating the Oven and Grill:
- Set the thermostat knob to the desired temperature.
- Set the function knob to the required operating mode.
- Close the oven door.
The oven will heat to the set temperature, indicated by the temperature indicator light remaining on until the desired temperature is reached.
Shelf Positions:
The oven has 5 shelf positions, allowing for flexible placement of dishes. It is important to correctly position the wire shelf into the runners.
Cooking and Baking Advice:
The manual provides detailed tips for various cooking types:
- Baking: Recommends non-stick coated metal trays or heat-resistant silicone moulds, optimal use of shelf space, and selecting the correct shelf position before turning on the oven.
- Roasting: Suggests seasoning with lemon juice and black pepper for whole chicken or large meat pieces, notes longer cooking times for meat with bones, and advises letting meat rest after cooking.
- Grilling: Ideal for meat, fish, and poultry for browning without drying. Recommends distributing items on the wire rack and using a tray or grill pan underneath to collect dripping fat, with added water for easier cleaning.
- Baking Cake: Offers solutions for dry, wet, or overly dark cakes, including adjusting temperature, liquid content, and shelf position.
- Baking Pastry: Provides advice for dry pastry (increase temperature, decrease cooking time, dampen layers), slow baking (check pastry thickness), and uneven browning (adjust wash amount).
- Cooking Vegetables: Suggests using a lidded dish for vegetables that dry out quickly and pre-boiling if they are not cooking sufficiently.
Energy Saving Tips:
- Use dark-coloured or enamel-coated cookware for better heat transmission.
- Preheat only when advised.
- Avoid frequently opening the oven door during cooking.
- Cook multiple dishes simultaneously or consecutively to utilize residual heat.
- Switch off the oven a few minutes before the end of cooking time and keep the door closed.
- Defrost frozen dishes before cooking.
Maintenance Features
Cleaning:
- General: Clean the product thoroughly after each use with warm water, washing liquid, and a soft cloth or sponge. Wipe dry immediately. Avoid aggressive detergents, cleaning powder/cream, sharp objects, and steam cleaners. Do not use acid or chloride-containing agents on stainless steel surfaces.
- Control Panel: Clean with a damp cloth and wipe dry. Do not remove control knobs for cleaning.
- Oven Door: Do not use harsh abrasive cleaners or sharp metal scrapers on the oven door glass to prevent scratching or shattering.
- Removal of Oven Door:
- Open the door fully.
- Unlock clips at the hinge housing on both sides by pressing them down.
- Raise the door to the half-way position.
- Remove the door by pulling it upwards from the hinges.
- Reattach by reversing these steps, ensuring hinge clips are closed.
- Removing Inner Door Glass:
- Open the door fully.
- Pull away the top plastic cap from the retaining clips.
- Lift the inner glass from its retaining slots.
- To replace, reverse the process, ensuring the printed surface faces downwards and the glass is fully located in the lower retaining slots before re-fitting the top cap.
Replacing the Oven Lamp:
- Ensure the appliance is switched off and cooled down to avoid electric shock or burns.
- The oven lamp is a special electric lamp resistant to 300°C.
- Disconnect the product from mains.
- Turn the glass cover counter-clockwise to remove it.
- Remove the old oven lamp by turning it counter-clockwise and replace it with a new one.
- Install the glass cover.
Troubleshooting:
The manual includes a troubleshooting guide for common issues such as steam emission, metal noises, product not operating, oven light not working, and oven not heating. It provides possible causes and solutions, advising users to contact the Authorized Service Agent if problems persist.
Safety Information:
The manual emphasizes safety, particularly regarding children, hot surfaces, electrical connections, and proper installation. It warns against touching heating elements, using steam cleaners, and improper handling of the power cable. It also highlights the importance of professional installation and adherence to local regulations to ensure safety and maintain the product's guarantee. The cooling fan continues to run for 20-30 minutes after the oven control is turned off, and users are advised not to switch off the mains isolation switch immediately after cooking.