8
9
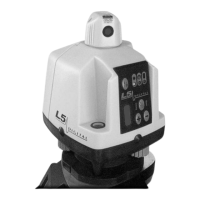
Plumb And Layout Setups
In vertical mode,
the L5 projects a
rotatable beam of
laser light that can
be used as a spot,
rotated, or scanned.
Simultaneously, a fixed
beam is projected at 90º
to the rotatable beam
from the top of the rotating head. The 90º beam provides a convenient
way to define right angle intersections for interior layout. See pg. 10
"vertical and line layout setups" for complete instruction on aligning the
vertical plane of light.
90
º
Fixed beam
Rotating beam
When the L5 is in vertical mode, it is completely manual in
operation and will not turn off if it is disturbed. Check the vertical
vial and your benchmarks regularly to be sure your work will be
accurate. The L5 is designed
for vertical alignment up to
two stories high.
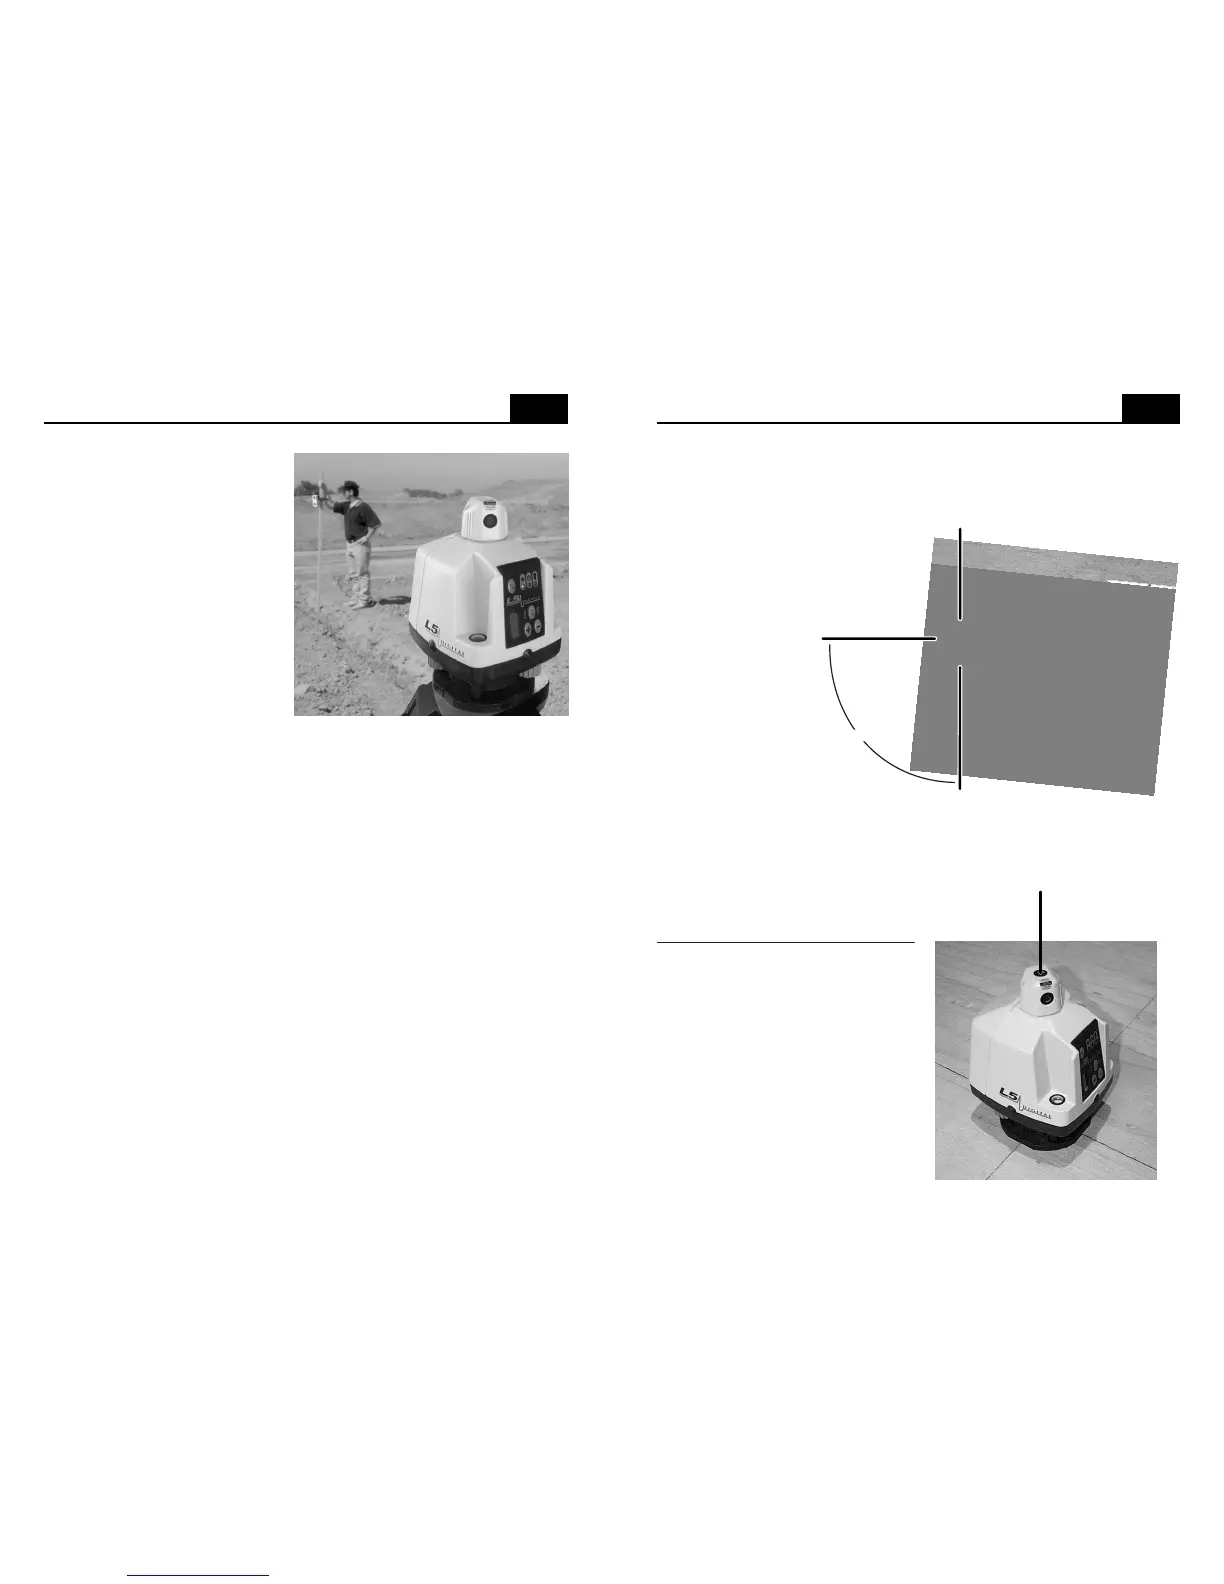
The base of the L5 has four
notches molded-in to quickly allow
the transferring of points from floor
to ceiling. By simply drawing an
intersection with two lines, the base
notches act as guides to align the
L5 over the intersection. Once over
the point, center the bubble in the
circular vial and the self leveling
system will operate, projecting a
self plumbed spot on the ceiling.
Level Setup
Be sure to read "initial setup
guidelines" (pg. 4) and set the
laser on a tripod or a stable
surface which will not change
height or vibrate during your
work. Do not use a pickup bed,
plastic bucket or picnic table (we
have seen all of these setups
attempted by contractors with
predictably poor results).
Using the two leveling knobs,
center the bubble in the circular
level vial (review the procedure
on page 2 if you have difficulty).
Facing the laser control panel and looking down at the circular level vial,
when you turn either leveling screw clockwise, the bubble will move
toward that leveling screw. Once the bubble is centered, start the laser
by pressing the on / off (I/0) button.
If long distance is required, the L5 can be set-up in the middle of a site,
covering a total diameter of 660 feet (200 meters) with the R6 receiver,
the R7 receiver, or the MC-1 machine control receiver.
Periodically check your setup against existing benchmarks or set and
check your own benchmarks.
Note that there are three ways to project a level reference from the L5,
full 360º rotation, scanning beam and fixed beam. 360º rotation is used
when working outdoors with a receiver (at maximum rotation speed), or
when indoors and a full plane is needed (at any speed that allows
visibility). Scanning the beam is helpful when working indoors in brightly
lit conditions, since the sweep of the beam is concentrated into a smaller
area (scan can be varied to sweep approximately 90º, 45º, 30º, or 15º by
using the + and - buttons when in scan mode). Once the beam is
scanning at the desired width, the location of the scanned area can be
set by manually turning the rotating (scanning) head. Fixed beam
(rotation off) can be used to locate the height of a specific spot. With the
rotation off, the spot is aimed by manually turning the rotating head.
 Loading...