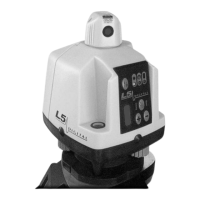
Getting Started
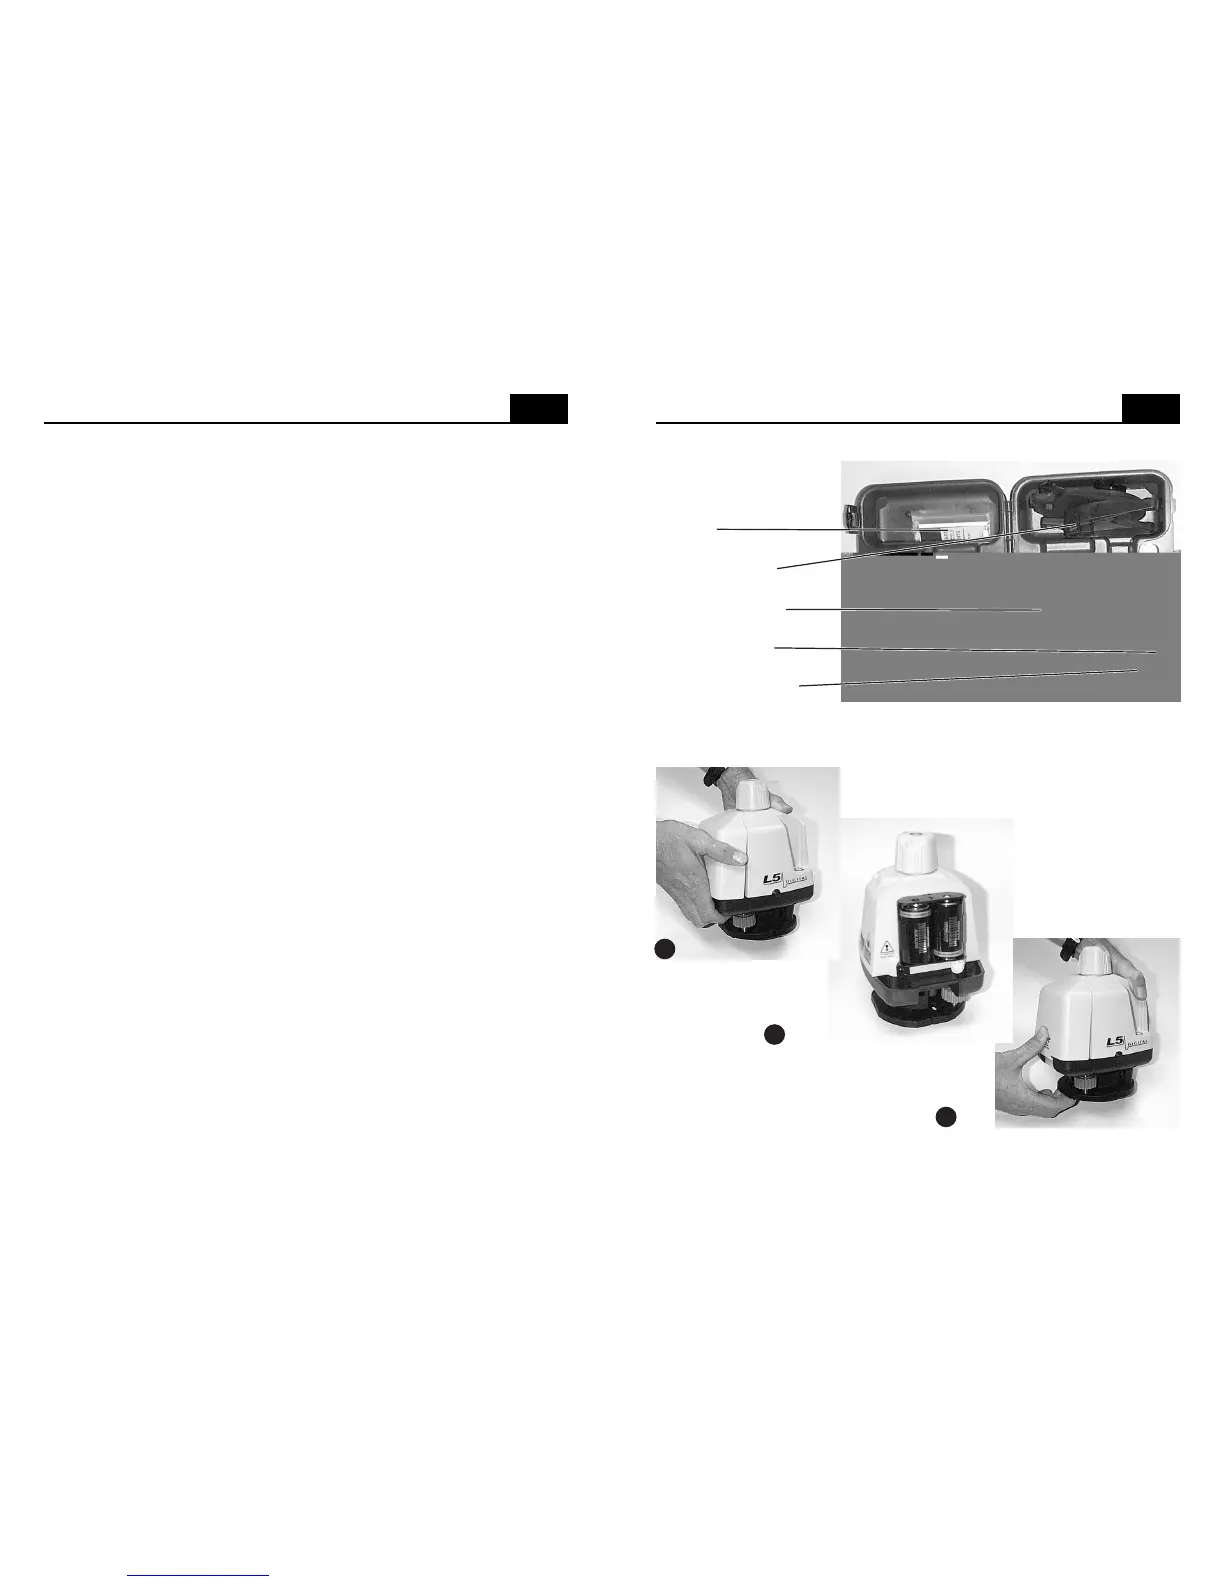
System contents
Manual
Vertical bracket
Laser transmitter
D-cell batteries
Receiver (optional)
Battery installation
1
16
Troubleshooting
The laser will not operate, there is no obvious damage.
• If the low battery indicator is on, or you suspect the batteries may be
dead, replace the batteries.
• Check the battery contacts to be sure that they are clean.
The receiver shows an on-grade at two different heights.
• Check the jobsite for windows or mirrored surfaces that might be
reflecting the laser and causing the other reading.
• Check for others on the site using a rotary laser.
The laser was knocked over.
• Visually check the optics for damage.
• Inspect the laser for any other physical damage.
• Check to see that the laser is putting out a beam.
• Turn the laser rotation on and check for unusual noise or vibration.
• Check the calibration and adjust as needed.
• Check to see that the laser displays the "limit" light when the circular
level vial bubble moves approximately half way outside the circle.
The laser only works at short distances.
• Check the output window on the rotating head of the laser for heavy
dust or moisture. Remove dust with a camera brush or blow off gently
with clean compressed air. Allow moisture to dry.
The receiver does not indicate "on grade" at long distance.
• Be sure you have not exceeded 330ft (100m) from the laser.
• Check the output window on the rotating head of the laser for dust or
moisture. Remove dust with a camera brush or blow off gently with
clean compressed air. Allow moisture to dry.
The laser shuts off after running for only a few minutes.
• If the yellow out of level indicator is flashing, re-center the circular vial.
• If the red low battery indicator is flashing, replace or recharge the
batteries.
• If there is no indication at all, check for dead batteries.
1 Pull firmly on tab
at base of door
1 Pull firmly on tab
at base of door to
remove
3 Hook battery door at top
of housing and push firmly
at base of door to latch
3 Hook battery door at top
of housing and push firmly
at base of door to latch
2 Install batteries according
to the instructions molded on
the battery holder
2 Install batteries according
to the instructions molded on
the battery holder