LASER RAPIER II OPERATOR INSTRUCTION MANUAL
6) Slide lower pole into middle pole until spring buttons click into
the first set of adjustment holes. Turn pole lock to tighten-lock the as-
sembly into place.
7) Wrap the cable around the pole leaving enough slack near the
searchcoil to permit searchcoil adjustment.
(NOTE: Do not allow the cable to flop loosely over the searchcoil. Since the de-
tector is sensitive enough to “see” the tiny wires in the cable, a floppy cable can
cause false signals as the searchcoil senses the moving wires.
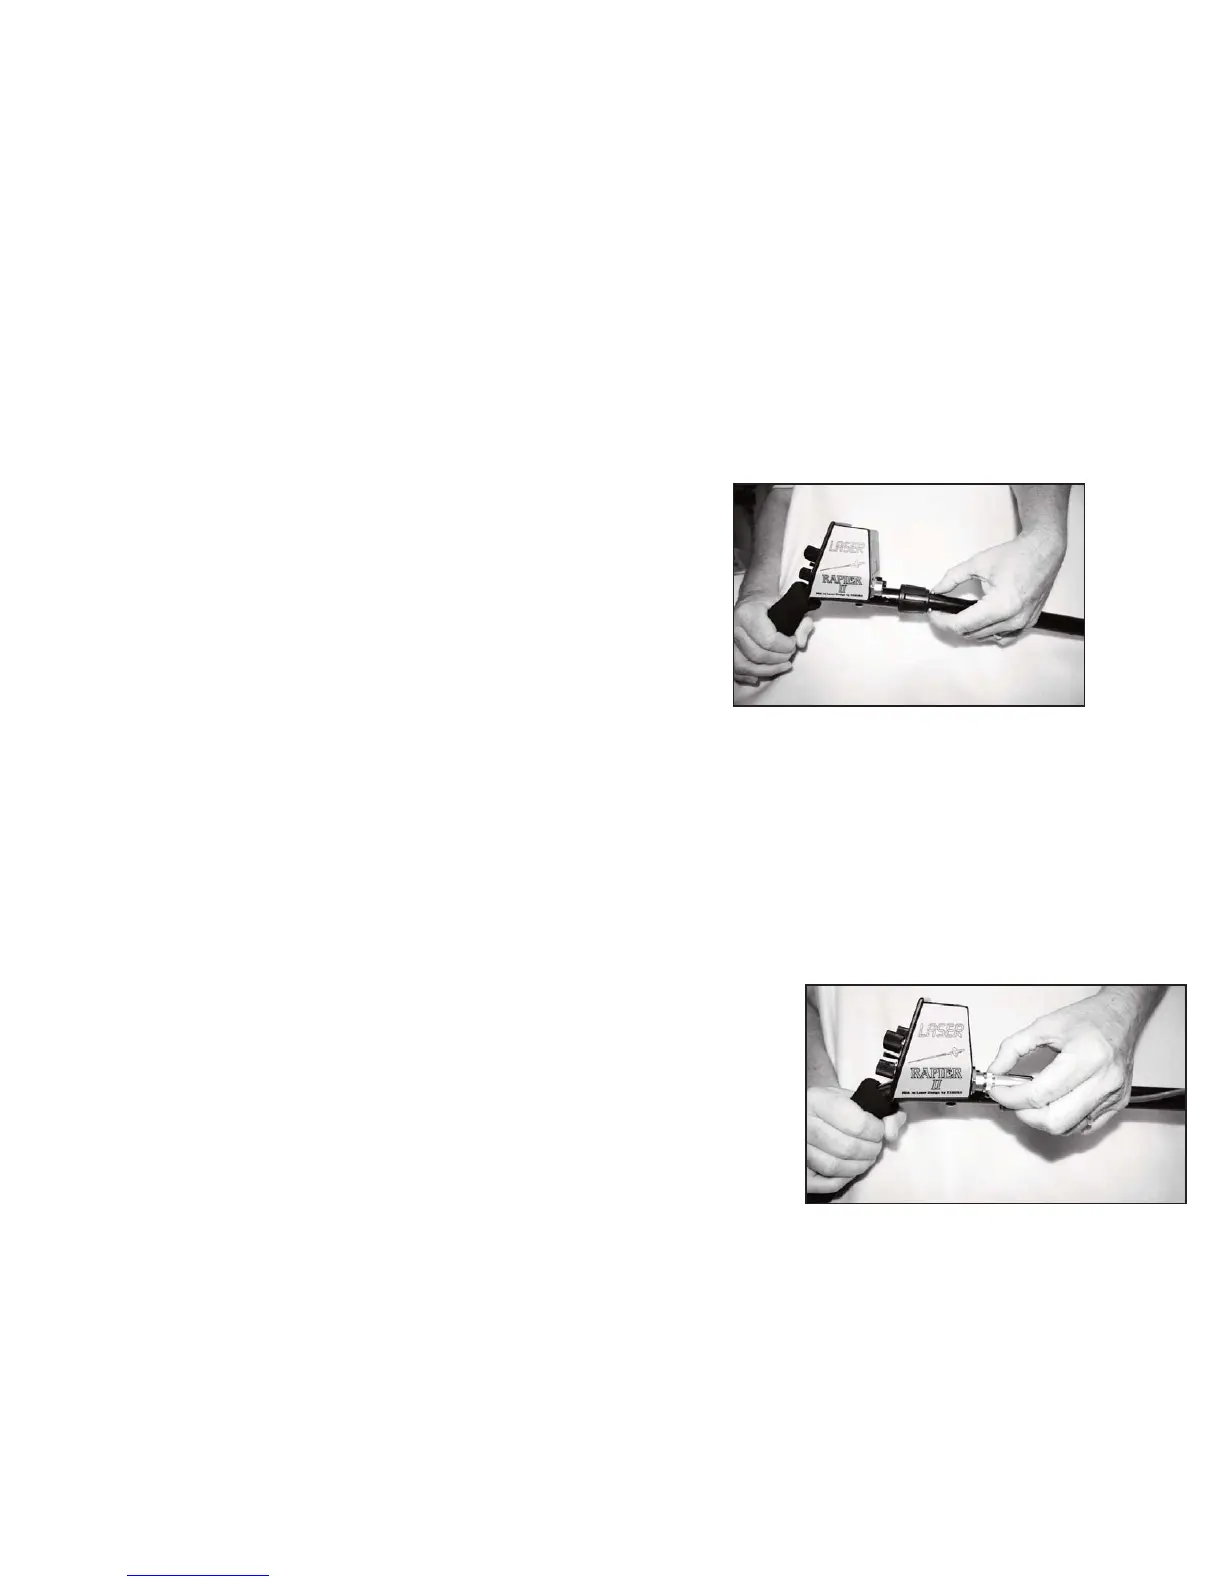
8) Plug the male cable end into the female connector on the control
housing and tighten the cable thumb nut. You are finished!
(NOTE: You
will want to ad-
just the pole
length and the
searchcoil
angle to your
preference.
The DISC LEVEL should be set to your desired “rejection level”
for the particular area you are searching. We recommend starting at a
low setting if you are unsure of how much trash is in the area. Adjust the
level higher if you find yourself digging more trash than you like. Re-
member that with any metal detector, you will lose target response to
small gold rings and nickels when discrimination is set at the pull-tab re-
jection level. So, digging some trash will increase your number of good
finds.
The diagram “DISC LEVEL- Discrimination Level Settings”
shows the settings where many of the common metal objects are ignored
by a typical detector. Each detector can vary a little – due to manufac-
turing tolerances- so you should experiment with your detector and be-
come familiar with its rejection levels for these trash metal objects.
Earlier motion detectors that operated with a continueous
“threshold” sound would give the user a definite indication of trash
metal by either “nulling” completely (no sound made temporarily) or
by generating short, choppy sounds. Since the Rapier’s Discriminate
Mode is Silent Search and operates without threshold sound, there is no
nulling to indicate that the area is extremely trashy. When searching in
the discriminate Mode, we recommend that you periodically switch to
Pinpoint Mode and check the area your are searching to get an idea of
how much trash is really there.
Setting the Threshold Level
The Threshold Level must be set so that the sound that you hear
in the pinpoint mode is a low volume, steady hum. To start, press the
PINPOINT push-button and listen for the threshold sound. Adjust the
Threshold Level by turing the THRESHOLD control. To increase
Threshold Level, turn the control clockwise. To decrease, turn the con-
trol counterclockwise. Adjust the control until the low steady hum is
achieved and release the PINPOINT push-button. Once the desired tone
is set, it will not require frequent resetting.
16
9
GETTING STARTED
 Loading...