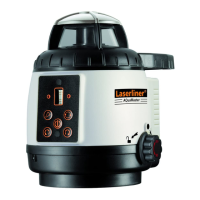
AQua-Master
ENGLISH
• Use a height which is not interrupted by glass or
windows so as to avoid reflections.
• Generate a working mark (reference height) in
order to always continue working from the same
height.
• In spot mode, the position can be changed in 90°
steps (see Operation, page 18). This is ideal for
measuring areas of land, etc.
• When working outdoors, position the device on
the highest point so as to overcome obstacles.
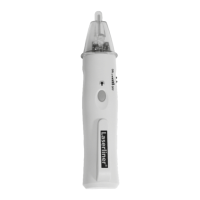
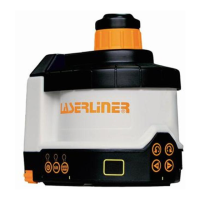
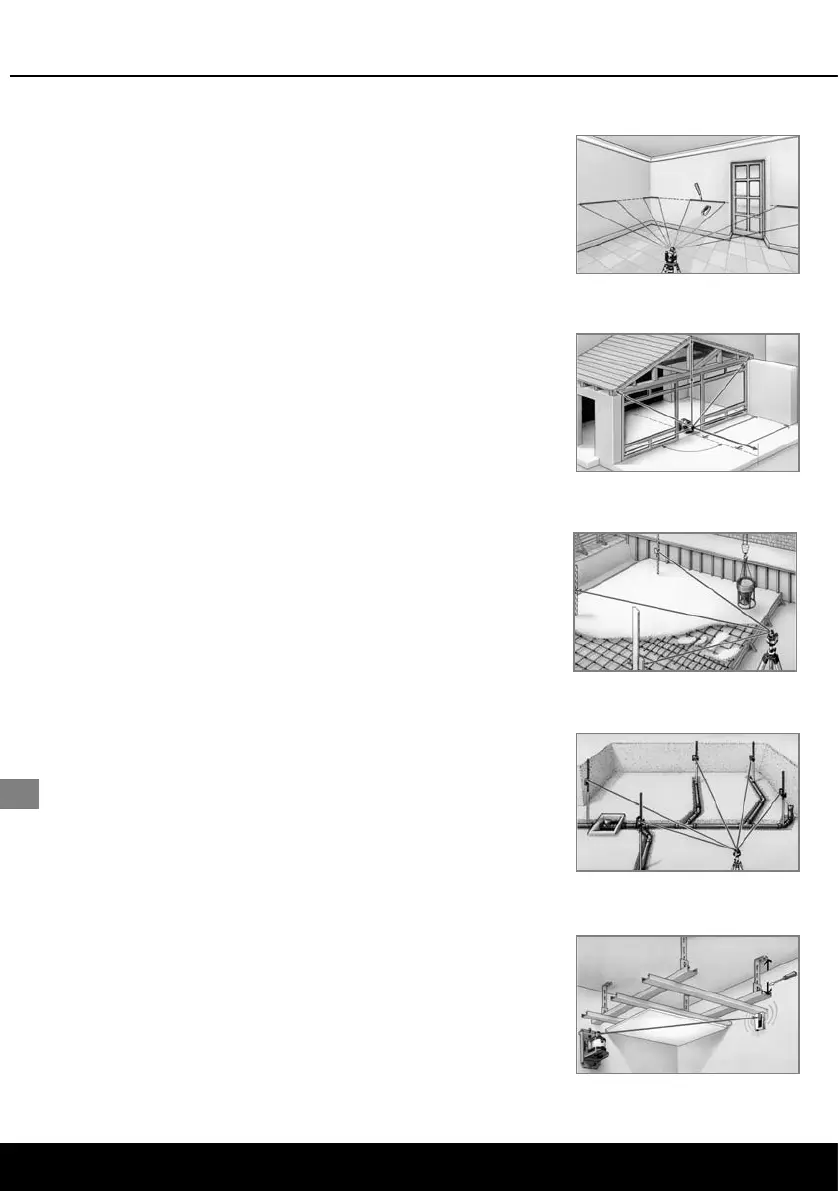
• The most precise measuring results are achieved if
the position of the device remains absolutely
unchanged. The best way to ensure this is by
using the SensoCommander (Fig. 1).
• When installing separating walls, align the
reference beam parallel to the wall (see Fig. 2).
• A crank tripod (Art. No. 080.30) facilitates exact
adjustment of the laser to a measured height (see
Fig. 3).
• With a rotation laser and 2 SensoCommanders,
you can work in two positions at the same time
(Fig. 4).
• The laser enhancement glasses (Art. No. 020.70A)
will enable you to see the laser beam much more
clearly.
• The Flexi measuring staff (Art. No. 080.50) allows
height differences to be measured directly without
any need for calculation.
• In the case of big height differences, you can
work with a TelePilot (Art. No. 075.108) and an
L-bracket (Art. No. 028.61). The result can be read
off on the scale.
• For ceiling work, the height-adjustable wall mount
(Art. No. 080.70, Fig. 5) is an indispensable aid.
• For further information, please go to
www.laserliner.com.
Figure 1
Figure 2
Figure 3
Figure 4
Figure 5
Tips and tricks for working with the AQua-Master
22