10
Special product features and functions
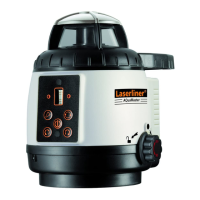
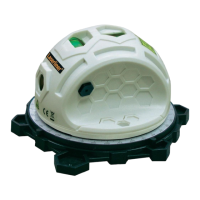
The rotary laser aligns itself automatically. It is set to the
required initial position (to within an operating angle of ± 4°) and the
automatic system then performs the necessary fine adjustment, with
three electronic measurement sensors detecting the X, Y and Z axes.
Transport LOCK: The device is protected by a special
motor brake during transport.
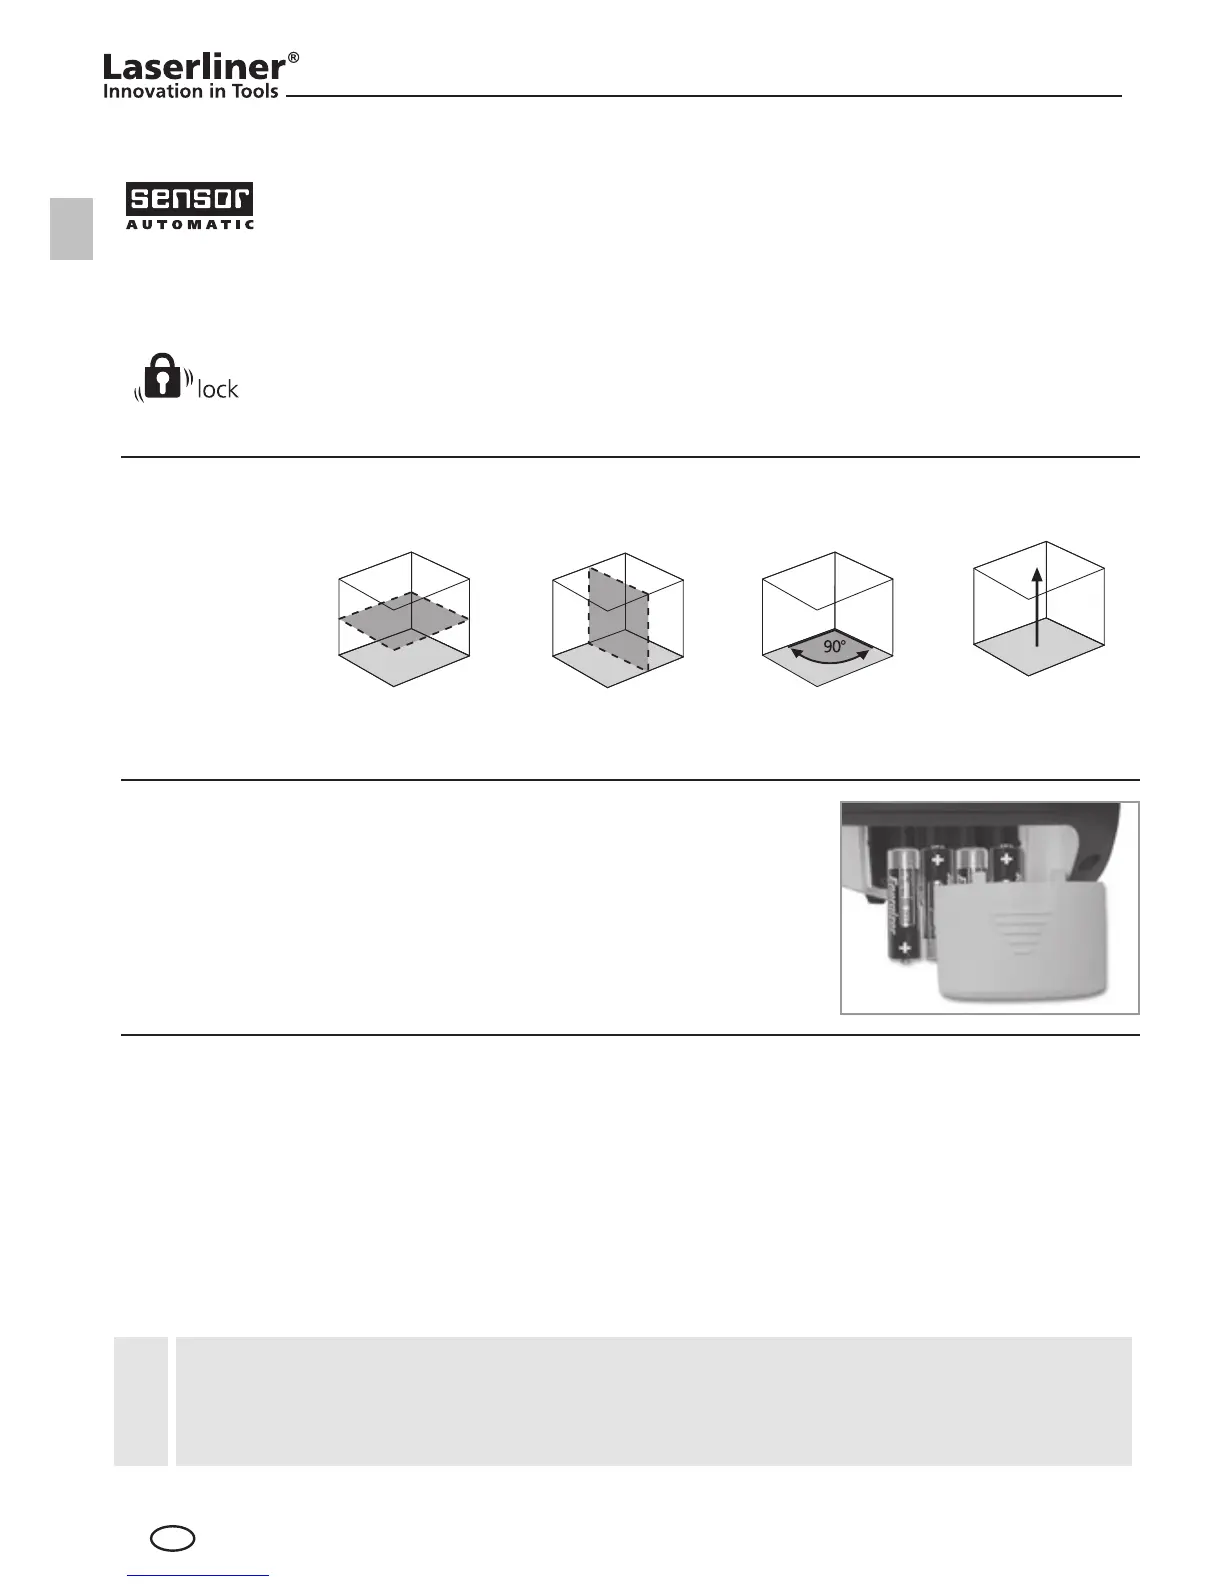
Horizontal
levelling
Vertical
levelling
90° angle Plumb
function
auto auto
Space grids: These show the laser planes and functions.
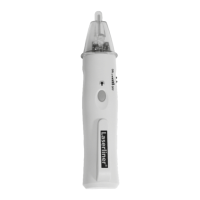
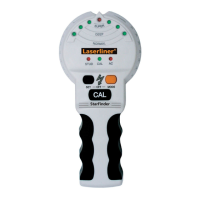
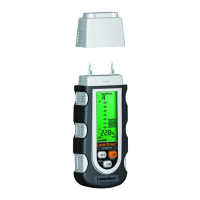
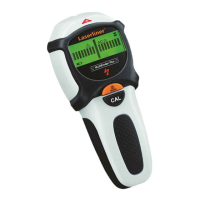
Inserting the batteries
Ensure correct polarity. The batteries must
be replaced if the status indicator (C) starts
to flash.
If the device has been placed on a surface with too much of a slope
(more than 4°), the prism head remains stationary and the laser starts
to flash. The device must then be placed on a more even surface.
!
Horizontal levelling and vertical levelling
– Position the device on a level surface or on a tripod, horizontal or vertical.
– Press the "ON/OFF" switch.
– The device levels itself automatically to within a range of ± 4°. During
the set-up phase, the laser flashes and the prism head remains stationary.
When levelling is complete, the laser lights up continuously and rotates at
maximum speed.
auto =
Automatic
alignment
GB
 Loading...