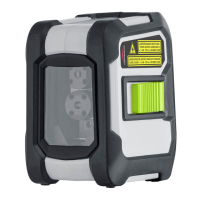
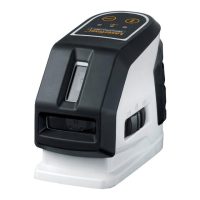
Cubus / Cubus G
19
auto auto
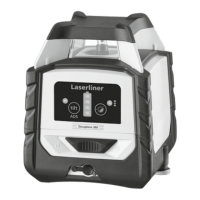
If the device has been placed on a surface with a slope of more than
4°, the prism head will remain stationary and the laser as well as the
auto/slop LED will start to flash. The device must then be placed on a
more even surface.
!
auto/slope function LED OFF: Automatic alignment
!
– The device levels itself automatically to within a range of ± 4°. During the
set-up phase, the laser flashes and the prism head remains stationary. When
levelling is complete, the laser lights up continuously and rotates at maximum
speed. Refer also to the sections about „Sensor Automatic“ and „ADS Tilt“.
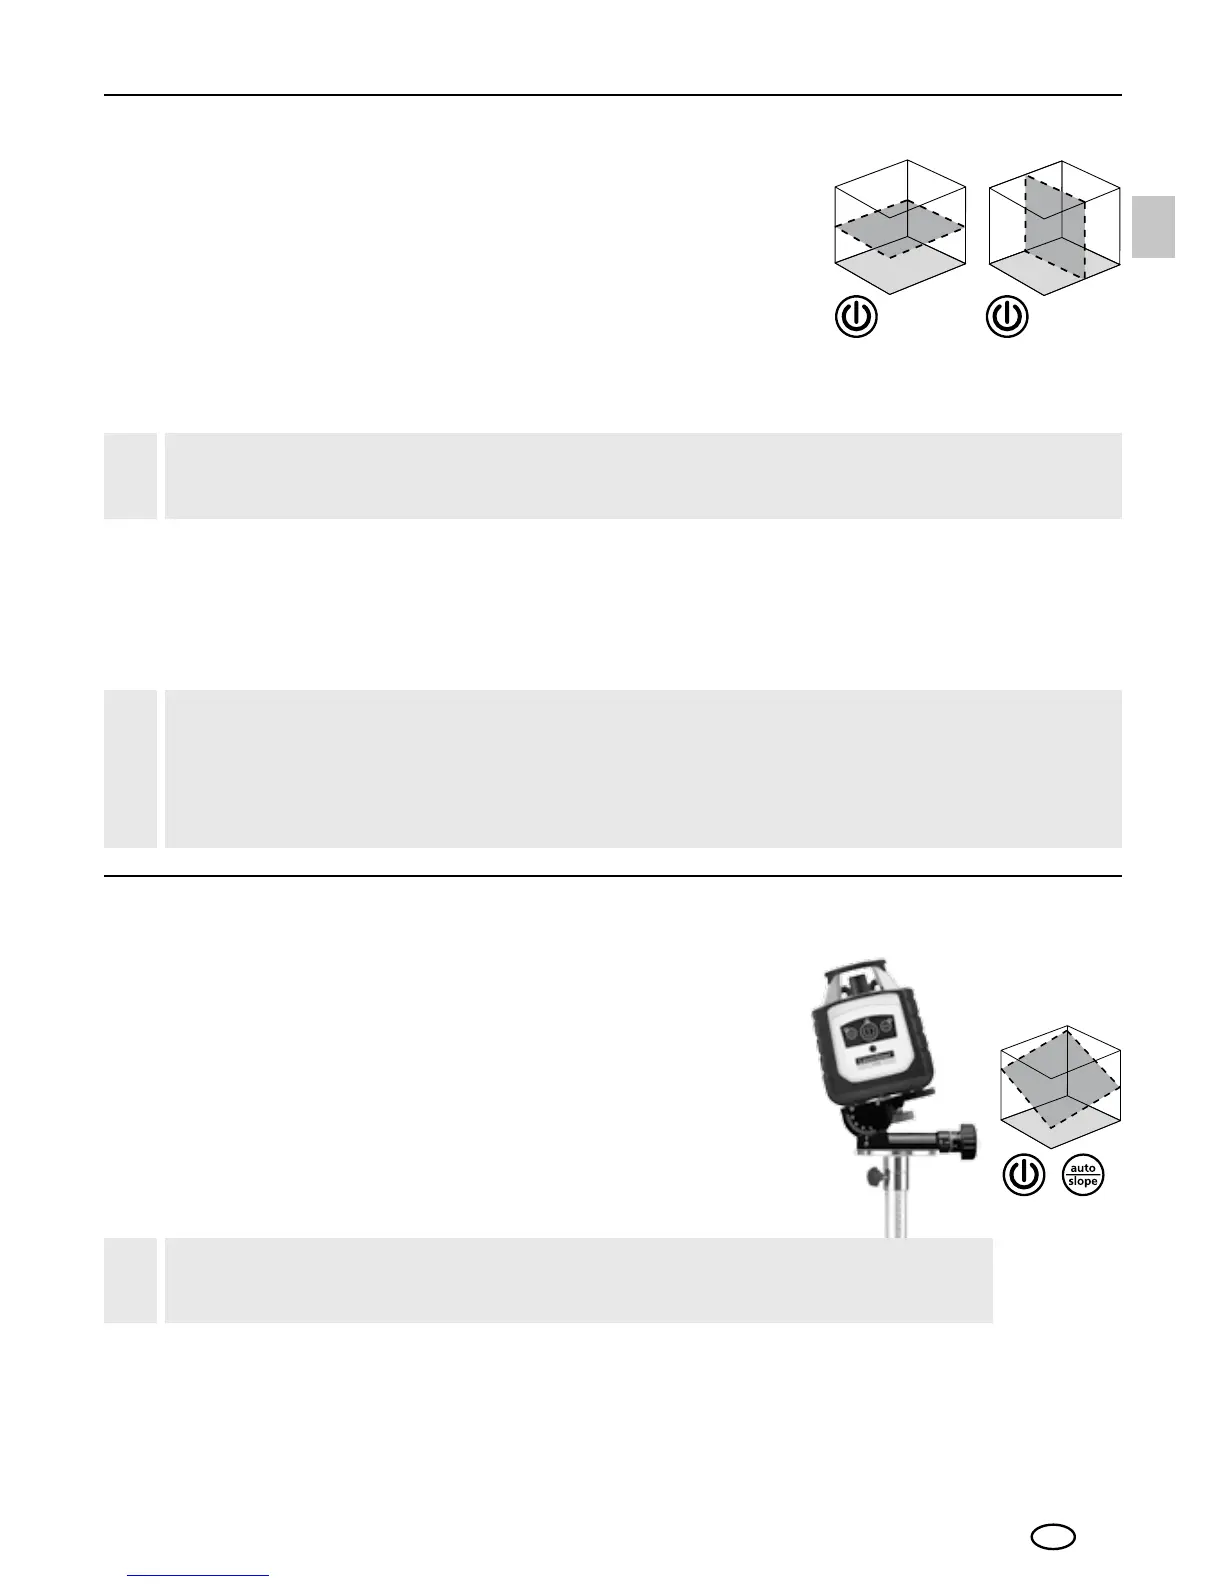
Horizontal levelling and vertical levelling
– Horizontal: Position the device on a level surface or
on a tripod.
– Vertical: Place the device on its side with the stand
and wall bracket fitted. The operator panel should
be at the top. The device with the stand and wall
bracket can be mounted on a tripod for vertical use.
– Press the „ON/OFF“ switch
man
Auto/slope function LED ON: Manual alignment
!
Slope function
Steeper slopes can be set using the angle plate,
which is available as an optional extra
(product ref. 080.75).
TIP: Allow the device to align itself automatically
and set the angle plate to the zero position.
Then press the auto/slope button to switch the
automatic sensor off. Finally, incline the device
to the angle you require.
EN