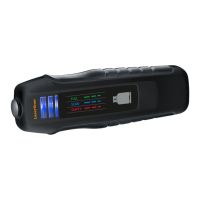
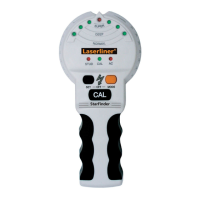
StarFinder
07
5
6
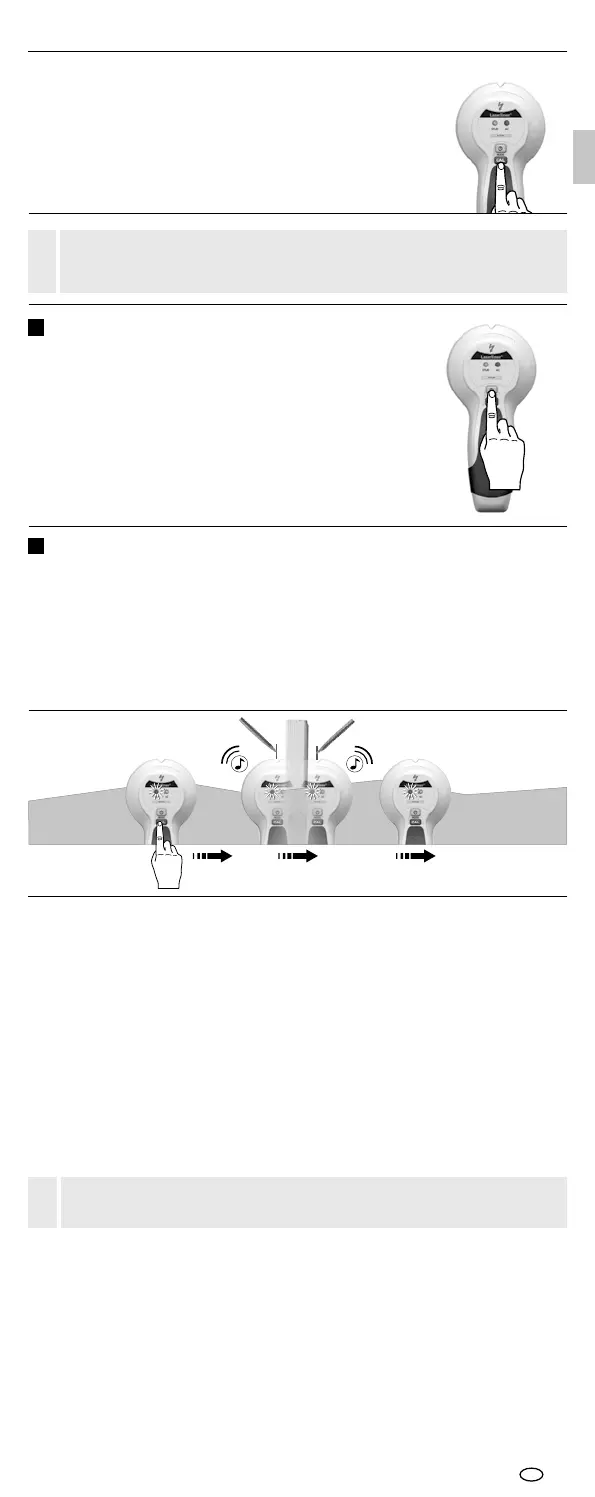
Briefly press the Mode button (4).
AC-SCAN (Locating live lines directly under non-metallic cladding)
STUD-SCAN (Detecting wooden wall beams and joists as well as
metal in drywall structures under non-metallic cladding)
Select measurement mode
The device and the wall must maintain contact during calibration in STUD-SCAN
mode and throughout the entire measurement process. A hand should remain at
the device the entire time as well.
!
Detecting wooden wall beams and joists as well as metal in drywall structures,
e.g. under gypsum fibreboard, wood panels or other non-metallic cladding.
– Select STUD-SCAN (button 4)
– Place the tool against the wall
– Press the calibration button (5) and wait until
calibration is completed: STUD-LED green
– Move the tool slowly across the surface.
Measuring in STUD-SCAN mode
If electric wires or metal or plastic pipes are located near or in contact with a
plaster fibreboard panel, they may be identified by the StarFinder as studs.
!
Special things to note with various materials
It may not be possible to detect wooden studs or joists through the following materials:
– Ceramic floor tiles
– Fitted carpeting with padded backing
– Wallpaper with metal fibres or metal foil
– Freshly painted, damp walls. These must have dried for at least one week.
Tip 1: The position between the two markings is the mid-point of the stud.
Tip 2: The position where you start is important: First place the tool in a position where
you know there is no stud. Otherwise an error will be indicated (STUD-LED lights red).
Troubleshooting: Move the tool to another position a few centimetres away and start
measuring again.
Tip 3: To avoid interference while scanning, keep your free hand and other objects at
least 15 cm away from the StarFinder.
Tip 4: The StarFinder will only find the outside edge of double studs and headers which
may be fitted around doors, windows and corners.
Tip 5: Ensure that you have really detected a stud. To do so, check on both sides whether
other studs are present at equal distances, usually at 30, 40 or 60 cm. Also check that it is
a stud by scanning at several places directly above and below the position of the first find.
Tip 6: Textured ceiling: The ceiling must be covered with protective cardboard.
Note: If an object is deep inside a wall, the device may not indicate it clearly.
Manual
calibration
GB
Manual calibration
Pressing the CAL button (5) manually calibrates the device. This
allows measurements to be restarted and objects to be isolated
more precisely.
Maximum sensitivity is achieved when the device is held in the air
while calibrating. This can be useful for AC-SCAN measurements.
 Loading...