Do you have a question about the LAVAZZA Colibri and is the answer not in the manual?
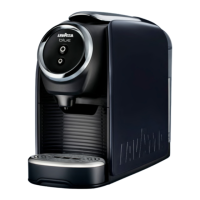
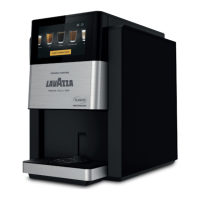
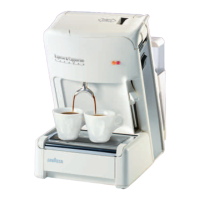
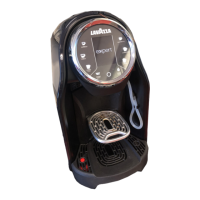
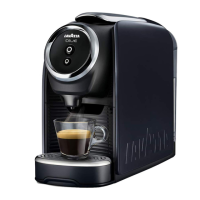
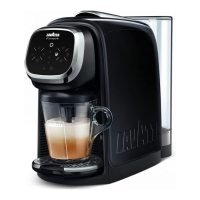
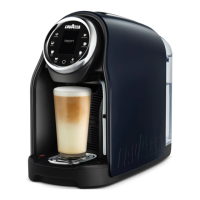
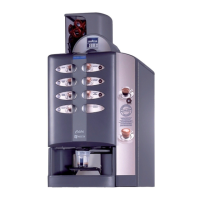
Introduction to the Lavazza Colibri machine, highlighting its ease of use and benefits.
Contact details for assistance and online troubleshooting resources for the Lavazza Colibri.
Important safety notice: Do not power up the machine before instructed to prevent boiler damage.
Diagram and components for connecting the machine to a mains water supply.
Diagram and components for connecting the machine to a water tank.
Details on water line parts, connections, and fitting placement for both supply types.
The Brita filter must be installed between the water source and the machine inlet.
Illustrates filter installation in a cabinet and placement options if no cabinet is present.
Step-by-step guide to flush the Brita filter using the discharge hose and button.
Instructions for connecting water lines and checking for leaks after turning on the supply.
Ensures the water circuit is complete, leak-free, and flushed before electrical power connection.
Ensure electricity is OFF and water supply is ON before starting the initial setup.
Guide to filling chocolate and milk canisters, with a warning against overfilling.
How to power up the machine, its diagnostic process, and expected LCD messages.
Insert and discard the first drink to prime, then wait for the machine to show 'Ready for use'.
Tasks include refilling products, cleaning the drip tray, and wiping the exterior.
Procedure for maintaining high reliability by cleaning key internal components weekly.
Clean mixing bowl assembly and parts with warm water and detergent; avoid dishwashers.
Use the rinse button to clean the mixing bowl, dispensing tubes, and brew unit filters.
Instructions for cleaning the drip tray (two sections) and waste container; avoid dishwashers.
Use service key to restore power, rinse, and wait for the 'Ready for use' display.
Troubleshoot 'out of order' messages by pressing buttons or checking support resources.
Steps to reset the machine when the 'Waste container full' message appears.
Check water supply, pump, and hoses for 'Water failure' messages or leaks.
Resolve weak taste and bad smells by checking product levels and cleaning components.
| Brand | LAVAZZA |
|---|---|
| Model | Colibri |
| Category | Coffee Maker |
| Language | English |