D
davidjonesAug 2, 2025
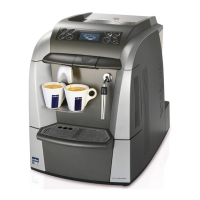
What to do if my LAVAZZA LB 2312 Coffee Maker brew unit isn't working?
- Ssteven52Aug 2, 2025
If the brew unit of your LAVAZZA Coffee Maker isn't working, make sure that the used capsule drawer is correctly inserted and the service door is properly closed. The brew unit is designed to operate only when these conditions are met.