Setup
Loose Parts
Use the chart below to verify that all parts have been shipped.
Step
Description
Qty.
Use
1
No parts required
–
Assemble the handle.
2
No parts required
–
Adjust the fuel tank.
3
No parts required
–
Install the fuel tank.
4
No parts required
–
Install the cover plate.
5
No parts required
–
Fill the crankcase with oil.
Note: Deter mine the left and right sides of the
mac hine from the nor mal operating position.
Step
1
Assembling the Handle
No Parts Required
Procedure
F olding or unf olding the handle impr oper l y
can pinch, str etch, or dama ge one or mor e
of the ca bles. An y pinched, str etched, or
dama ged ca ble may cause an operational
f ailur e that r esults in an unsafe operating
condition.
• Do not pinch, str etch, or dama ge the
ca bles.
• Handle the ca bles with car e when f olding
or unf olding the handle.
• Do not use the mo w er if one or mor e
of the ca bles ar e pinched, str etched, or
dama ged. Contact an Authoriz ed Ser vice
Dealer .
1. Lift the top handle half in an arc until the
handle sections nest tog ether and the holes
line up .
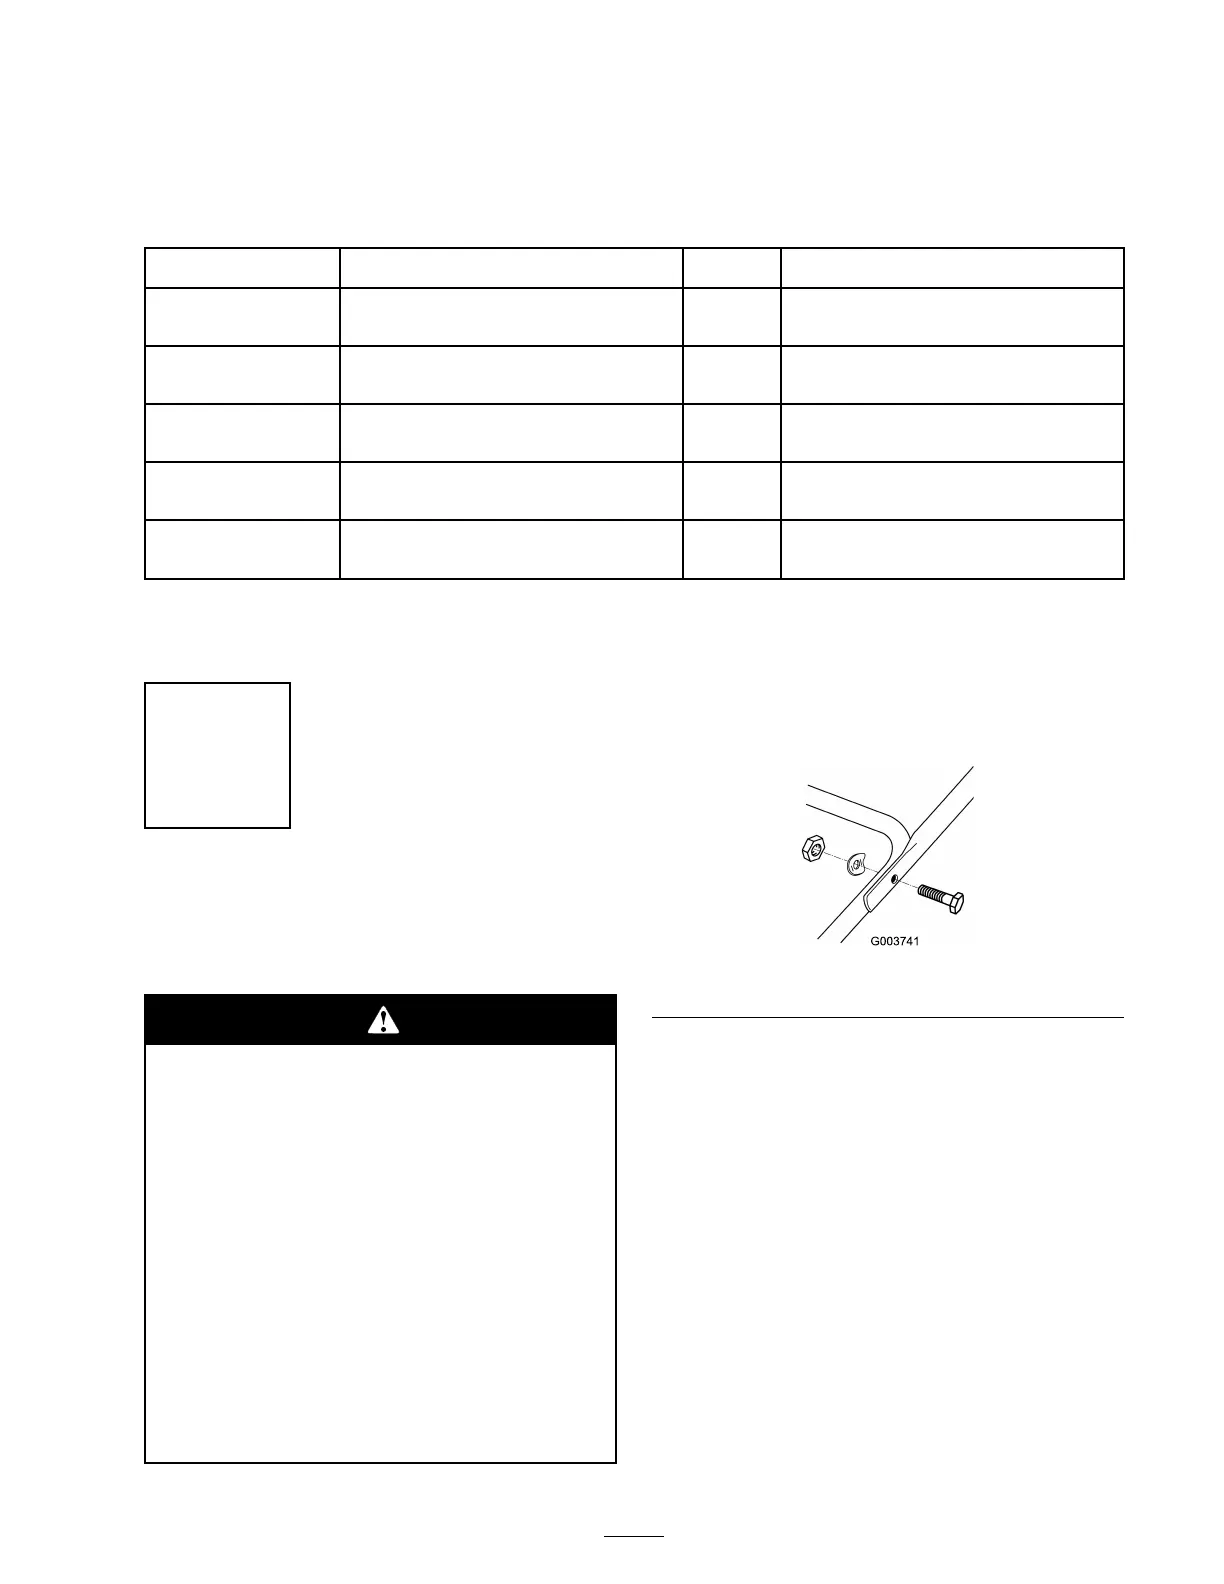
2. Using the hardw are sho wn ( Figure 3 ), secure
the handle halv es tog ether .
Figure 3
3. Squeeze the lo w er handle section tog ether and
place it o v er the pins on the handle brac k ets
( Figure 4 ) or ( Figure 5 ).
7
 Loading...