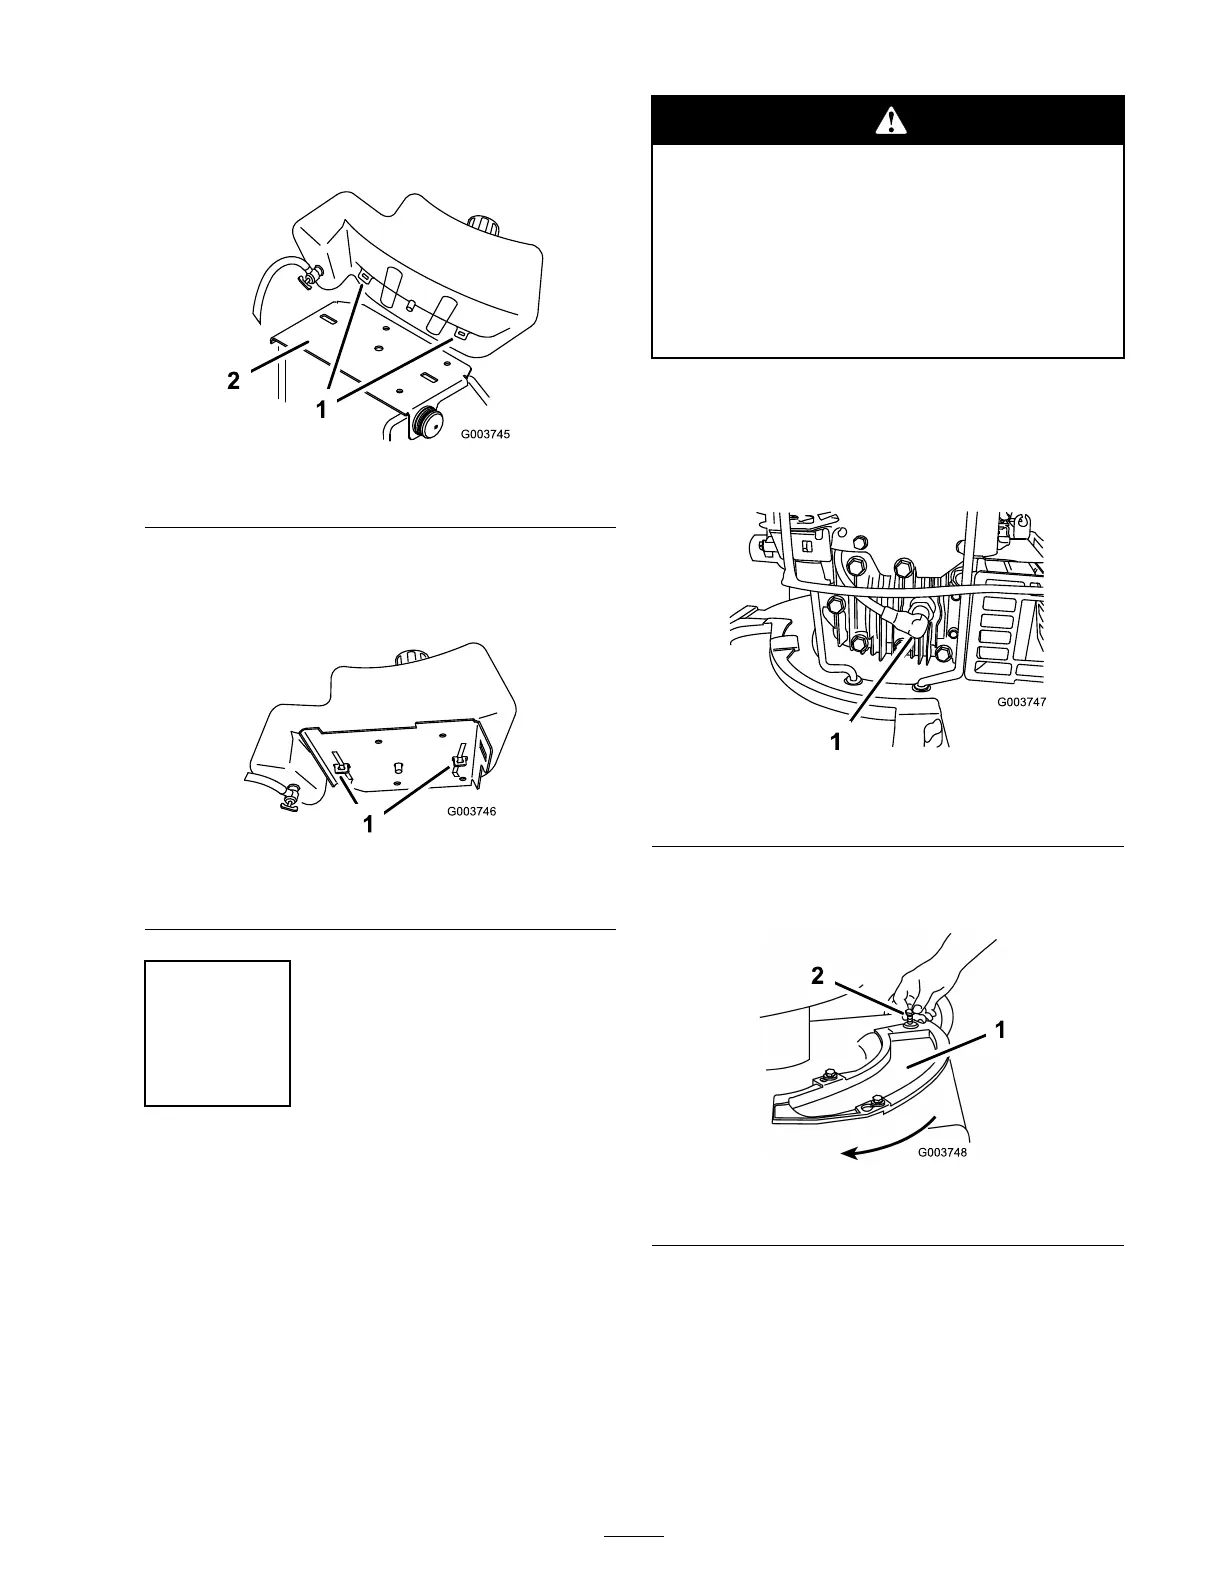
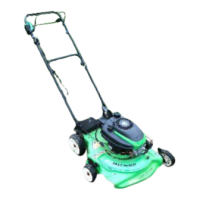
4. Place the fuel tank onto the mounting brac k et
with the tabs through the openings in the
mounting brac k et ( Figure 7 ).
Figure 7
1. Tabs 2. Mounting bracket
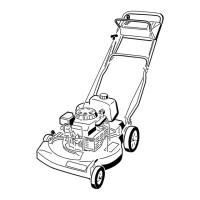
5. Slide the clips through the tabs of the tank
under the mounting brac k et until they snap
into the loc k ed position ( Figure 8 ).
Figure 8
1. Clips
Step
4
Installing the Cover Plate
No Parts Required
Procedure
Y our mo w er w as shipped with a co v er plate . F or
side-disc harg e operation, install the co v er late in
the mo w er housing opening .
An unco v er ed discharge opening could allo w
the mo w er to thr o w objects in the operator’ s
or bystander’ s dir ection and r esult in serious
injur y . Also, contact with the blade occur .
Nev er operate the mo w er unless y ou install
a co v er plate, a mulch plate, or a g rass chute
and catcher .
1. Stop the engine and w ait for all mo ving par ts
to stop .
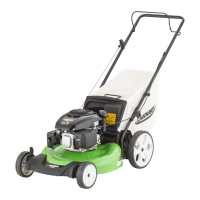
2. Disconnect the wire from the spark plug
( Figure 9 ).
Figure 9
1. Spark-plug wire
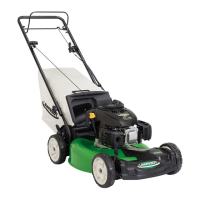
3. R emo v e the bolt that fastens the co v er plate to
the housing ( Figure 10 ).
Figure 10
1. Cover plate 2. Bolt
Note: Y ou do not need to loosen or remo v e
the tw o shoulder bolts on the housing that
protr ude through the slotted holes in the co v er
plate . T he co v er plate mo v es o v er the shoulder
bolt heads ( Figure 11 ).
9