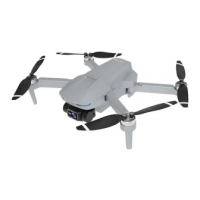
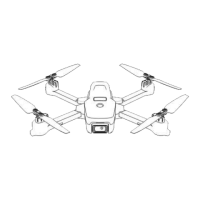
Figuer5
Figuer6
Figuer7
Figuer8Figuer9
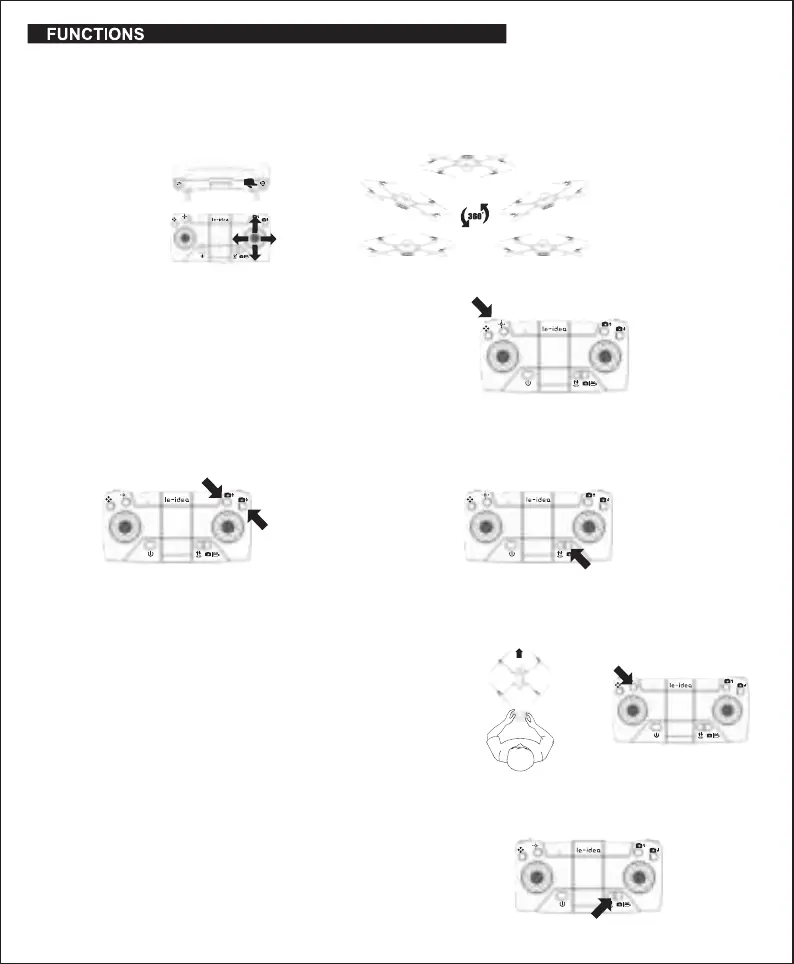
The fast and slow gears are divided into three gears forward, backward, and left and right.
After the remote control is powered on, the default is the slow gear. Press the remote
controller key (as shown in Figure 7) to make two sounds of “Di” and “Di”, it is the middle
gear. "Di", "Di" and "Di" press three times for fast gear, and one "Di" to return to slow gear.
(It is recommended for beginners to use slow gear operation)
Headless Mode allows you to fly your drone without knowing its orientation because
it will be fixed in the direction you set it.
During the flight, the camera can adjust the up and down direction,
press the rotation button on the remote control camera, and the
camera lens rotates up, and the down rotation operation is the same.
Short press the button, the mobile phone APP will make a clicking sound,
and the camera will take a picture and store it in the mobile phone album.
Press and hold for 3 seconds to start recording, press and hold again for 3
seconds to save the recording to the phone album, and stop recording.
Long Press the 360°Flip button to flip the drone. The remote control will Di twice, indicating the
drone is in Flip Mode.
Next, move the direction stick up or down, and the drone will flip up or down (Figuer. 5)
Move the direction stick to the right or left, and the drone will flip left or right (Figuer. 6)
Note:
● Only execute rolls when you have plenty of airspaces. The drone can only perform flips when it is at least 7 feet in the air.
● This function can not be used when the drone is in a low power state.
●
360°Flip
●
Speed modes
●Remote control to control camera recording
●
Headless mode
Definition of the direction before takeoff: Make the forward direction of the aircraft in
front of you (Figure 8)
(Note: the side with the camera is the front)
After the drone is calibrated, when the one-key take-off/landing button is pressed, the
drone will automatically start and rise to a certain height. When the drone is high in
the air, the drone will automatically descend when the one-button take-off/landing
button is pressed.
Press the Headless Mode button to enter Headless Mode before take-off (Figure 9).
The remote control will Di continuously and the drone lights will begin to flash to
indicate mode selection. Press the remote control again to make a "Di" sound to exit
the headless mode.
●
One key take-off/land
-4-
Notice:
This camera adjustment button needs to be pressed with a interval, if it is pressed
continuously, it will affect the acceptance of the aircraft signal, the aircraft may get stuck,
making it impossible to adjust the camera angle.
 Loading...