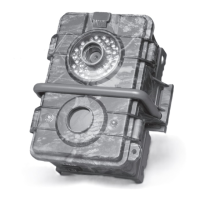
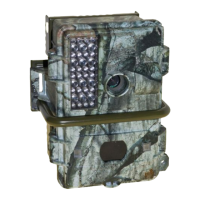
CAMERA MENUS
What do these camera settings mean?
12
“Exposure Value” or “EV” adjusts the automatic exposure.
If your pictures are consistently dark, change the setting in
the Plus direction. If they are consistently too bright, change
the setting in the Minus direction.
“White Balance” or “WB” compensates for the color of
different kinds of light such as fluorescent or indoor house
lighting. The default Daylight or Auto setting works for both
flash and day time outdoor shots.
“Still or Single Picture Mode” is the default setting. Still
mode can be set to Day, Night, or both Day and Night.
“Video Mode” sets the camera to record day time moving
video images at a resolution of 320 by 240 pixels. The
duration of video clips is set in the Motion Detector controls
using the “Pause” button. Set the digital camera controls to
“Video” using the camera menu. Turn off “Cam/Power”, set
the “Work” mode to “Day.”
IMPORTANT! Remember, after changing between “Still
Picture Mode” and “Video Mode,” or when changing
between picture viewing and picture taking modes, or when
changing the Trigger Time switch, set the main power
switch to “Off”, wait a few seconds, then “On” again, to
reboot and reset the unit to the new mode.
When the Trigger Time switch is set to Fast, the camera
reacts faster to moving animals and takes pictures without
needing to warm up first. Setting the switch to Battery Save
will increase battery life and provide adequate trigger time
for most situations. This camera uses a unique and superior
wide-angle motion detecting sensor; it detects animal move-
ments as soon as they step into the camera’s field of view.
Before you take your camera into the field, set all the menu
settings at home, make some outdoor test pictures, and
look at them to see if the settings do what you want.
TIP
It’s easier to take multiple CF cards back and forth to your
computer than to bring your Game Camera out of the field
and into your house.
TIP