MENUS give you access to a great many camera controls,
probably more than most people need to bother with, but
here are the details. You can change camera settings by
using the LCD on the IR-3BU or by connecting the “TV Out”
from the camera to a television.
In LIVE mode these are the menus:
1. Capture Mode a. Exit b. SINGLE [default in capitals]
c. Self Timer [press Shot for delayed shots]
d. Video [for 320x240 resolution video]
2. Color a. Exit b. AUTO
c. Exposure Value [+ to lighten, - to darken]
d. White Balance [DAYLIGHT, indoors]
e. Sharpness [NORMAL, Sharpen, Soften]
3. Resolution a. Exit b. High [4mp]
c. Medium [2.1mp] d. Standard [1.3mp]
4.Quality a. Exit b. High [less compression, larger file size]
c. NORMAL [more compression, smaller size]
5. Auto Power OFF a. Exit b. Set [3.00]
6. Date/Time a. Exit b. Set
7. TV out a. Exit b. NTSC [North American TV standard]
c. PAL [European TV standard]
8. AE Type a. 50 Hz [some other countries]
b. 60 Hz [North American]
9. Language a. ENGLISH b. Chinese
In Picture Viewing mode these are the menus:
1. Erase a. One Picture b. All Pictures
c. Format d. Protect
2. Auto Power Off a. Exit b. Set
3. Date/Time a. Exit b. Set
4. DPOF [used for DPOF printers] a. Exit b. Set
5. TV Out a. Exit b. NTSC [North American standard]
c. PAL [European standard] d. Screen
6. Rotation [rotates pictures on television screen]
a. 0 b. 90 c. 180 d. 270
7. USB a. MSDC [for use with most computers]
b. SIDC [for use with some computers]
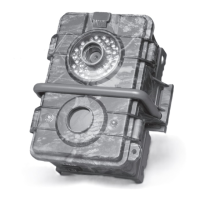
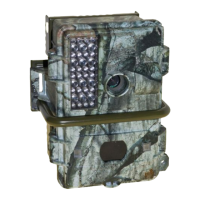
CAMERA MENUS
What about the other menu settings?
11
The default settings work best in most situations. The only
things you’ll usually need to change are the Date/Time,
Resolution, Quality, and Video/Single-Still modes.
TIP