7
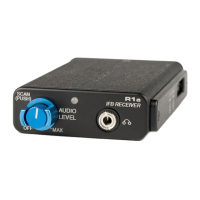
IFB Receiver
Rio Rancho, NM – USA
ERASE ALL 5 CHANNEL MEMORIES
1. With power OFF, depress the knob and turn the unit ON. Continue to hold the knob down until the LED starts
rapidly blinking. The memory is now erased and the unit will go into scan/search mode.
2. Continue from step 3 above PROGRAMMING - ADD NEW FREQUENCY….
MULTIPLE TRANSMITTER SETUP
When using this IFB receiver in a search mode, with two or more transmitters running at the same time, the receiver
may stop on a false signal under the following conditions:
• Two transmitters are on and transmitting.
• The distance from the transmitters to the IFB receiver is less than 5 feet.
The false hits are caused by intermodulation or mixing in the front end of the IFB receiver. At a 5 to 10 foot distance,
the two carriers are so strong at the receiver, that even this well designed front end will mix the carriers and produce
phantom frequencies. The IFB receiver then halts its scan and stops on these false frequencies. All receivers will
exhibit this type problem at some transmitter power level and range. You notice false signals more with a scanning
mode receiver since it will find them all.
Prevention is simple. Do one of the following:
• Do the scan with only one transmitter on at a time. (Time consuming)
• Increase the receiver to transmitter distance to at least 10 feet. (Preferred)
BATTERY INSTRUCTIONS
The battery you use in the R1a receiver should be a 9 Volt alkaline or lithium, available almost everywhere. An alkaline
battery will provide up to 8 hours of operation and a lithium battery will provide up to 20 hours of operation. Carbon zinc
batteries, even if marked “heavy duty” will only provide about 2 hours of operation. Rechargeable batteries will only
operate the receiver for an hour or less. Make sure your batteries are marked “alkaline” or “lithium.” Short battery
life is almost always caused by weak batteries or batteries of the wrong type.
A green LED corresponds to a fresh battery. The LED will change to yellow for low battery warning then to red to
indicate the need for a fresh battery. Continued use will further deplete the battery eventually causing the LED to
automatically turn itself off and remain off until a fresh battery is installed.
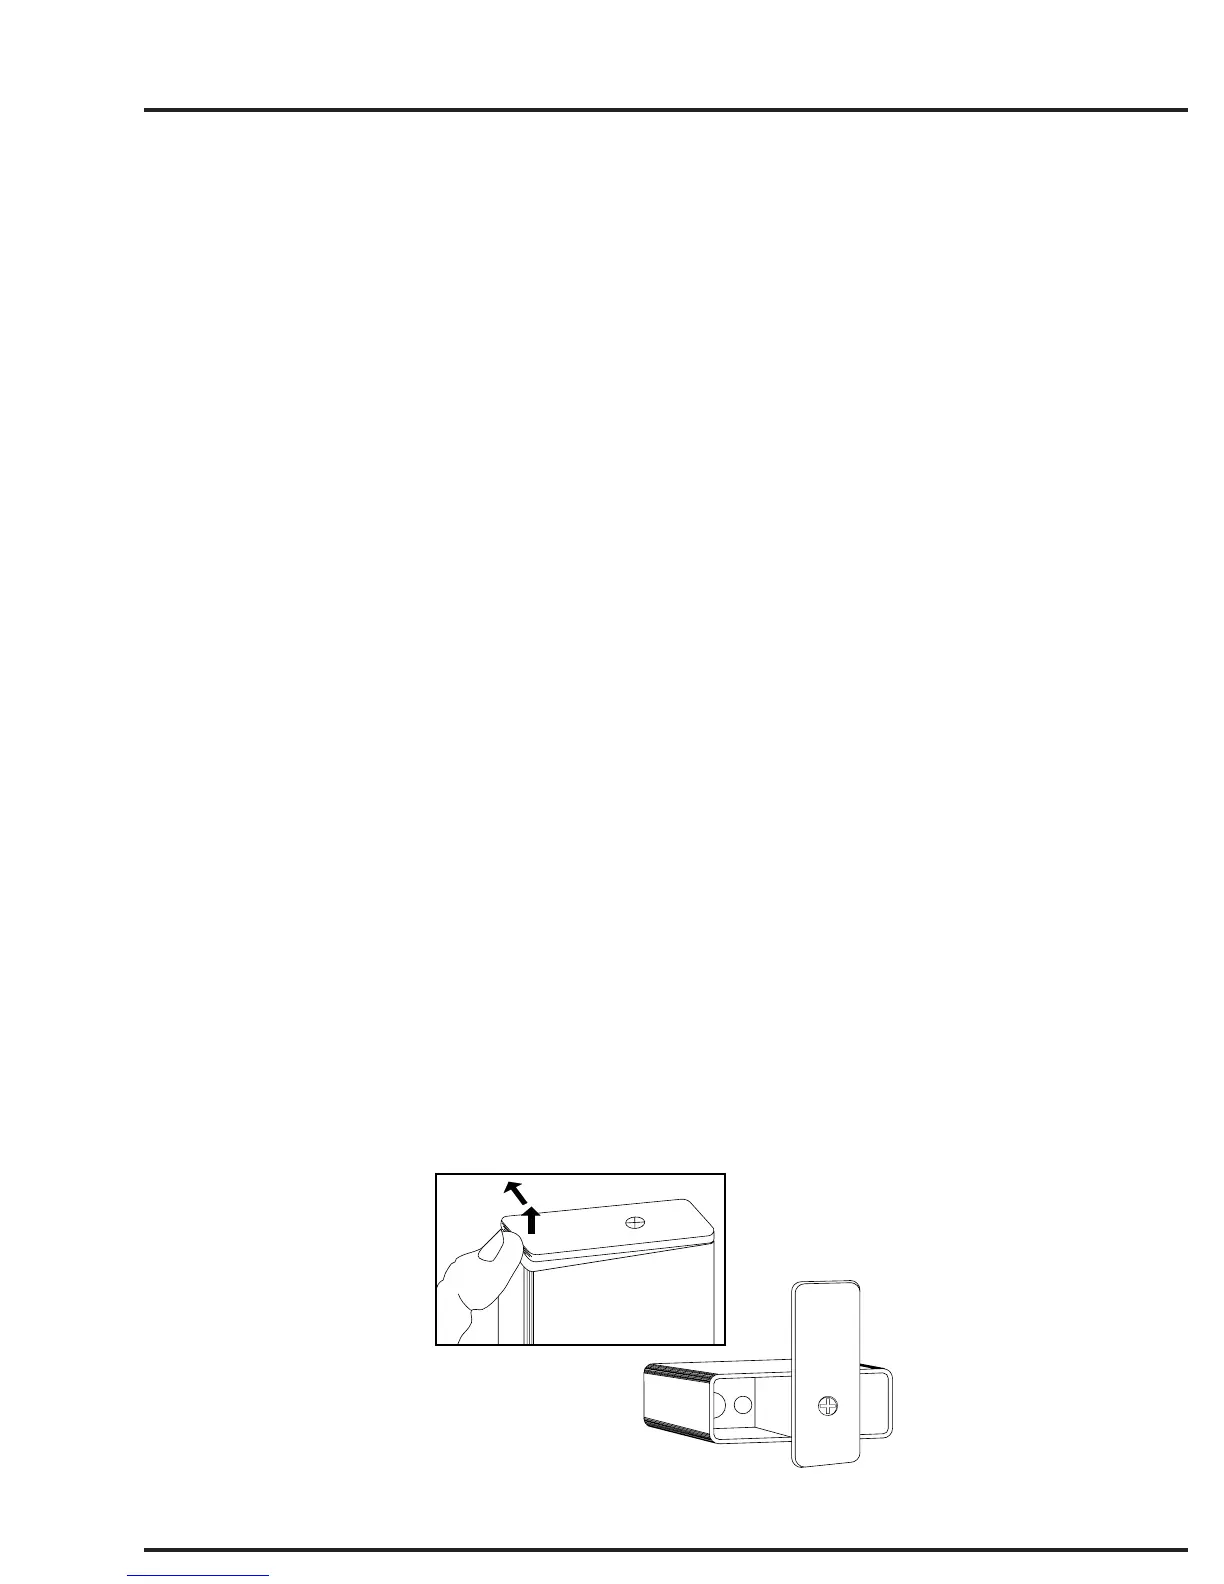
To replace the battery, open the bottom battery door cover with your thumb, rotate the door until it is perpendicular with
the case and allow the battery to fall out of the compartment into your hand. It is difficult to install the battery back-
wards. Observe the large and small holes in the battery contact pad before inserting a new battery. Insert the contact
end of the battery first, making sure the contacts are aligned with the holes in the contact pad, and then swing the door
closed. You will feel it snap into place when it is fully closed.
To open the battery
compartment door, push the
door up and away from the case
with your thumb, then swing
open.
1
2
Figure 5 - Battery Replacement