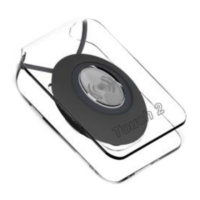
Fitting a Wearing Option
The pendant can be worn around the neck, on the wrist or
clipped to a belt, just fit the desired wearing option as
described below.
⚫
Neck Cord: lie the cord through one of the grooves on
the rear on the Pendant then slide the neck cord
attachment into place. Note: smaller cord end of
attachment marked above.
⚫
Wrist Strap: feed the wrist strap (pattern side up)
through the 2 slots in the wrist strap attachment. Note:
locate the attachment pip in the centre strap hole marked
above. Push the fixing stud through the hole marked
at the end of the strap.
⚫
Belt Clip: simply clip into place on the rear of the
pendant. Note: the suction cup can be fitted to the belt
clip to stick the pendant to a tiled wall.
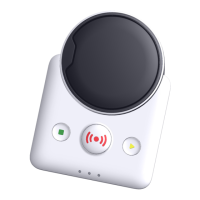
Telecare Radio ID
The pendant includes a radio transceiver to communicate
with the Reach IP, Advent XT2 or Carer Response.
The Radio ID is a 10-digit code printed on the label on the
back of the pendant.
Registering the Pendant onto a Reach IP
Login to Pulse CMP (www.tynetecpulse.com) and enter the
Reach IP Serial No. in the ALARM UNIT view. Press the
Accessories button and enter the Radio ID code, Location
and Equipment type. Press Save then Synchronize.
IMPORTANT: when the pendant is delivered to the
customer a test call must be made to check operation and
start the digital heartbeat.
Alternatively, with the Reach IP in normal operating mode
undo the fixing screw and remove the stand or connector
cover to access the ⚫ Power button.
Press the ⚫ Power button to enter Control Mode,
then press and hold the button until the unit announces
“add radio device” then release.
Press the ⚫ button to confirm then press the pendant.
The Reach IP unit will sound a high beep if it’s a new device
and announce “range test mode”.
Press ⚫ to confirm, or press to step to the next function,
or press to exit the mode.
Press the pendant to check operation.
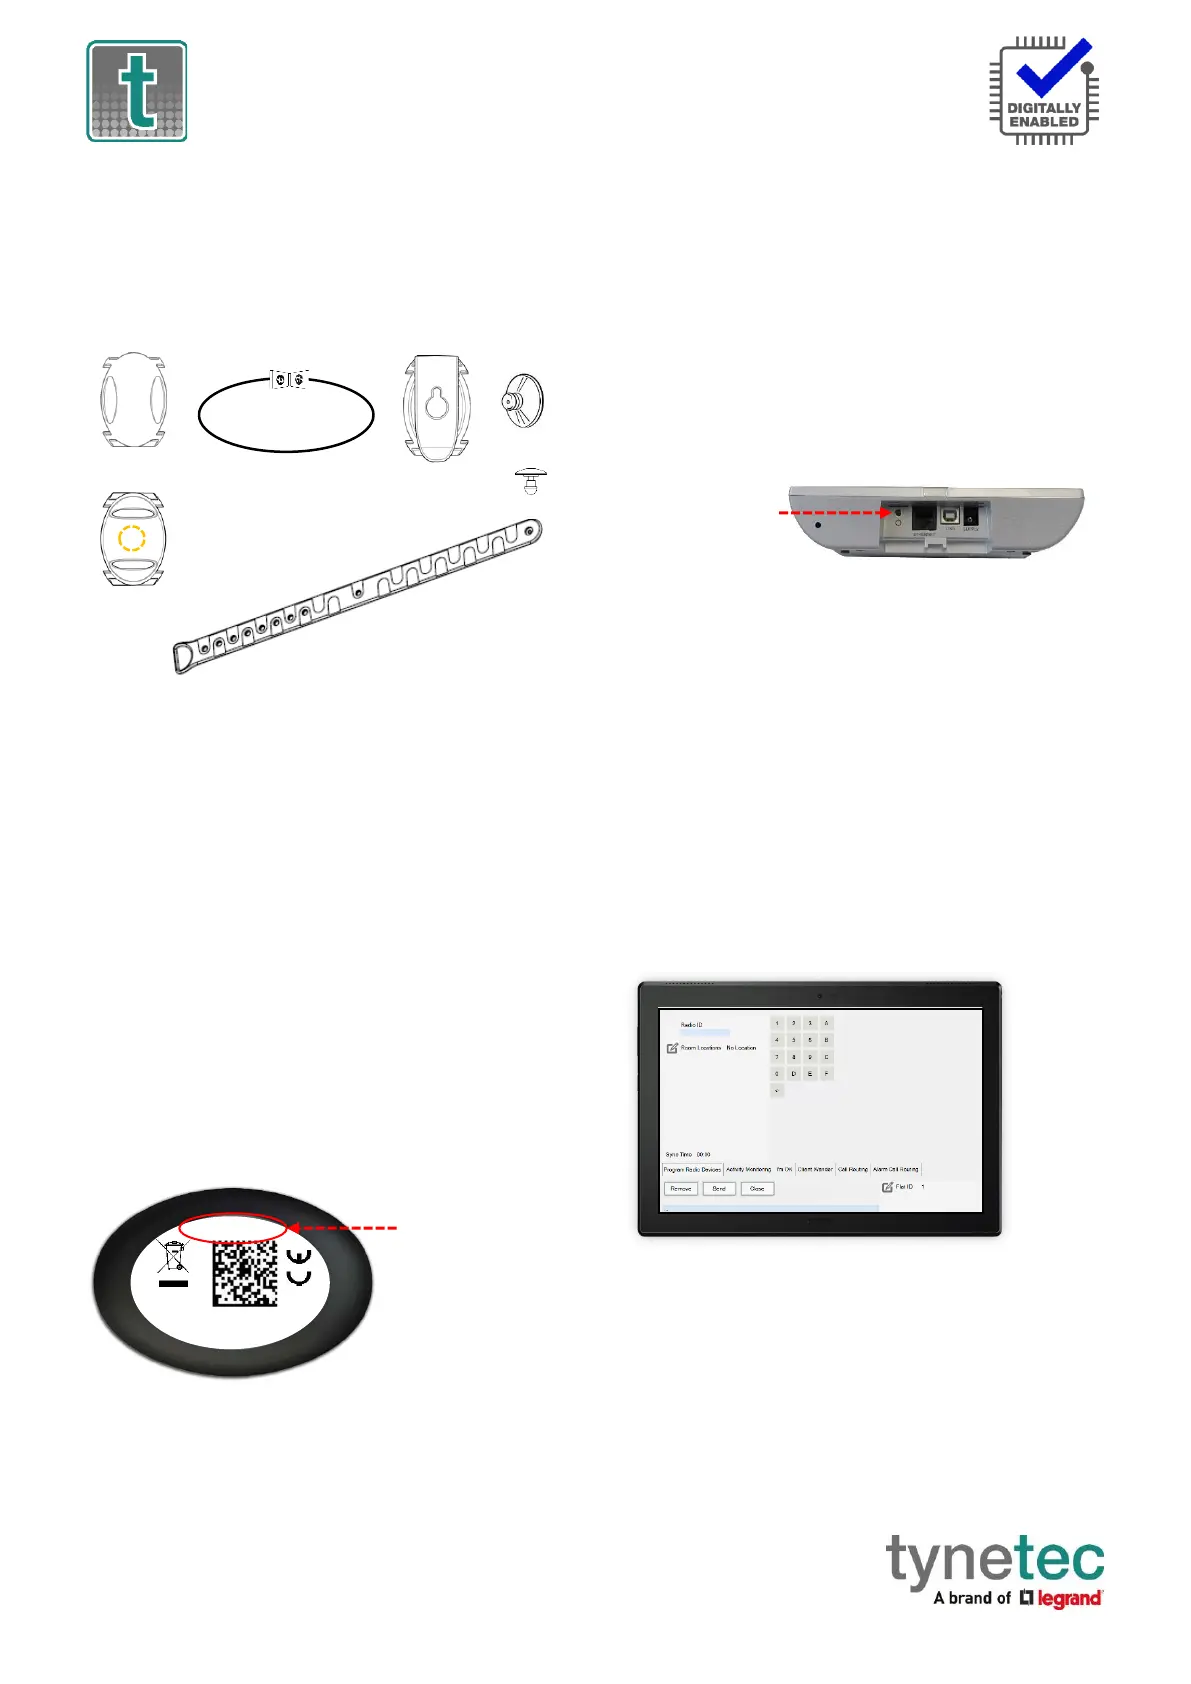
Registering the Pendant onto an Advent XT2
Press the Settings button on the Home page of the
Manager’s Panel. Press the Manager (or Engineer) button,
enter the password and press the Programming button.
Select the Program Radio Devices option from the tabs
along the bottom of the screen.
Press Flat ID and enter the flat number of the resident the
pendant is being issued to. Enter 4-digits e.g. 0014.
Press Radio ID and enter the 10-digit code taken from the
label on the back of the pendant.
Press Room Locations and select select “no location” as
the pendant is a portable device.
Press the Send button to update the XT2 system.
Press the pendant to check operation.
 Loading...