Setting the menu functions / 121
3. To set the relevant function, first press the
SET
button – or press it again in the image parameters
menu.
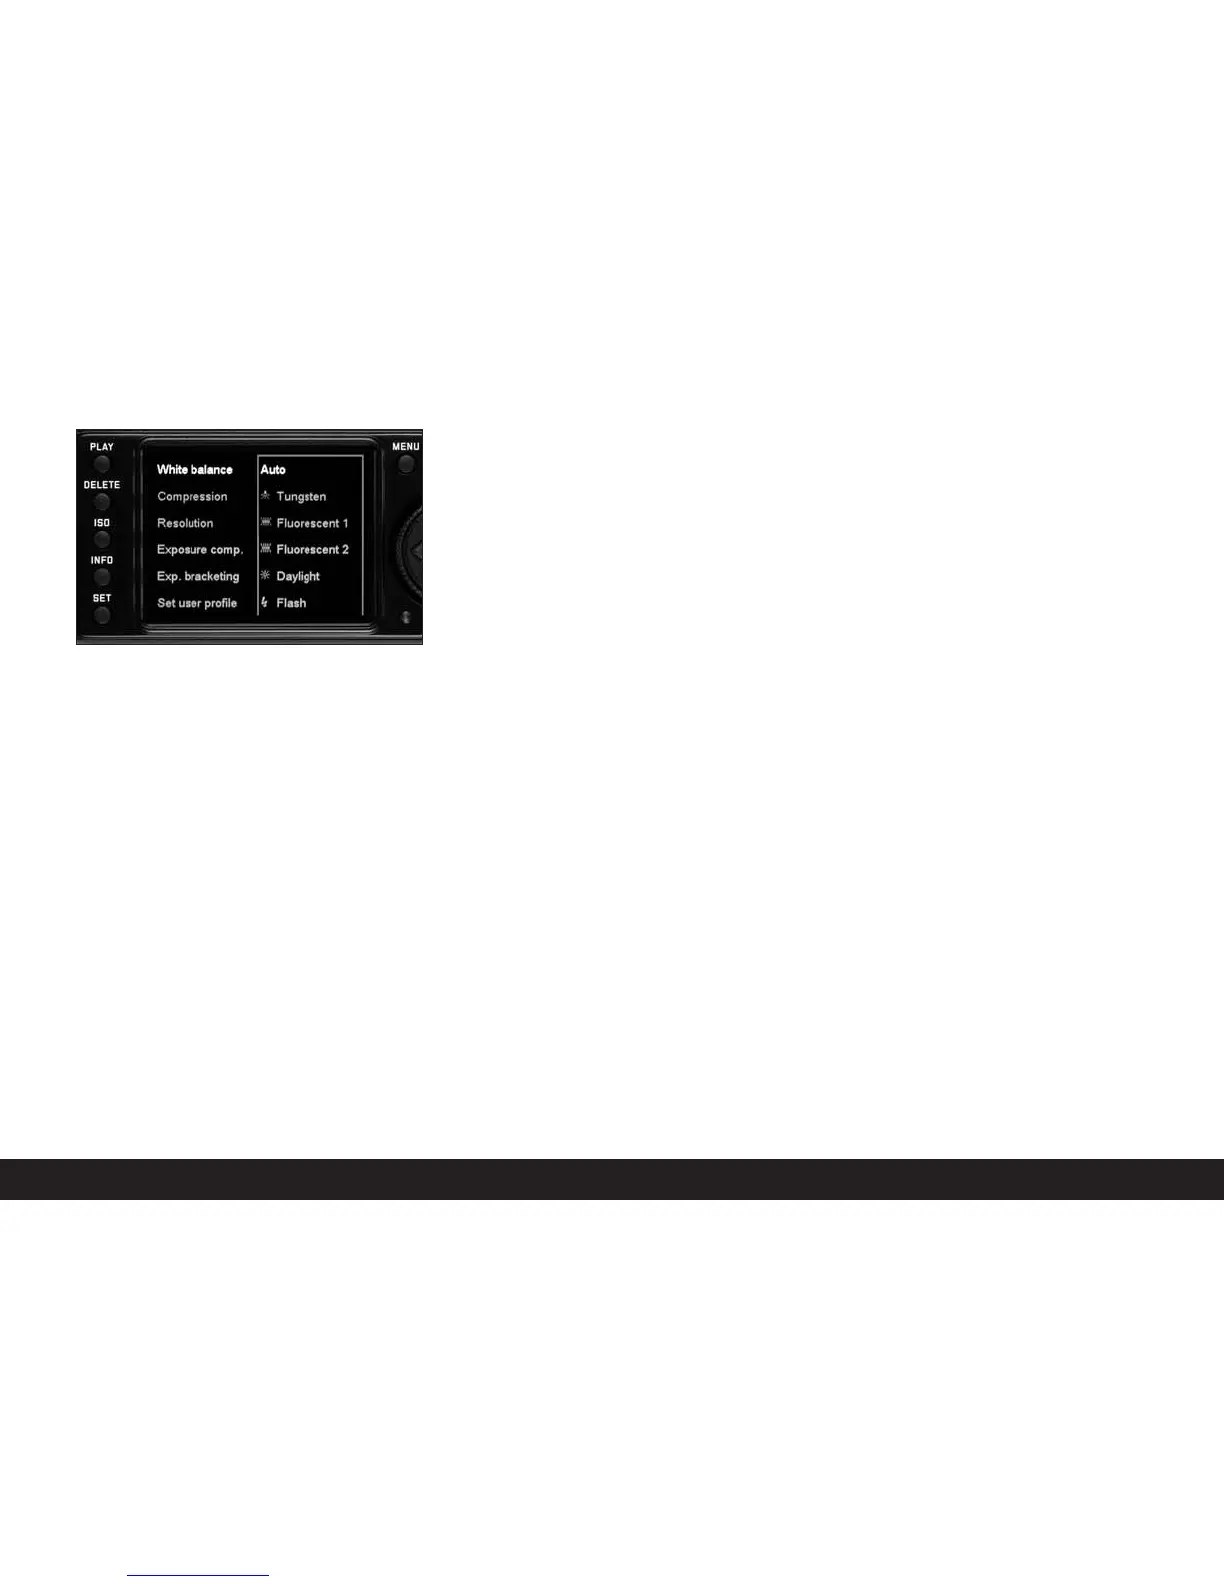
• The associated multi-line sub-menu, indicated by
a red border, appears to the right of the menu
item. The item selected at any time is highlighted
for identification.
4. You can then select the desired function option
either by turning the setting dial or by pressing the
up/down direction button.
5. Save your setting by pressing the
SET
button again.
• The function variation set is then shown to the
right of the menu line.
6. Exit the main menu by pressing the
MENU
button
again; exit the image parameters menu by
a. Pressing the shutter release button (1.19 – if you
want to switch to picture mode), or
b. Pressing the
PLAY
button (1.26 – to switch to
review mode).
Notes:
• In the main menu, you can exit a sub-menu at any
time without applying any settings you have made
by pressing the
MENU
button.
• By pressing the shutter release button (1.19) you
can exit either menu at any time and switch directly
to picture mode; by pressing the
PLAY
button (1.26)
you can switch to review mode (see also “Selecting
picture and review modes”, p. 113).
Menu items such as Date (4.1.22) and Time (4.1.23),
and the White balance function (4.2.1) require further
settings. The corresponding explanations along with
further details about the other menu functions, can be
found in the relevant sections.


 To Next Page