Do you have a question about the Lennox COMFORT and is the answer not in the manual?
Guidelines for proper remote controller use to avoid damage or malfunction.
Sequence of steps for installing the air conditioner system components.
Requirements for indoor unit placement, focusing on space, ceiling, airflow, and access.
Guidelines for outdoor unit installation, considering wind, noise, ventilation, and sunlight.
Specifies location criteria for the indoor unit, including room size, ceiling, ventilation, and pipe access.
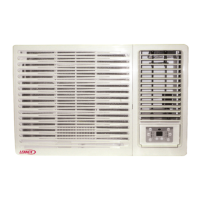
Detailed instructions for installing the main body of the Model 12-18 indoor unit.
Steps for removing the inlet grid and installing the unit's front panel securely.
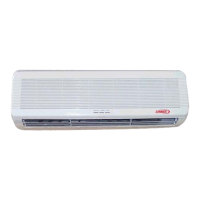
Instructions for installing the main body of indoor units for models 18-24, 30-36-48.
Steps for removing installation covers and attaching the unit's panel for specific models.
Specifies minimum clearances around the outdoor unit for installation and maintenance.
Guidelines for safely moving and securing the outdoor unit to prevent damage or accidents.
Detailed steps for measuring, bending, and connecting refrigerant pipes between units.
Precautions and best practices for bending refrigerant pipes to avoid damage.
Steps to use a vacuum pump and manifold valve to remove air from the refrigerant lines.
Method for detecting refrigerant leaks using a leak detector or soap water.
Guidelines for adding refrigerant based on connecting pipe length.
Instructions for connecting and routing the indoor unit's drainpipe, including slope and support.
Procedure to test the drainpipe for blockages and leaks by pouring water.
Details on fitting and securing the drain elbow for condensate discharge during heating.
Steps for connecting the duct to the flange and wrapping the joint to prevent air leakage.
Details power specifications, wire gauges, and circuit breaker ratings for various models.
Wiring diagrams illustrating connections between indoor and outdoor units.
Checklist of critical points to verify before starting the unit's test operation.
Steps to perform the test operation using the remote controller and check unit functions.
| Brand | Lennox |
|---|---|
| Model | COMFORT |
| Category | Air Conditioner |
| Language | English |