06/11 506728−01
*2P0611* *P506728-01*
Page 1
2011 Lennox Industries Inc.
Dallas, Texas, USA
These instructions are intended as a
general guide and do not supersede
local codes in any way. Consult
authorities having jurisdiction before
installation.
RETAIN THESE INSTRUCTIONS
FOR FUTURE REFERENCE
NOTICE TO INSTALLER
BRAZING LINE SET TO SERVICE VALVES
It is imperative to follow the brazing technique illustrated starting on
page 12 to avoid damaging the service valve’s internal seals.
WARNING
Improper installation, adjustment, alteration, service or
maintenance can cause personal injury, loss of life, or
damage to property.
Installation and service must be performed by a licensed
professional installer (or equivalent) or a service agency.
IMPORTANT
The Clean Air Act of 1990 bans the intentional venting of
refrigerant (CFCs, HFCs, and HCFCs) as of July 1,
1992. Approved methods of recovery, recycling or
reclaiming must be followed. Fines and/or incarceration
may be levied for noncompliance.
IMPORTANT
This unit must be matched with an indoor coil as
specified in Lennox’ Engineering Handbook. Coils
previously charged with HCFC−22 must be flushed.
CAUTION
Physical contact with metal edges and corners while
applying excessive force or rapid motion can result in
personal injury. Be aware of, and use caution when
working near these areas during installation or while
servicing this equipment.
INSTALLATION
INSTRUCTIONS
Elite
®
Series XP13 Units
HEAT PUMPS
506728−01
06/11
Supersedes 04/11
Litho U.S.A.
TABLE OF CONTENTS
Shipping and Packing List 1. . . . . . . . . . . . . . . . . . . . . .
General 1. . . . . . . . . . . . . . . . . . . . . . . . . . . . . . . . . . . . . .
Model Number Identification 2. . . . . . . . . . . . . . . . . . . .
Unit Dimensions 2. . . . . . . . . . . . . . . . . . . . . . . . . . . . . . .
Unit Parts Arrangement 3. . . . . . . . . . . . . . . . . . . . . . . .
Caps and Fasteners Torque Requirements 4. . . . . . . .
Operating Gauge Set and Service Valves 4. . . . . . . . .
Recovering Refrigerant from Existing System 6. . . . .
New Outdoor Unit Placement 7. . . . . . . . . . . . . . . . . . .
Removing and Installing Panels 9. . . . . . . . . . . . . . . . .
Line Set Requirements 10. . . . . . . . . . . . . . . . . . . . . . . . .
Brazing Connections 12. . . . . . . . . . . . . . . . . . . . . . . . . . .
Indoor Refrigerant Metering Device Removal and
Flushing Line Set and Indoor Coil 15. . . . . . . . . . . . . . . .
Installing New Indoor Metering Device 16. . . . . . . . . . . .
Leak Test Line Set and Indoor Coil 17. . . . . . . . . . . . . . .
Evacuating Line Set and Indoor Coil 18. . . . . . . . . . . . .
Electrical Connections 19. . . . . . . . . . . . . . . . . . . . . . . . .
Unit Start−Up 21. . . . . . . . . . . . . . . . . . . . . . . . . . . . . . . . . .
Servicing and Weighing In Refrigerant for Units
Delivered Void of Charge 22. . . . . . . . . . . . . . . . . . . . . . .
Optimizing System Refrigerant Charge 24. . . . . . . . . . .
System Operation 28. . . . . . . . . . . . . . . . . . . . . . . . . . . . .
Defrost System 28. . . . . . . . . . . . . . . . . . . . . . . . . . . . . . .
Maintenance (Dealer and Homeowner) 30. . . . . . . . . . .
Start−up and Performance Checklist 32. . . . . . . . . . . . . .
Shipping and Packing List
Check the unit for shipping damage and listed times below
are intact. If damaged, or if parts are missing, immediately
contact the last shipping carrier.
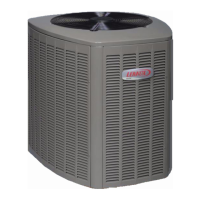
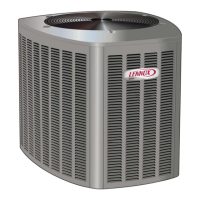
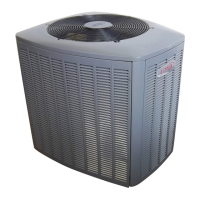
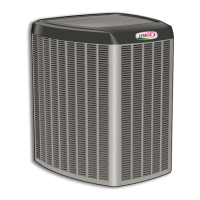
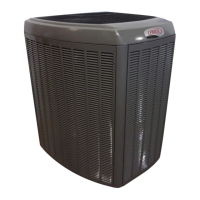
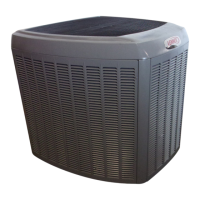
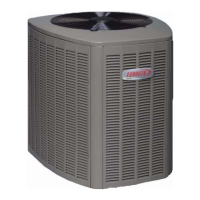
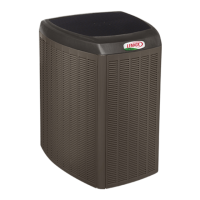
1 Assembled XP13 outdoor unit
General
The XP13 outdoor unit uses HFC−410A refrigerant. This
unit must be installed with a matching indoor blower coil
and line set as outlined in the XP13 Engineering
Handbook. These outdoor units are designed for use in
check / expansion valve (CTXV) systems only and are not
to be used with other refrigerant flow control devices. An
indoor coil check / expansion valve approved for use with
HFC−410A must be ordered separately and installed prior
to operating the unit.