Page 14
Refrigerant Line Limitations
You may install the unit in applications that have line set
lengths of up to 50 linear feet (15 m) with refrigerant line
sizes as outlined in table 1 (excluding equivalent length of
ttings). Size refrigerant lines greater than 50 linear feet
(15m or greater) according to the Lennox Refrigerant Pip-
ing Design and Fabrication Guidelines (Corp. 9351-L9) or
latest version.
B-Service Valves
OPERATING SERVICE VALVES
The liquid and suction line service valves are typically
used for removing refrigerant, ushing, leak testing, evac-
uating, checking charge and charging.
IMPORTANT
Only use Allen wrenches of sufcient hardness (50Rc
- Rockwell Harness Scale minimum). Fully insert the
wrench into the valve stem recess.
Service valve stems are factory-torqued (from 9 ft-lbs
for small valves, to 25 ft-lbs for large valves) to prevent
refrigerant loss during shipping and handling. Using an
Allen wrench rated at less than 50Rc risks rounding
or breaking off the wrench, or stripping the valve stem
recess.
Each valve is equipped with a service port which has a
factory-installed valve stem.
1
2
3
4
5
7
8
9
10
11
12
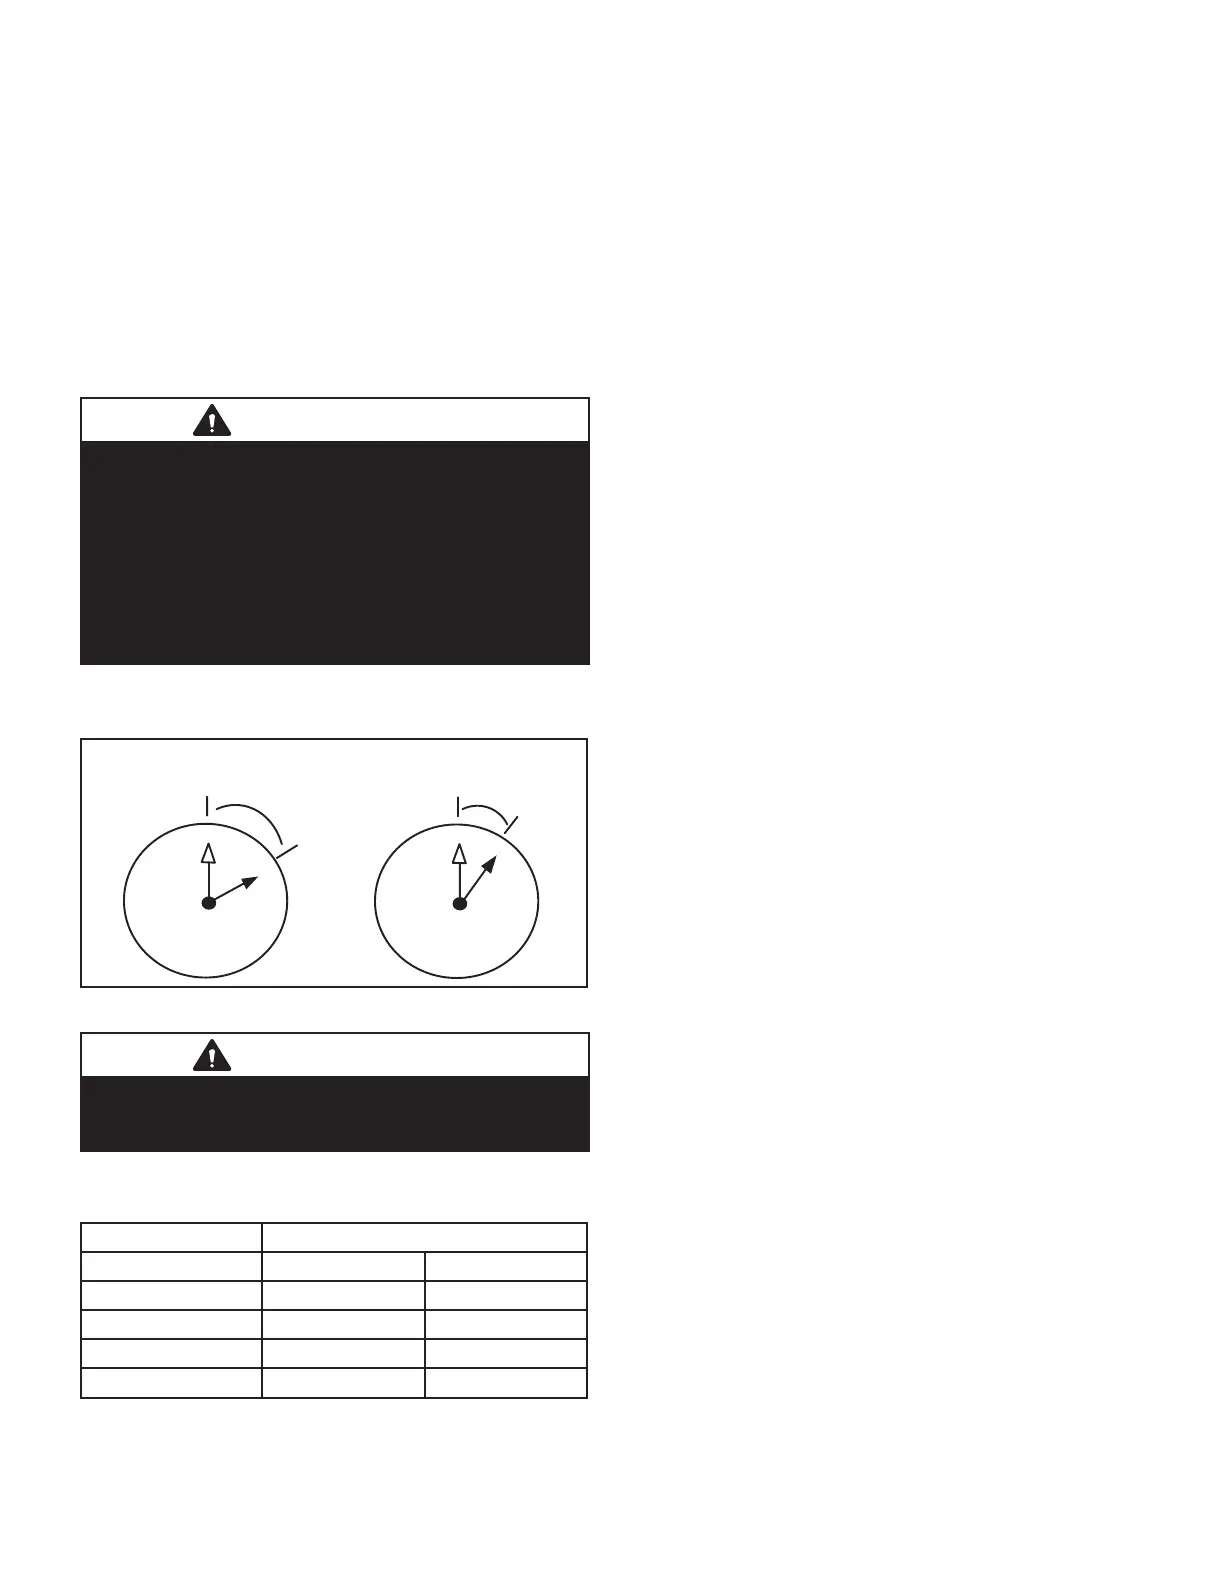
1/6 TURN
1
2
3
4
5
7
8
9
10
11
12
1/12 TURN
FIGURE 3
IMPORTANT
To prevent stripping of the various caps used, the
appropriately sized wrench should be used and tted
snugly over the cap before tightening.
TABLE 2
Torque Requirements
Part Recommended Torque
Service valve cap 8 ft.-lb. 11 NM
Sheet metal screws 16 in.-lb. 2 NM
Machine screws #10 28 in.-lb. 3 NM
Compressor bolts 90 in.-lb. 10 NM
Gauge port seal cap 8 ft.-lb. 11 NM
To Access Angle-Type Service Port:
A service port cap protects the service port core from con-
tamination and serves as the primary leak seal.
1 - Remove service port cap with an appropriately
sized wrench.
2 - Connect gauge to the service port.
3 - When testing is completed, replace service port cap
and tighten as follows:
• With Torque Wrench: Finger tighten and then tight-
en per table 2.
• Without Torque Wrench: Finger tighten and use an
appropriately sized wrench to turn an additional 1/6
turn clockwise as illustrated in gure 2.
To Open Liquid Line Service Valve:
1 - Remove stem cap with an adjustable wrench.
2 - Using service wrench and 5/16" hex head extension
if needed (part #49A71) back the stem out
counterclockwise until the valve stem just touches
the retaining ring.
3 - Replace stem cap. Tighten nger tight, then tighten
an additional 1/6 turn. Do not over torque.
To Close Liquid Line Service Valve:
1 - Remove stem cap with an adjustable wrench.
2 - Using service wrench and 5/16" hex head extension
if needed (part #49A71), turn stem clockwise to seat
the valve. Tighten rmly.
3 - Replace stem cap. Tighten nger tight, then tighten
an additional 1/6 turn. Do not over torque.
Service (Ball) Valve
Some ELS units are equipped with a full service ball valve,
as shown in gure 4. One service port that contains a
valve core is present in this valve. A cap is also provided
to seal off the service port. The valve is not rebuildable so
it must always be replaced if failure has occurred.
Opening the Suction Line Service Valve
1 - Remove the stem cap with an adjustable wrench.
2 - Using a service wrench, turn the stem
counterclockwise for 1/4 of a turn.
3 - Replace the stem cap and tighten it rmly.
Closing the Suction Line Service Valve
1 - Remove the stem cap with an adjustable wrench.
2 - Using a service wrench, turn the stem clockwise for
1/4 of a turn.
3 - Replace the stem cap and tighten rmly.
 Loading...