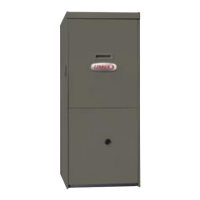
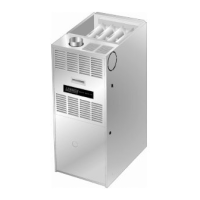
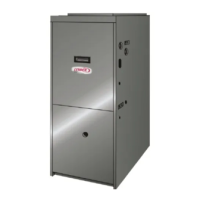
Thank you for purchasing
this
water heater. Properly
installed
and
maintained,
it
will provide years of trouble free
service.
The warranty
on
this water heater
is
in
effect only when the
water heater
is
installed
and
operated
in
accordance with
these instructions. The manufacturer of this water heater
will not
be
liable for any injury or property damage resulting
from failure
to
comply with these instructions.
Relief
Valve
Requirements
Caution:
To
reduce the risk of excessive pressures
and
temperatures
in
this water heater, install temperature
and
pressure protective equipment required
by
local codes. It
should
be
no
less than a combination temperature
and
pressure relief valve certified
by
a nationally recognized
testing laboratory that maintains periodic inspection
of
pro-
duction of listed equipment or materials,
as
meeting the lat-
est edition of "Relief Valves
for
Hot Water
Supply
Systems",
CSA 4.4
in
Canada, "Relief Valves and
Automatic Gas
Shutoff
Devices
for
Hot Water
Supply
Systems", ANSI Z21.22
in
the U.S.A. This valve must
be
marked with a maximum set pressure not to exceed the
marked MAXIMUM working pressure of the water heater
(150
psi).
Install the valve into
an
opening provided
and
marked for this purpose
in
the water heater,
and
orient
it
or
provide tubing
so
that
any
discharge from the valve will exit
only within 150mm
(6
in.) above, or at
any
distance below
the structural floor
and
cannot contact any live electrical
part. The discharge opening must not
be
blocked or
reduced
in
size under any circumstances. The
end
of the
relief pipe opening should terminate near a floor drain or
other suitable location not subject to blocking or freezing.
DO
NOT
thread, plug or
cap
the relief pipe opening.
---,--,
Plumbing
1.
The cold water inlet
is
identified at the top of the heater
(unless bottom entry). The hot water connection
is
also
identified at the top of the heater. Install a shut-off valve
in
the cold line approximately 1m
(3
ft.) from the inlet to
the heater where it
is
in
convenient reach. This valve
is
for emergency shut-off
and
MUST
be
kept open during
the operation of the heater.
2.
The water connection fittings contain a plastic lining to
minimize corrosion
and
some models include plastic
heat traps.
Do
not apply heat to these nipples when mak-
ing
solder connections. Sweat a piece of tubing to
adapter before fitting adapter to nipple.
3.
After installing the water piping, cover with the pipe insu-
lation (if supplied with this heater). Use the insulation to
cover
61
Omm
(2
ft.) of hot
and
cold piping nearest to the
heater.
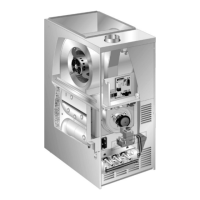
4.
A combination Temperature
and
Pressure relief valve
MUST
be
installed.
In
some cases
it
is
necessary that a
Tee
be
fitted
in
the top of the heater that allows the tem-
perature probe to reach into the top of the
tank
(see
Figure 4).
No
shut-off valve of any
kind
is
permitted
between the tank
and
the relief valve. The relief valve
discharge line must
be
piped to a drain or fixture,
and
must terminate a maximum of 300mm
(12
in.) (Canada)
or 150mm
(6
in.) (U.S.A.) from the floor.
-4-
 Loading...