10.Holdthenewopticaldriveandpivotthedrivebayassemblyupward.Alignthescrewholesinthenew
opticaldrivewiththecorrespondingholesinthedrivebay.Then,installthetwoscrewstosecure
thenewopticaldriveinplace.
Figure36.Installingthescrewsthatsecurethenewopticaldrive
11.Connectoneendofthesignalcabletotherearofthenewopticaldriveandtheotherendtoanavailable
SATAconnectoronthesystemboard.See“Locatingpartsonthesystemboard”onpage12.Then,
locateanavailablefour-wirepowerconnectorandconnectittotherearofthenewopticaldrive.
Whattodonext:
•Toworkwithanotherpieceofhardware,gototheappropriatesection.
•Tocompletetheinstallationorreplacement,goto“Completingthepartsreplacement”onpage84.
Replacingtheslimcardreader
Attention:
Donotopenyourcomputerorattemptanyrepairbeforereadingandunderstandingthe“Importantsafetyinformation”
onpagev.
Thissectionprovidesinstructionsonhowtoreplacetheslimcardreader.
Note:Theslimcardreaderisonlyavailableinsomemodels.
Toreplacetheslimcardreader,dothefollowing:
1.Removeallmediafromthedrivesandturnoffallattacheddevicesandthecomputer.Then,disconnect
allpowercordsfromelectricaloutletsanddisconnectallcablesthatareconnectedtothecomputer.
2.Removethecomputercover.See“Removingthecomputercover”onpage40.
3.Removethefrontbezel.See“Removingandreinstallingthefrontbezel”onpage40.
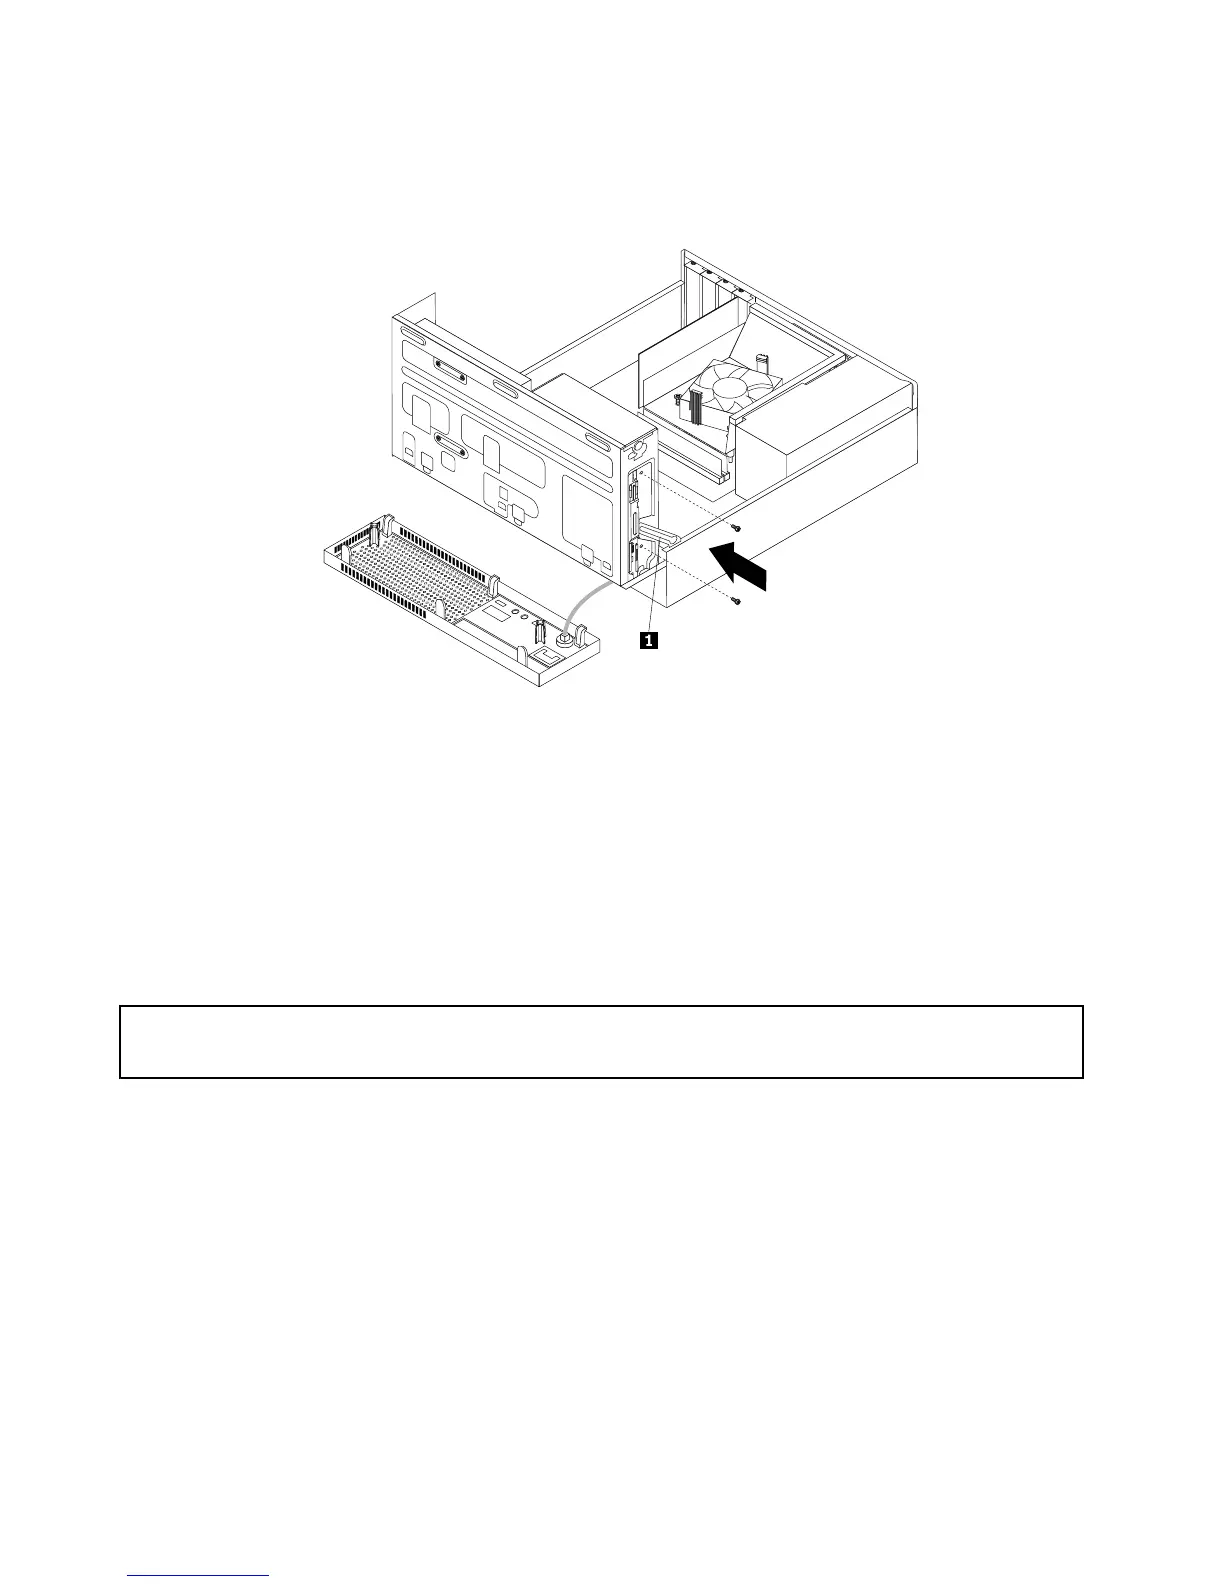
4.Notethecableroutingoftheinstalledslimcardreaderanddisconnectthecableoftheslimcard
readerfromthesystemboard.
58ThinkCentreE93UserGuide