Letus35 Mini User Guide
3
Custom Condenser specially tailored for the Letus35 Mini 35mm DOF »
Adapter optimizing Image Quality.
New and improved Ground Glass Design: Beautiful Film-Like Bokeh, ac- »
curate color reproduction, absolutely no vignetting and the best Edge-
to-Edge Sharpness in the industry.
A sleek On/O indicator with LED. »
Easy alignment »
Fully Enclosed batteries secured by tough magnets for ease of replace- »
ment in the eld.
Extreme Durability, Professional Look: Casing milled from Solid Alumi- »
num and nished in black.
Installation and SetupII.
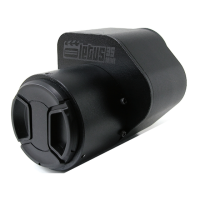
Unpacking: A.
Remove the aluminum rear cap. 1.
Remove the plastic front cap.2.
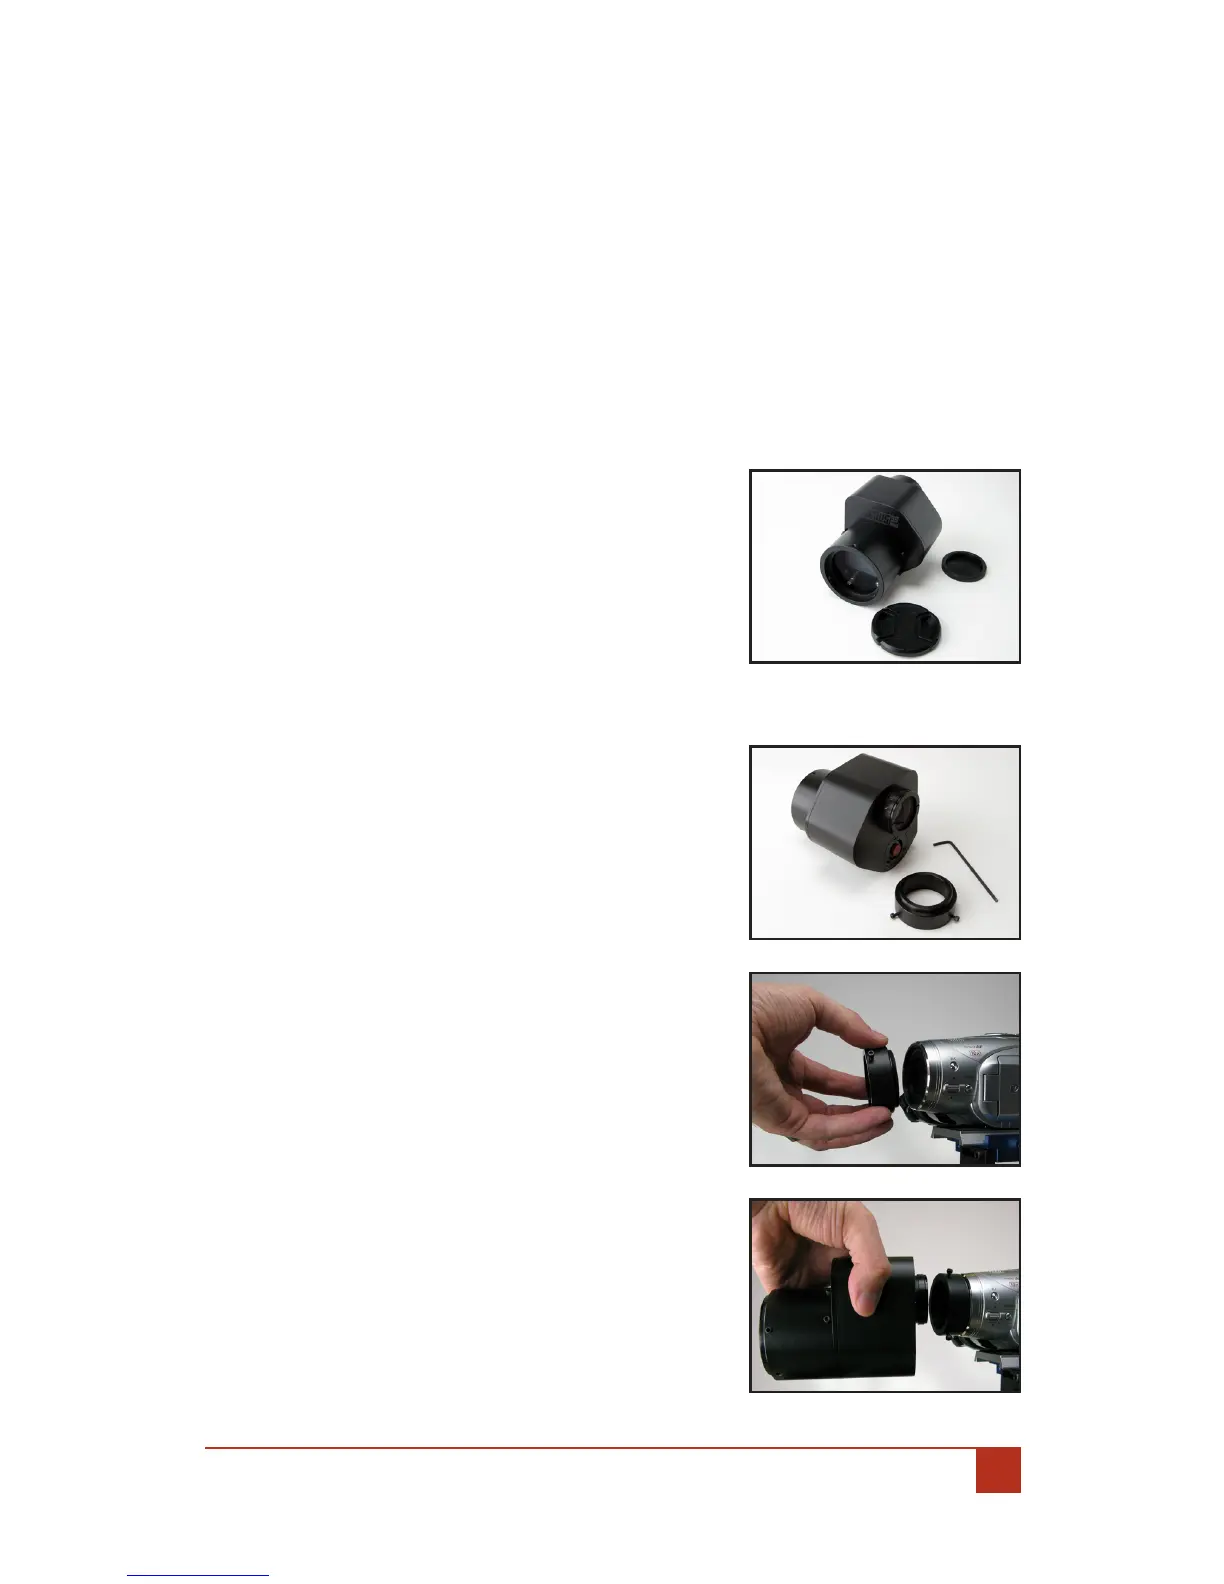
Connecting The Letus35 Mini To The Camera:B.
Using the Allen Wrench Tool included with 1.
your package, loosen the three (3) screws
located on the Back of the Letus35 Mini
35mm DOF Adapter and carefully remove
the Camera Connection Ring.
Hand tighten the connection ring onto the 2.
camera lter thread (Caution: Do NOT over
tighten the ring to the camera threads as
doing so may cause damage to your cam-
eras threads).
Aligning The Adapter:C.
Turn on your camera and zoom all the way 1.
out.
Fit the adapter into the ring and look at 2.
the LCD screen.
Align the adapter until you have all edges 3.
of the Ground Glass (GG) parallel with the
edges of the LCD screen (you may want to
zoom in until the edges of the GG are close
to the edges of the LCD screen for better
alignment).