FCC COMPLIANCE STATEMENT
Thisdevicecomplieswithpart15oftheFCCrules.Operationissubject
tothefollowingtwoconditions:(1)Thisdevicemaynotcauseharmful
interference,and(2)thisdevicemustacceptanyinterferencereceived,
includinginterferencethatmaycauseundesiredoperation.Anychanges
ormodicationsnotexpresslyapprovedbyLevitoncouldvoidtheuser’s
authoritytooperatethisequipment.
Restore Power:
Restorepoweratcircuitbreakerorfuse.
Installation is complete.
©2010LevitonMfgCo.,Inc. PK-93664-10-00-0C
CoveredbyoneormoreUS&ForeignPatentsandpatentspending
AllRightsIncludingTradeDressRightsReserved
For additional information, contact Leviton’s Techline at
1-800-959-6004 or visit Leviton’s website at www.leviton.com
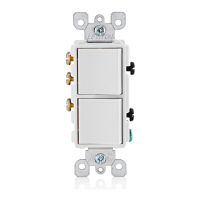
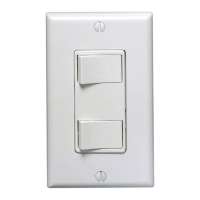
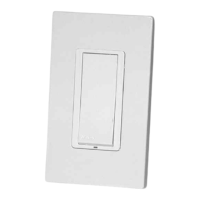
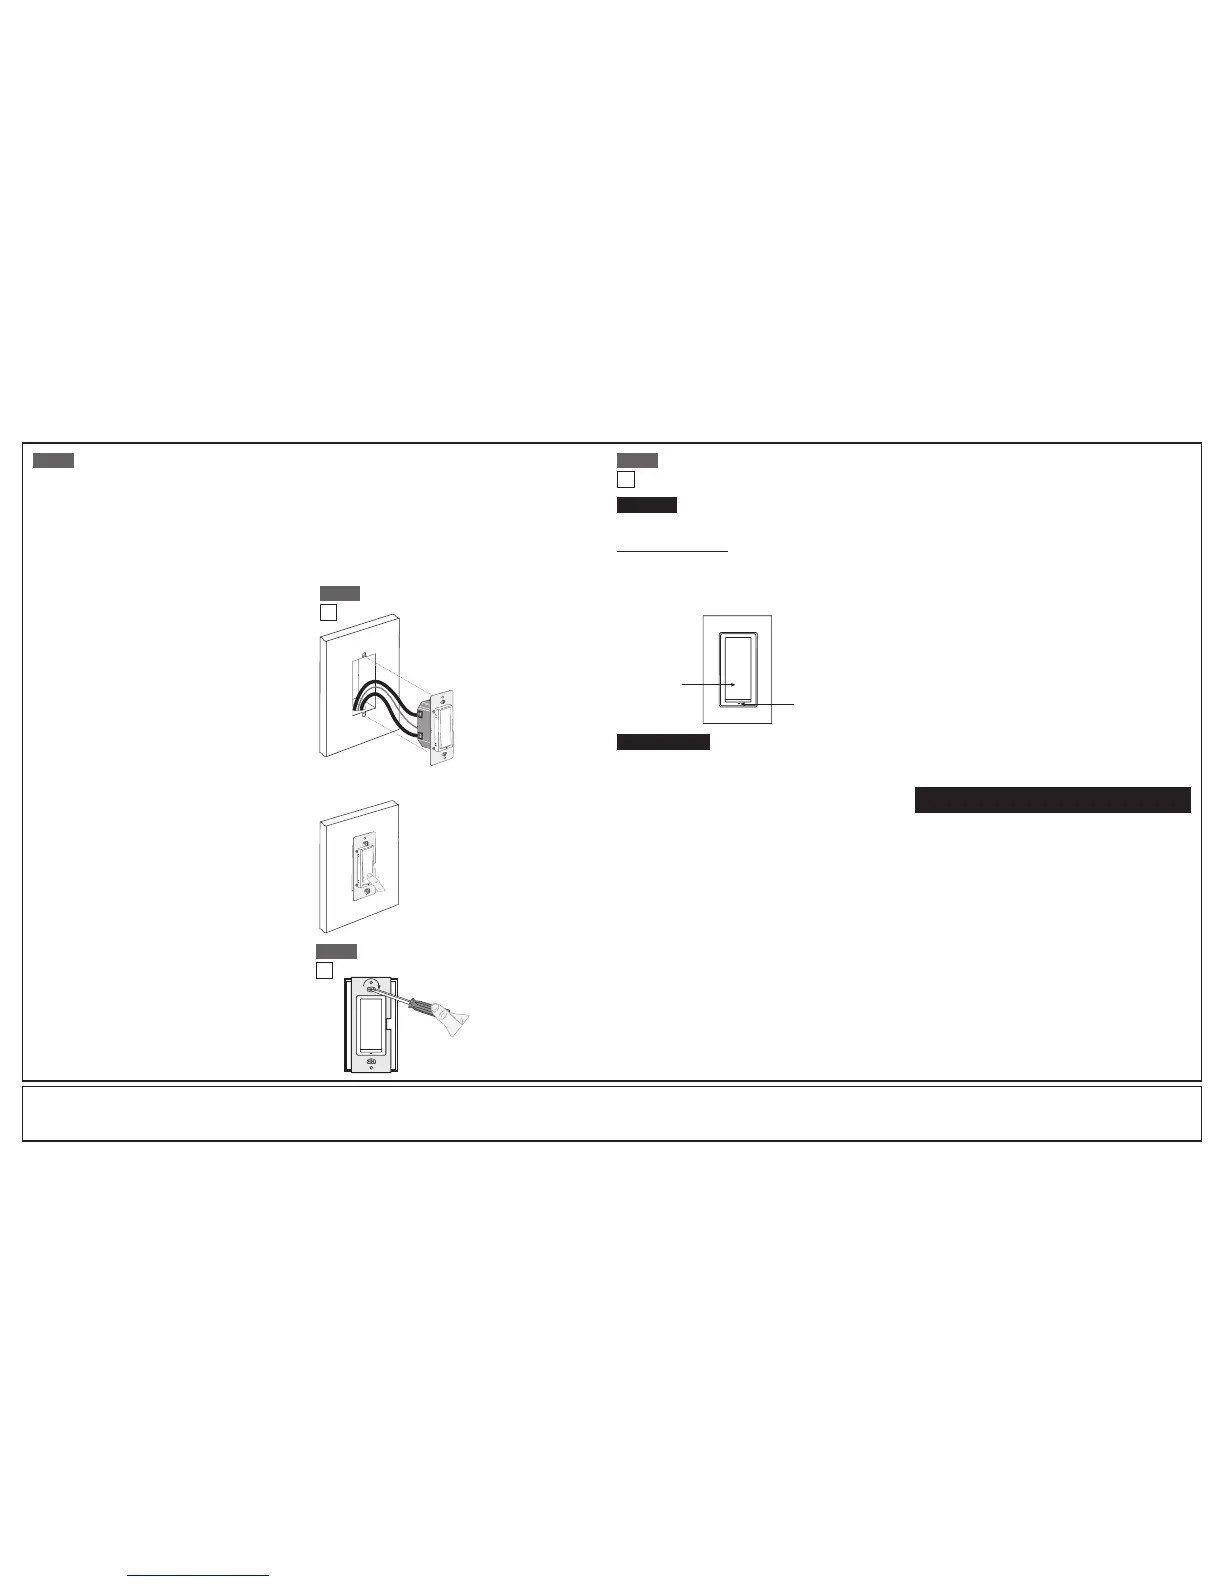
Push pad
Locator LED
LIMITED 5 YEAR WARRANTY AND EXCLUSIONS
Levitonwarrantstotheoriginalconsumerpurchaserandnotforthebenetofanyoneelsethatthisproductat the timeof its salebyLevitonisfreeofdefectsin materialsandworkmanshipundernormalandproperuse forveyearsfromthepurchasedate.Leviton’s onlyobligationisto correctsuchdefectsbyrepairorreplacement,
at its option, if withinsuch ve year period the productis returned prepaid, with proof of purchase date, and a description of the problem to Leviton Manufacturing Co., Inc., Att: Quality Assurance Department, 201 North Service Road, Melvile, New York 11747. This warranty excludes and thereis disclaimed liability for
laborforremoval ofthis productorreinstallation.This warrantyis voidif thisproductis installed improperly or in an improper environment,overloaded, misused,opened, abused, oralteredin anymanner, oris notused undernormal operatingconditionsor not in accordance with anylabelsor instructions.There are no other or
implied warranties of any kind, including merchantability and fitness for a particular purpose,butifanyimpliedwarrantyis required bythe applicablejurisdiction,the durationof anysuchimpliedwarranty,includingmerchantabilityandtnessforaparticularpurpose,islimitedto veyears. Leviton is not liable for incidental,
indirect, special, or consequential damages, including without limitation, damage to, or loss of use of, any equipment, lost sales or profits or delay or failure to perform this warranty obligation.Theremediesprovidedhereinarethe exclusiveremediesunder thiswarranty,whetherbasedon contract, tortor otherwise.
Programming Instructions (cont’d):
Step 5 Step 8
• Positionallwirestoprovide
roominoutletwallboxfor
WSS10.
• Ensurethattheword“TOP”
isfacinguponWSS10strap.
• Partiallyscrewinmounting
screwsinwallboxmounting
holes.
Testing your WSS10 prior to mounting in
wall box:
NOTE:Dresswireswithabendasshownindiagraminordertorelieve
stresswhenmountingWSS10.
• Restorepoweratcircuitbreakerorfuse.
• PresspaduntillocatorLEDisOFF.
LightsshouldturnON.
If lights do not turn ON, refer to the
TROUBLESHOOTING section.
Step 6
Installationmaynowbe
completedbytightening
mountingscrewsintowall
box.Attachwallplate.
Switch Mounting:
TURN OFF POWER AT CIRCUIT BREAKER OR FUSE.
Step 7
Troubleshooting
• LightsFlickering
- IflightsareickeringintheOFFstate,checktoinsureminimumload
requirementsaremet.
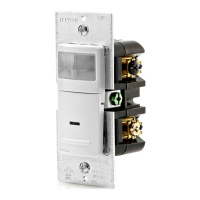
• OccupancySensor
• Sensor turns lights back on right after they turn OFF
- Adjustrange(CCW)slightlytoreducerangeorrelocateSensor
fartherawayfromlightorheatsource.
• FalseTrippingwhennooneisaround
- Adjustrange(CCW)slightlytoreducesensitivity,relocateSensor
closertolightsource,orre-conguresensortoMANUALONmode.
Operation
NOTE: The locator LEDwillilluminatewhentheloadisintheOFFposition
tofacilitateaccessinthedark.
Push Pad (Default settings)
Turn ON from OFF position:
Tap–LightsturnON.
Turn OFF from ON position:
Tap–LightsturnOFF.
Cleaning:Cleanwithadampcloth.DO NOTusechemicalcleaners.
Technical Notes:
• DisabletheWalkThrufeature(turnDipSwitchOFF)
• TheNoNeutralswitch(WSS10-GD)decreasesyourrangebyabout20feet
(designrestrictionwhennothavingneutralavailabletoworkwith)
• Inanindoorenvironment,thewirelesscontrolshaveatypicalrangeof30-150
feet.Astheobstructionsand/ornoiseinterferenceislighterorheaviertherange
willbemoreorless.
•
Noiseinterferencecanbeeitherlinenoise(frommotors)orRadioFrequency(RF)
• Switchesgointoareducedrangemodewheninprogramming(under15feet)
• Rangecanbereducedbyoverloadingtheswitch(switchisonlyratedat10A)
• Rangecanbereducedbymetalobjects(metaldecreasestheeffectivenessof
RFtransmission)
• OutputpowerisregulatedbytheFCC
• Receiversensitivityisxed
• FixedAntennasareintegratedintotheproduct
Consider Factors affecting the Environment:
• deviceplacement
• obstructions(metal,concrete,otherconstructionmaterials)
• interference
Momentary Mode Programming Instructions
(LED flashing amber 2x per second)
1. ReadallRocker Mode programming stepsbeforetakinganyactionto
programthereceiverinMomentaryMode.
2. WhilethereceiverisintheModeSelectionArea(AmberLEDash1xper
second).ToadvancetoMomentaryMode(LEDashingamber2xpersecond),
pressthereceiverswitchbuttontoadvancetheAmberLEDtoashing2xper
second(MomentaryMode).
3.ToLearnatransmitterswitchinMomentaryModepressandholdthebuttonfor
5seconds.TheLEDwillchangefromAmbertoGreen*orRed**tosignifyyou
arenowintheLearnareaofprogramming.Releasethebutton.
4. Follow Steps 4-7 of “Rocker Mode Programming Instructions.”
Toggle Mode Programming Instructions
(LED flashing amber 3x per second)
1. ReadallRocker Mode programming stepsbeforetakinganyactionto
programthereceiverinToggleMode.
2. WhilethereceiverisintheModeSelectionArea(AmberLEDash1xper
second).ToselectToggleMode,pressthereceiverswitchbuttontoadvancethe
AmberLEDtoashing3xpersecond(ToggleMode).
3. ToLearnatransmitterswitchinToggleModepressandholdthebuttonfor5
seconds.TheLEDwillchangefromAmbertoGreen*orRed**tosignifyyouare
nowintheLearnareaofprogramming.Releasethebutton.
4. Follow Steps 4-7 of “Rocker Mode Programming Instructions.”
Scene Mode Programming Instructions
(LED flashing Amber 4x per second)
1. ReadallRocker, Momentary, and Toggle Mode programming stepsbefore
takinganyactiontoprogramthereceiverinSceneMode.
2. Beforeprogramminga“scene”,havethedesiredsceneplannedoutandknow
thestateinwhicheachloadwillneedtobe(ONorOFF).
3. ForallloadsinthescenethatwillbeON,programthecorrespondingreceiver
orreceiveroutputwithawirelesslightswitchinRockerMode(Refer to “Rocker
Mode Programming Instructions”).
4. TurnONallofthedesiredloadsthatwillbeONinthescene
(allotherloadsOFF).
5. Foreachloadinthescene,withthereceiverorreceiveroutputconnected
totheloadandinToggleMode,pressandholdthereceiverbuttonforabout
3seconds.ThisactivatesSceneMode.Theelectricalloadconnectedtothe
receiverorreceiveroutputwillpausebriey,thencontinueturningONandOFF
inafastpattern.
6. Foreachloadinthescene,whiletheconnectedreceiverorreceiveroutput
isinSceneMode,presstheendofatransmitterswitchrockerthatwillactas
thescenebutton.TheloadwillstayONforabout3secondsindicatingthatthe
receiverhasstoredthetransmitter’suniqueIDinitsmemory.
7. ForeachloadinthescenethatwillbeON,andwasprogrammedinRocker
Mode(See Step 3 of “Scene Mode Programming Instructions”),selectively
deletetheswitchfromRockerMode.Whilethereceiverorreceiveroutput
connectedtotheloadisstillinSceneMode,enterintoRockerModeby
pressingthereceiverbuttontoexitscenemode(LEDwillnowashamber),
thenpressthereceiverbuttonandadvancetheLEDtoRockerMode(LED
ashing1xpersecond)(see “Clear One Transmitter from Programming
Mode”)todeletethetransmitterswitch’sIDfrommemory.
8. ToexitLearnMode,justwait;thereceiverautomaticallyexitsLearnModeafter
30seconds(indicatedbytheceasingofthetogglingoftheelectricalload).
Selective Deleting:FollowtheLearnModestepsabovetodeleteatransmitter
fromareceiver’smemory.Uponpressingthebuttononthedesiredtransmitter
(See “Rocker Mode Programming Instructions”, Step 4)theloadwillstay
OFFindicatingthatthereceiverhasremovedthetransmitter’suniqueIDfromits
memory.
Clear All:AdvancetheAmberLEDtoashing5xpersecond,pressandholdthe
receiverswitchbuttonfor5secondstoentertheClearArea.Releasethebutton.To
CLEARALLdevicesfrommemorypressthereceiverswitchbuttonfor5seconds
again.Theentirememoryofthereceiverwillbedeleted.ThereceiverLEDwillash
Red**andthenexitprogramming.
Clear One Transmitter from Programming Mode:FirstenterProgramming(See
steps 1-3 of “Programming Instructions”),thenrepeatedlypressthebuttonto
advancetheAmberLEDashesuntilthedesiredModeisreached.EntertheLearn
Modebypressingandholdingthereceiverbuttonfor5seconds.Releasethebutton.
TheLEDwillashfromAmbertoGreen**orRed**tosignifyyouarenowinthe
Learnareaofprogramming.Holddownthetransmitterswitchbutton(orsensorlearn
button)youwishtounlearn.Releasethebutton.Thiswillclearthetransmitterfromthe
memoryforthatprogrammingmode,leavingtheotherprogrammingmodesintact.
* Green LED flashing indicates transmitters are Learned, the number of
flashes represents the number of transmitters learned in that Programming
Mode.
** Red LED flashing indicates there are no transmitters learned.
Obstructions:
• Doesthesystemworkmorereliablyatcloserange(withoutobstructions)?
• Identifynearbymetal,concreteandotherobjectspossiblyaffecting
signalstrength
• Caneitherdeviceberelocated(evenslightly)awayfromobstructionsto
improvethesystemperformance?
Interference:
• Doesthesystemworkbetteratcertaintimesoftheday?
• Lookforpiecesofequipmentthatmayaffectwirelessperformancewhen
theyareON
• Tryusingasignalstrengthmetertomeasure315MHz(RF)noiseoorand
quantifypacketreceivingreliability
Product variations:
• Replaceonepieceofhardwareatatimetoisolateanyvariationin
productperformance
Dip Switch Settings:
• VerifyproperdipswitchsettingsontheReceiverSwitch
• DipSwitch1:Intheleftposition(off)isAuto-On;intherightposition(on)
isManual-On
• DipSwitch2:Intheleftposition(off)forWalkThroughOff
• DipSwitch3and4:Thesesetthetimedelay;bothintheleftposition(off)
willbea2minute(test)timedelay
Product LED indicators:
• OccupancySensorLED:MakesureLEDashesredonceevery60seconds
toverifypackettransmission
• ReceiverSwitchLED:MakesureLEDlocatorashesredverifyingreception
ofapacketfromSensororRemote
• Verifycorrectprogrammingofdevice(s)usingtheReceiverSwitch
• Enterprogrammingandgotolearnmode
• VerifyashinggreenLEDlocatorwhichsigniesdevicelearned
• Pressthelearnbuttononthetransmitterdevicetounlearnthedevice,green
LEDshouldashonelessorthereshouldbearedLED(nodeviceslearned)
• Pressthetransmitterdevicetorelearnthedeviceaddressagain
• GreenLEDlocatorshouldashagainforthenumberofdevicesprogrammed
 Loading...