Lewmar V1-6 Windlass ref 65001201 iss.8 | 23
8.6-1
8.5-1
1. Remove chain pipe cover screws using 5 mm Allen key.
2. Place winch handle into gypsy drive cap, rotate anti-clockwise and remove.
3. Remove washer and top cone.
4. Pull control arm back to clear gypsy and remove gypsy assembly.
Wash with clean water - DO NOT JET WASH.
NOTE: Model V6 does not have a control arm.
Assemble in reverse order greasing threads of chain pipe and washer and stripper screw.
When re-assembling the cone and gypsy, add a small smear of grease to the contact surfaces.
8.3 Manual recovery gypsy replacement
Proceed as 8.2.
8.4 Gypsy/drum replacement
Proceed as 8.2 except place the winch handle into the drum top nut and remove drum assembly to get to gypsy.
NOTE: V-Sport & V4-6 do not have fall-safe.
Remove gypsy, proceed as sec. 8.2.
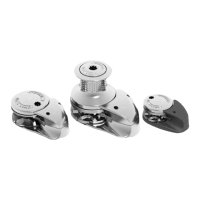
1. Turn fall-safe lever so it is horizontal and remove
shoulder screw.
Lift fall-safe pawl and spring, fall safe lever and
spacer.
Replace components and assemble in reverse order.
2. Remove screw from inner edge of fall-safe pawl.
Lift off pawl and replace components.
WARNING! Isolate the wind-
lass using circuit breaker/
isolator.
WARNING! Ensure rode is
adequately secured to an
independent strong point.
8.6 V1-3 Fall-safe pawl and lever replacement/service
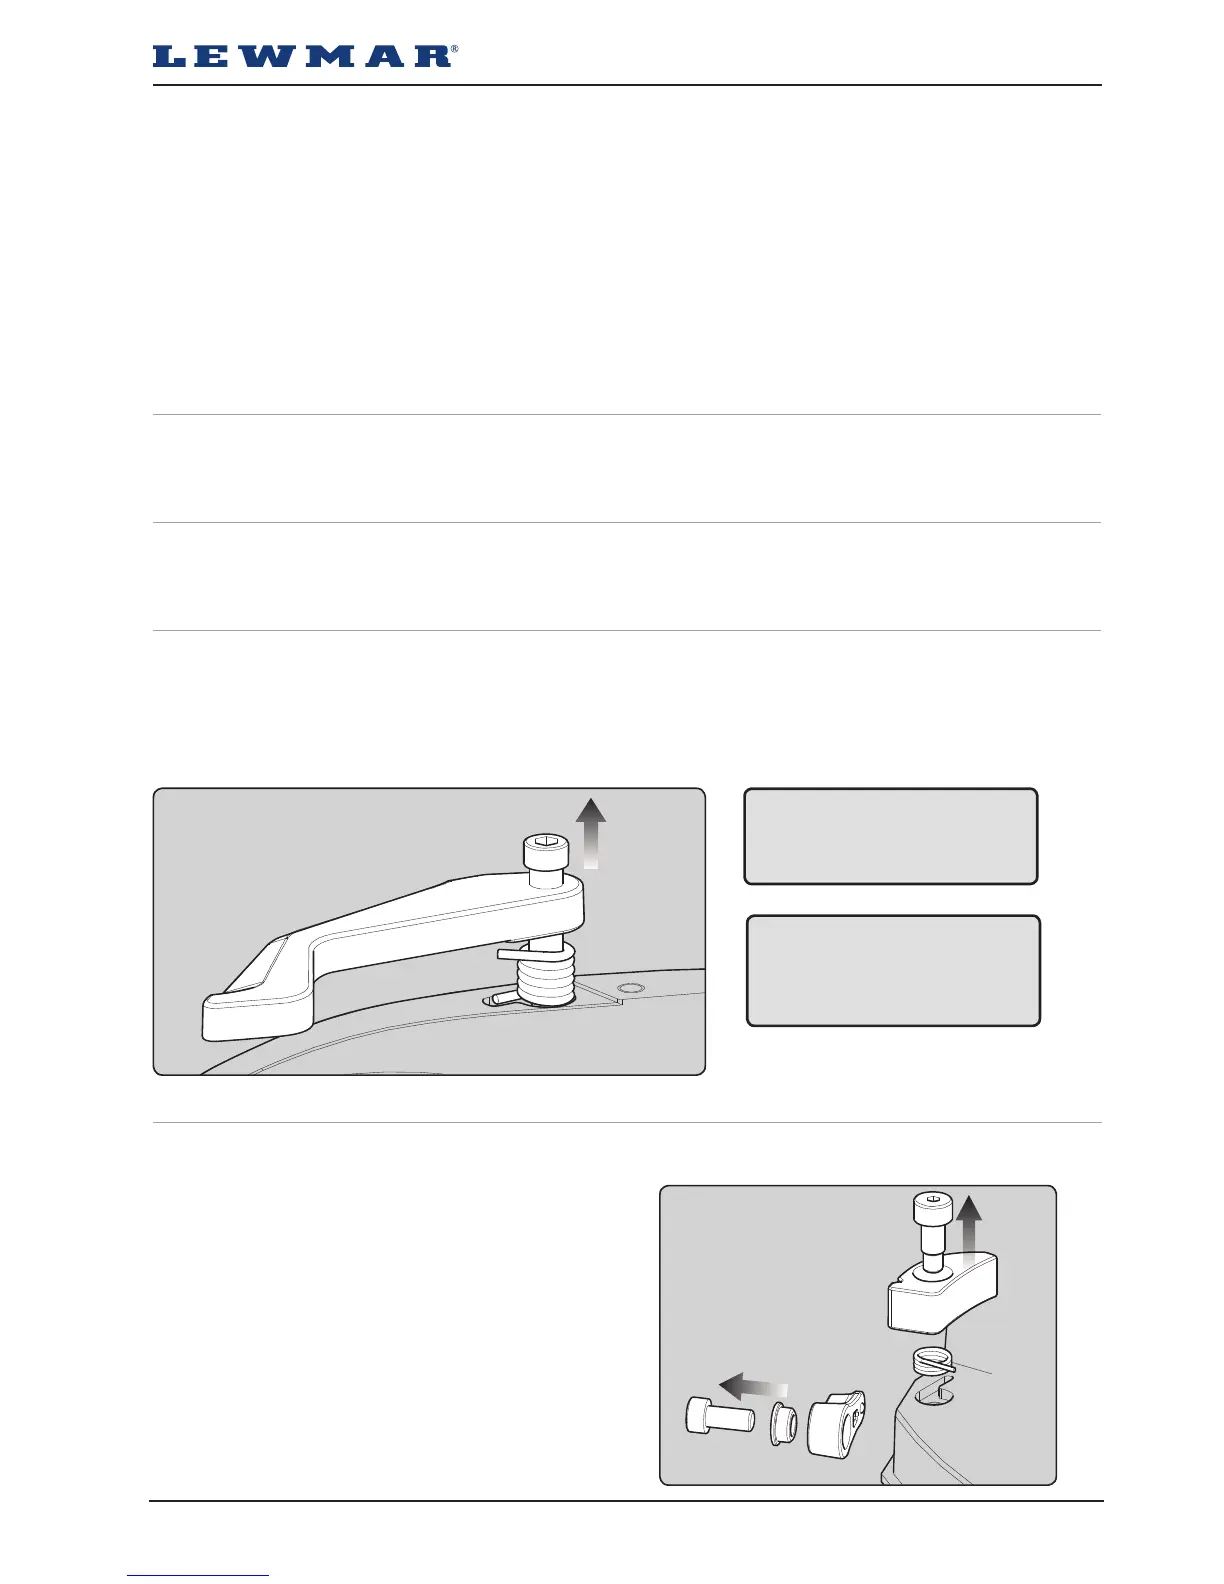
8.5 V1-5 Control arm replacement/service
Remove gypsy, proceed as sec. 8.2.
1. Unscrew control arm shoulder screw using a 4 mm Allen key.
Remove control arm and torsion spring from the base plate.
Wash with clean water (Not Jetwash). Replace components, (if necessary) and assemble in reverse order