MC-8 Hardware & Software Upgrade Instructions
1-3
To install the hardware:
1. Make sure the MC-8 and all associated components are pow-
ered off.
2. Disconnect the MC-8 from the electrical outlet and all
associated components.
3. Place the MC-8 upright on a flat, level surface such as a table or
workbench. Do not place the MC-8 on a surface that is unstable
or unable to support all four of its feet.
Note:
Work at a static-free workstation. See “Electrostatic Discharge (ESD)
Precautions” on page ii.
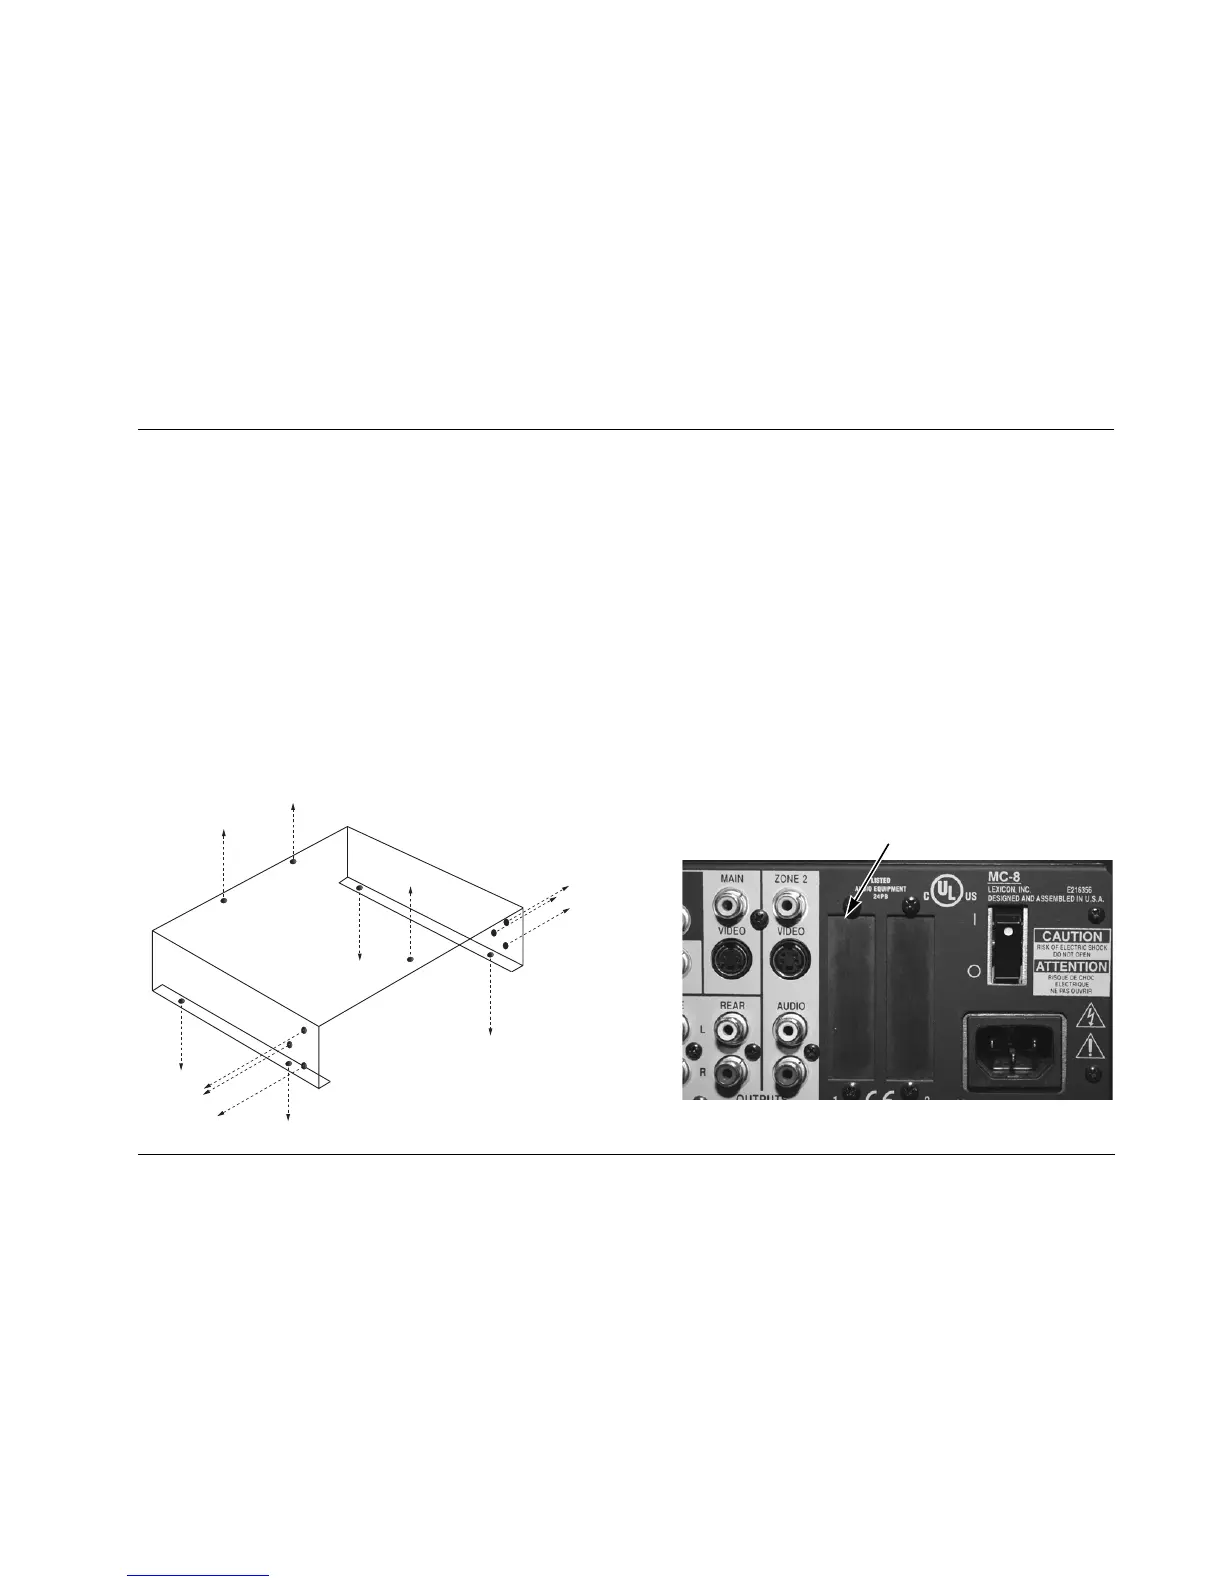
Figure 1-1: Remove the 13 hex screws as shown.
4. Using a 2.5mm Allen hex-head wrench, remove the 13 screws
(Figure 1-1) that secure the MC-8 top cover.
5. Put on and ground the anti-static wrist strap (included in the
upgrade kit) and position the MC-8 so the rear panel is facing
you as shown in Figure 1-2.
6. Remove the MC-8 top cover by gently sliding it toward the rear
panel. If the cover does not slide off easily, DO NOT use any object
to pry it loose at the front panel area. Instead, have someone, or
use something to hold the unit firmly in place by the back panel
while you pull the cover with enough force to loosen it.
7. Using a Phillips head screwdriver, remove the two screws from
access panel 1. Put the screws aside for later use.
Figure 1-2: Rear view of the MC-8.
Access panel 1

 Loading...