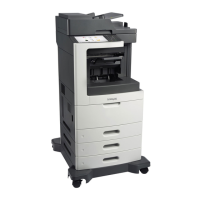
2 Open the ADF cover.
3 Firmly grasp the jammed paper on each side, and then gently pull
it out.
Note: Make sure all paper fragments are removed.
4 Close the ADF cover.
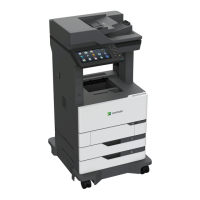
5 Open the scanner cover.
6 If the jam is in the bottom ADF door or ADF exit bin, then open the
bottom ADF door, and then firmly grasp the jammed paper on each
side.
Note: Make sure all paper fragments are removed.
1
2
7 Close the bottom ADF door.
8 Straighten the edges of the original documents, then load the
documents into the ADF, and then adjust the paper guide.
9 From the printer control panel, touch Done to clear the message
and continue printing.
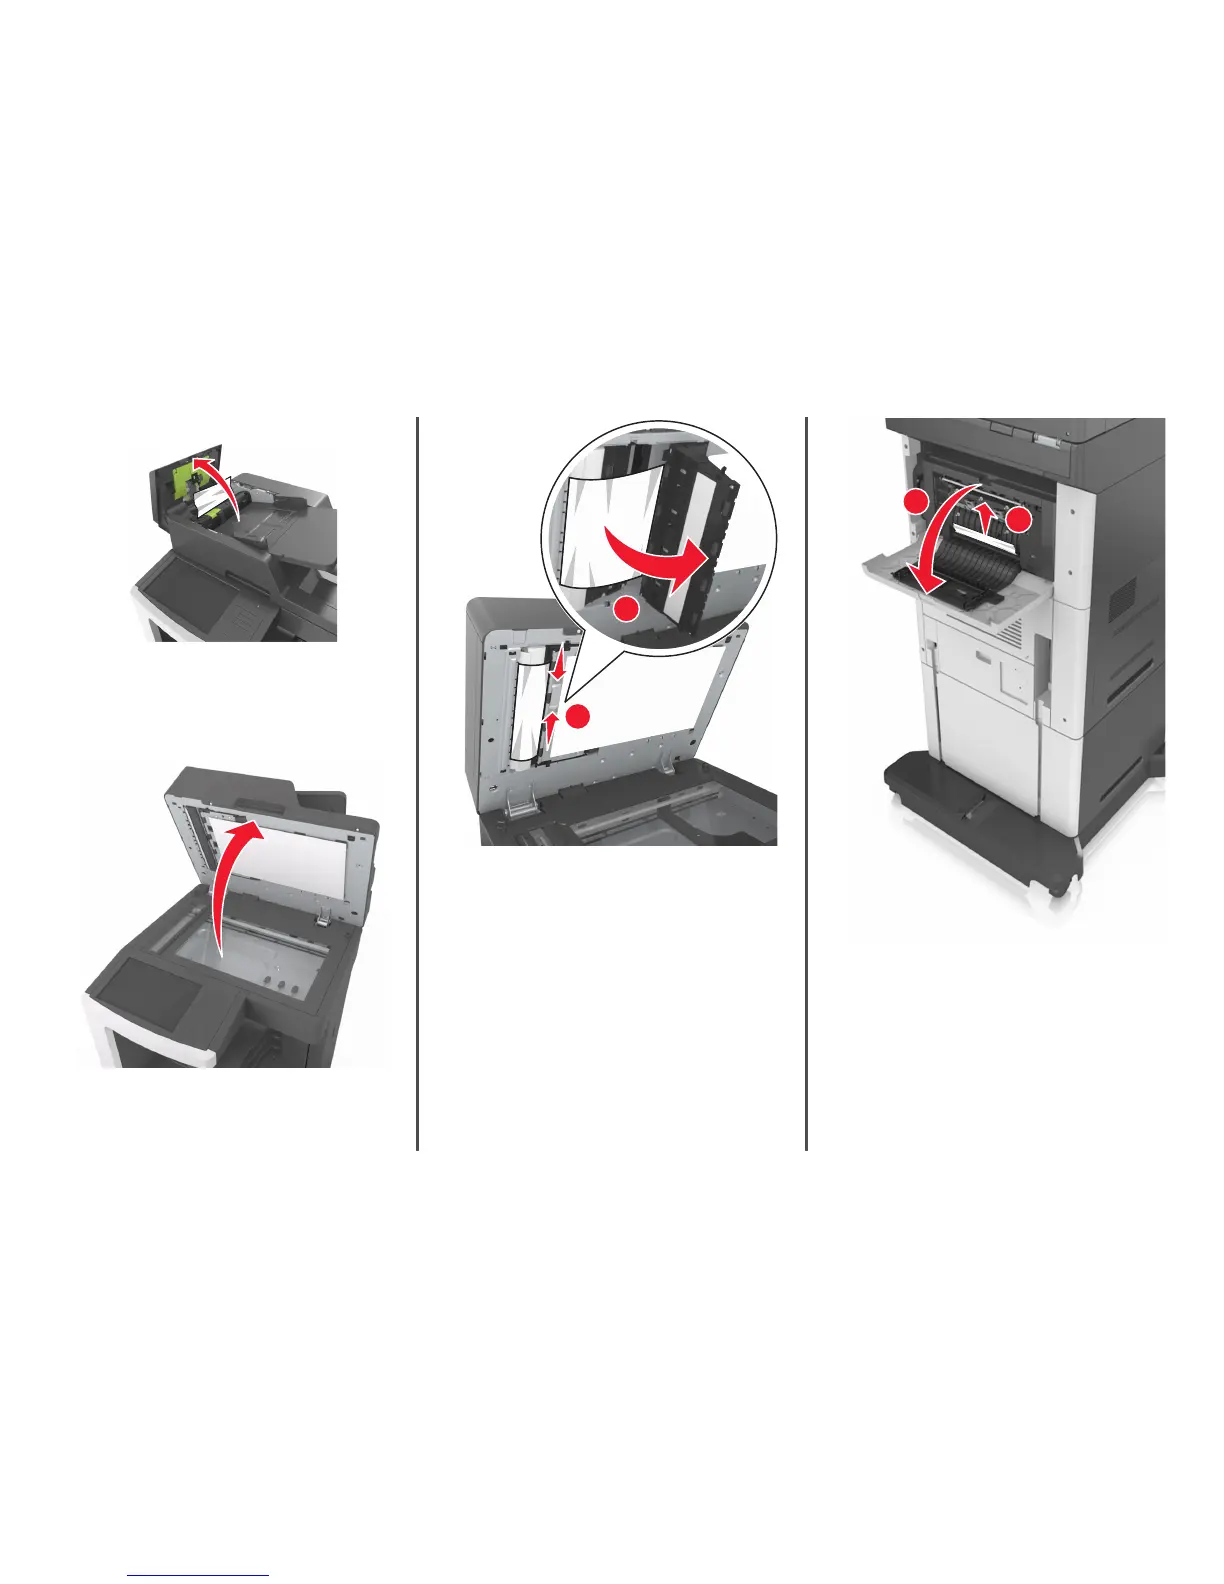
[x]‑page jam, remove paper, open finisher
rear door. Leave paper in bin. [451]
1 Open the rear staple finisher door, and then gently pull the paper
out of the finisher.
Note: Make sure all paper fragments are removed.
1
2
2 Close the staple finisher door.
3 From the printer control panel, touch Done to clear the message
and continue printing.
[x]‑page jam, remove paper, open stapler
door. Leave paper in bin. [455–457]
1 From the stapler bin, firmly grasp the jammed paper on each side,
and then gently pull it out.
Note: Make sure all paper fragments are removed.
31
 Loading...