10
LG MultiSITE
TM
E10 Controller
Due to our policy of continuous product innovation, some specifications may change without notification.
©LG Electronics U.S.A., Inc., Englewood Cliffs, NJ. All rights reserved. “LG” is a registered trademark of LG Corp.
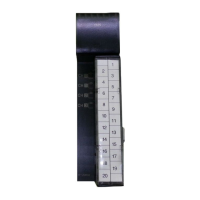
INSTALLATION
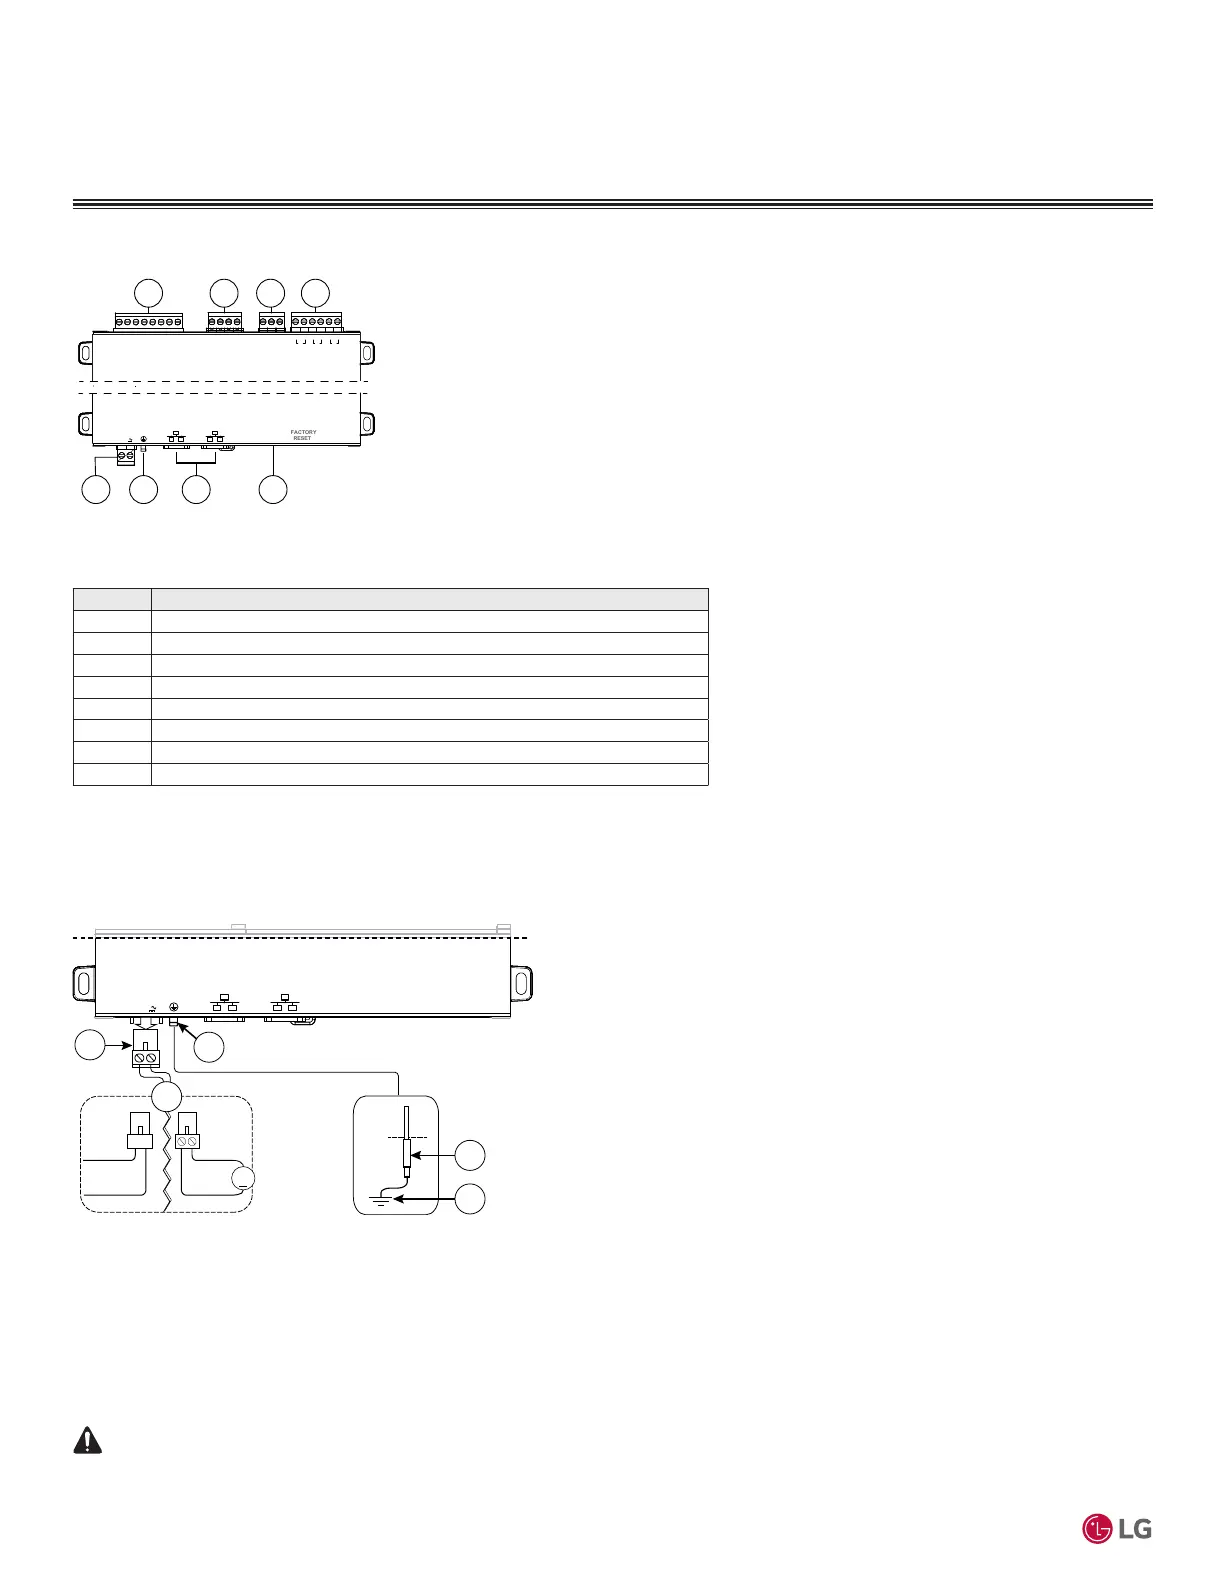
Wiring terminal positions are shown below, along with LED locations.
UNIVERSAL INPUTS
1UV0 U2U3U4U5 0V 0V
ANALOG OUTPUT RS485
0V 0VAO2 AO1
S
A+
A-
24 VAC/DC
GND
DEBUG
DIGITAL OUTPUTS
A BBABA
D3 D2 D1
SEC PRI
1 2 3 4
65 7 8
Connector Locations
Field connections are shown below:
Item Description
1 Universal inputs. Five inputs on 8-position connector.
2 Analog outputs. Two outputs on 4-position connector.
3 RS485 port. One port on 3-position connector.
4 Digital (triac) outputs. Three non-powered outputs on 6-position connector.
5 24 Vac/dc input. One input on 2-position connector.
6 Earth ground. One tab for earth ground.
7 Ethernet ports. Two 10/100Mb, RJ-45 connectors with integrated LEDs.
8 DEBUG port for serial debug communication.
Wiring
Refer to “Connector Locations” and the following images to locate connectors and other components. Descriptions
are provided for wiring to ground, to power, RS-485, Ethernet, Inputs and Ouputs.
Wiring Earth Ground & Power
24 VAC/DC
GND
FACTORY
RESET
DEBUG
SEC PRI
24 Vac
50/60Hz
24 Vdc
+
4
2
DC
AC
1
3
5
NOTE: Because the MS-E10 Controller uses a half-wave rectied power supply, it should not share a
transformer with the JACE-8000, IO-R-34, or any legacy JACE.
NOTE: Use earth grounding to provide protection from electrostatic discharge or other forms of EMI.
NOTE: Pay attention to the following, depending on the type of power source that you use:
AC: Dedicated 24V transformer required, with neither side of the transformer secondary tied to ground.
DC: Polarity is critical to protect diode (uses onboard half wave rectied power supply). Connect - to ground and + to the
other terminal.
Before making power terminations, de-energize the 24V power source.
Do not restore power until completing all other mounting and wiring. See “Power up and Initial Checkout”.