47
Category Precautions
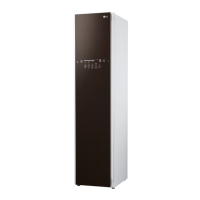
3. Vacuum
degasication
Highpressure
Lowpressure
Key Point
- Conduct the vacuum degasication while you operate the compressor when you suck up the
refrigerant. (This way, refrigerant injection is easy and error-free.)
Pipe connection
Connect the red hose to the high pressure side and blue hose to the low pressure side.
Vacuum sequence
Open the valve and apply vacuum for 40 minutes, then close the valve.
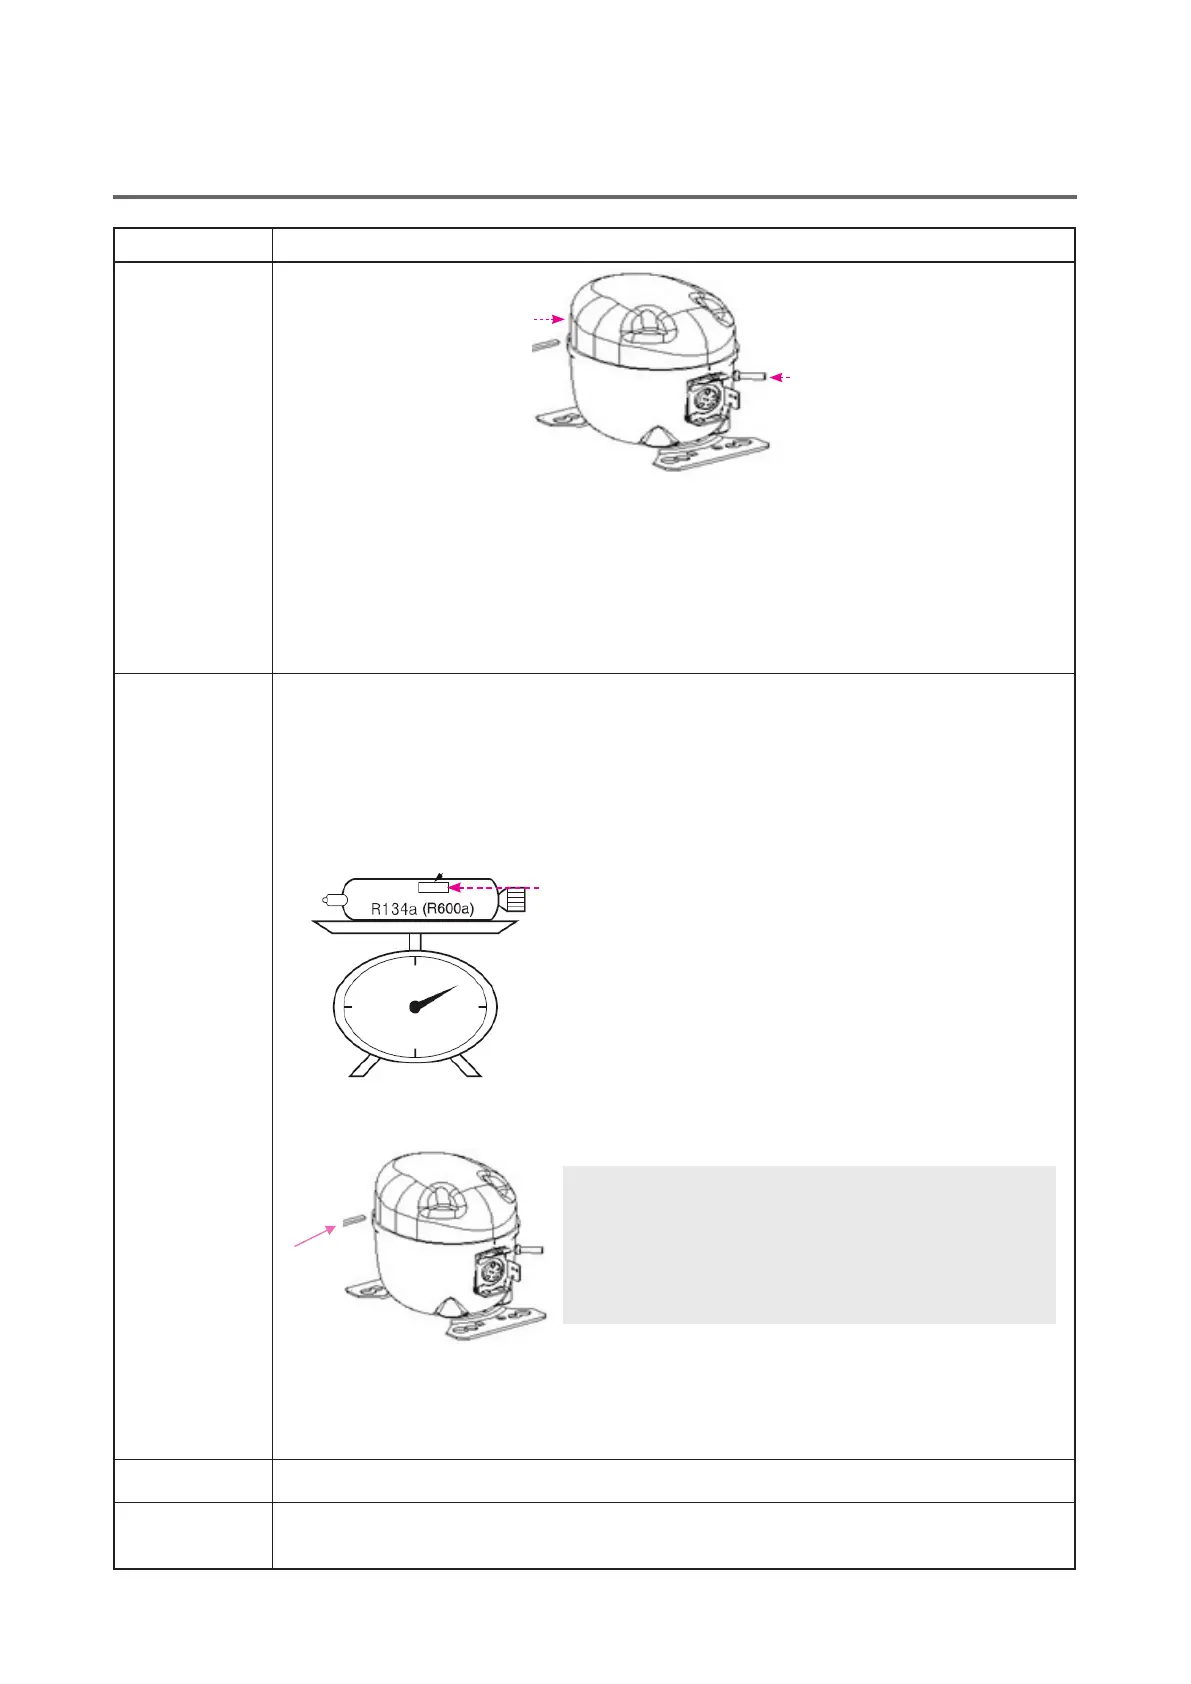
4. Refrigerant
charging
Work sequence
1) After you complete the vacuum degasication, check the amount of refrigerant to be injected for the
model.
2) Use the vacuum pump to generate vacuum in the cylinder.
3) Measure the amount of refrigerant to be charged.
- Measure the weight of the cylinder in the vacuum state using the electronic scale.
- Charge the refrigerant to the cylinder and measure the weight.
Calculating the amount of refrigerant charged:
Refrigerantamount=Weightaftercharging-Weight
beforecharging(thecylinderweight)
Refrigerant:MaterialnumberRAC30248902(refrigerant
amount:160g)
Indicatetheweightoftheemptycylinder.
4) After you complete the charging, use the pinch-o plier to pinch the charging pipe.
5) Weld the end of the pinched charging pipe with copper soldering and conduct gas leakage inspection on
the welding part.
5. Gas leakage test
Use the electronic leakage detector on the parts where leakage may occur, including the welding part.
6. Arranging cycle
pipes
Once the work is complete, check if the pipes are in their original position. Especially, maintain the distance
of 10 mm between the pipes.
Key Point
- Perform the work at a location where the ambient temperature
is approx. 25 .
- In the winter, you may want to reduce the amount by 5 g and,
in the summer, increase the amount by 5 g.
 Loading...