EasyManua.ls Logo

Liberty Garden 880 User Manual

Liberty Garden 880
2 pages
To Next Page IconTo Next Page
Page #1 background imageLoading...
Page #1 background image
4
8. Attach handle (G) to crank handle (J)
using handle bolt and nut. Tighten se-
curely. Attach crank handle to pipe on
end of spool. Teflon tape should be on
end of pipe to prevent leaking. Fig. 7.
Fig. 7
11. Attach the Leader hose (E) to the
end of the swivel. DO NOT OVER-
TIGHTEN. Fig. 10
Fig. 10
12. ATTACHING YOUR GARDEN
HOSE: Attach your hose to the brass
swivel. Loop the hose over the spool
end to avoid kinking. Fig 11.
14. Your hose cart is now ready to use.
Attach the end of the leader hose to your
water supply.
General Care and Maintenance
To help delay rust, repaint any parts of the unit from which paint has been scraped. Use a
weather proof paint to seal fasteners (bolts , nuts). If the unit is exposed to lawn fertilizer, thor-
oughly rinse the entire unit. Fertilizer will damage the unit if not removed. Do not expose cart
plumbing or inlet hose to freezing temperatures with water present.
Fig 11
“Liberty” is a registered trademark of Liberty Garden Products, Inc. Kernersville NC. All Rights Reserved. 2007
Product: 880
9. Attach wheels (C) by sliding the Axle
(F) thru the axle bushing. Slide wheel
over axle, attach washer and nut. Repeat
for other wheel and tighten. Inflate tire
to 20 PSI.
Fig. 8
10. Slide U-Handle (D) over the frame
extensions and align the holes. Insert
bolts (M) thru handle holes and attach
wing nuts (N). Hand tighten. Fig 9.
Fig. 9
Model 880 and 1180 Two Wheel
Hose Cart Instruction Manual
500 Indeneer Drive, Suite 9, Kernersville NC 27284
Liberty Garden Products, Inc.
Visit our website: www.libertygardenproducts.com or call
us toll free at 1-866-820-5805.
Question and Answer IconNeed help?

Do you have a question about the Liberty Garden 880 and is the answer not in the manual?

Liberty Garden 880 Specifications

General IconGeneral
BrandLiberty Garden
Model880
CategoryLawn and Garden Equipment
LanguageEnglish

Summary

Hose Cart Assembly

Attach Handle and Crank

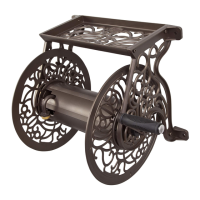
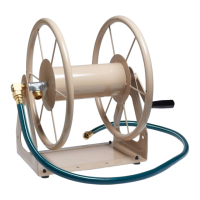
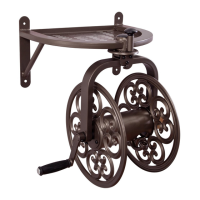
Securely attach the handle to the crank handle and the crank handle to the spool pipe.

Attach Wheels

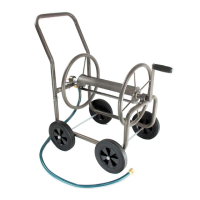
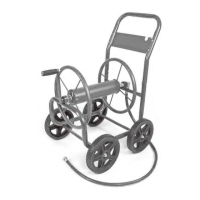
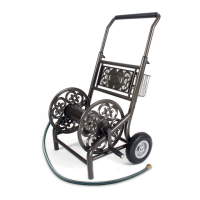
Slide axle through bushing, attach wheels, washers, and nuts. Inflate tires to 20 PSI.

Attach U-Handle

Slide U-handle over frame extensions and secure with bolts and wing nuts.

Attaching Garden Hose

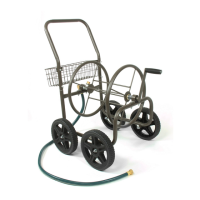
Attach hose to brass swivel and loop over spool to avoid kinking.

Attach Leader Hose

Attach leader hose to the end of the swivel, do not overtighten.

Prepare Frame and Attach U-Bushings

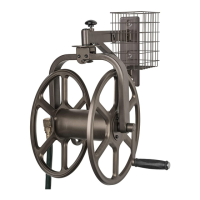
Turn frame over, attach U-bushings to frame using bolts and nuts.

Spool Assembly

Insert brass swivel through bushing and screw into spool's galvanized T.

Spool Spacers and Spring

Slide spacer washer, spring, and another spacer washer onto the spool pipe.

Attach Spool to Frame

Insert spool pipe into U-bushing and align holes to attach with bolts.

General Care and Maintenance

Rust Prevention and Cleaning

Repaint scraped areas with weatherproof paint; rinse unit if exposed to fertilizer.

Freezing Precautions

Do not expose cart plumbing or inlet hose to freezing temperatures with water present.

Related product manuals