EasyManua.ls Logo

Life Fitness TR9100 User Manual

Life Fitness TR9100
4 pages
To Next Page IconTo Next Page
Page #1 background imageLoading...
Page #1 background image
Life Fitness Model TR9700, TR9500, TR9100 Treadmills
How To...Replace or Install Rear Roller Guards
Tools Required: Philips Screwdriver
NOTE: The following steps are applicable to units with Configuration No. 1, Rear Roller Guards.
1. Remove the Screws securing the Rear Roller Guard Assembly to the Frame.
2. Remove the old Grommets from the Rear Roller Welded Guard Tab and Base Frame (model
specific).
3. Install the new Grommets (included in kit) in the Rear Roller Guard Weldment and Base Frame
locations.
4. Place new Roller Guard in position as shown with the top surface under walking belt. Align mounting
holes.
Roller Guard to be
located between belt
and deck
Align mounting holes
with grommet holes
Cover Guard
Roller Guard, RT
Roller Guard, LT
Screw
Grommet
Screw
Grommet
Configuration No. 1
Question and Answer IconNeed help?

Do you have a question about the Life Fitness TR9100 and is the answer not in the manual?
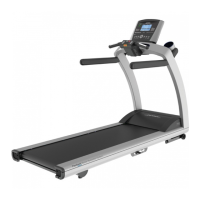
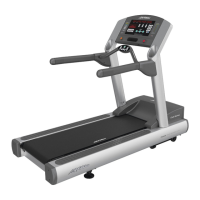
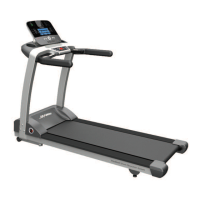
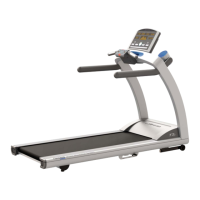
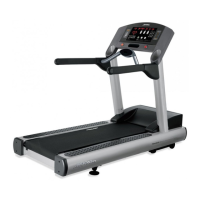
Life Fitness TR9100 Specifications

General IconGeneral
Motor TypeDC
Motor3.0 HP continuous-duty DC
Running Surface20" x 60"
Incline0% to 15%
Speed0.5 to 12 mph
Heart Rate MonitoringContact and wireless telemetry
ProgramsMultiple built-in programs
Maximum User Weight400 lbs
Weight Capacity400 lbs

Summary

Replace or Install Rear Roller Guards for TR9700, TR9500, TR9100 (Configuration No. 1)

Remove Rear Roller Guard Assembly

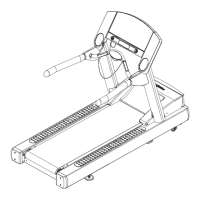
Remove screws securing the Rear Roller Guard Assembly to the frame. This is the first step in the replacement process.

Manage Grommets for Roller Guard Installation

Remove old grommets and install new ones into the roller guard weldment and base frame locations.

Position and Secure New Roller Guard

Place the new roller guard correctly and align mounting holes, then install and fasten screws securely.

Replace or Install Rear Roller Guards for 97Ti, 95Ti, 93T (Configuration No. 2)

Remove Existing Roller Guard

Unscrew mounting screws from the top and base of the frame to remove the existing roller guard.

Handle Grommets and Washers

Remove grommet and washer using a flat blade screwdriver, discard old washer, and reinstall the grommet.

Adjust Base Frame Grommet

Move the base's lower head grommet from the bottom hole to the upper hole in the Base Frame.

Position and Secure New Roller Guard

Place the new roller guard correctly, align mounting holes, and fasten screws securely.

Related product manuals