11
MAINTENANCE AND CARE
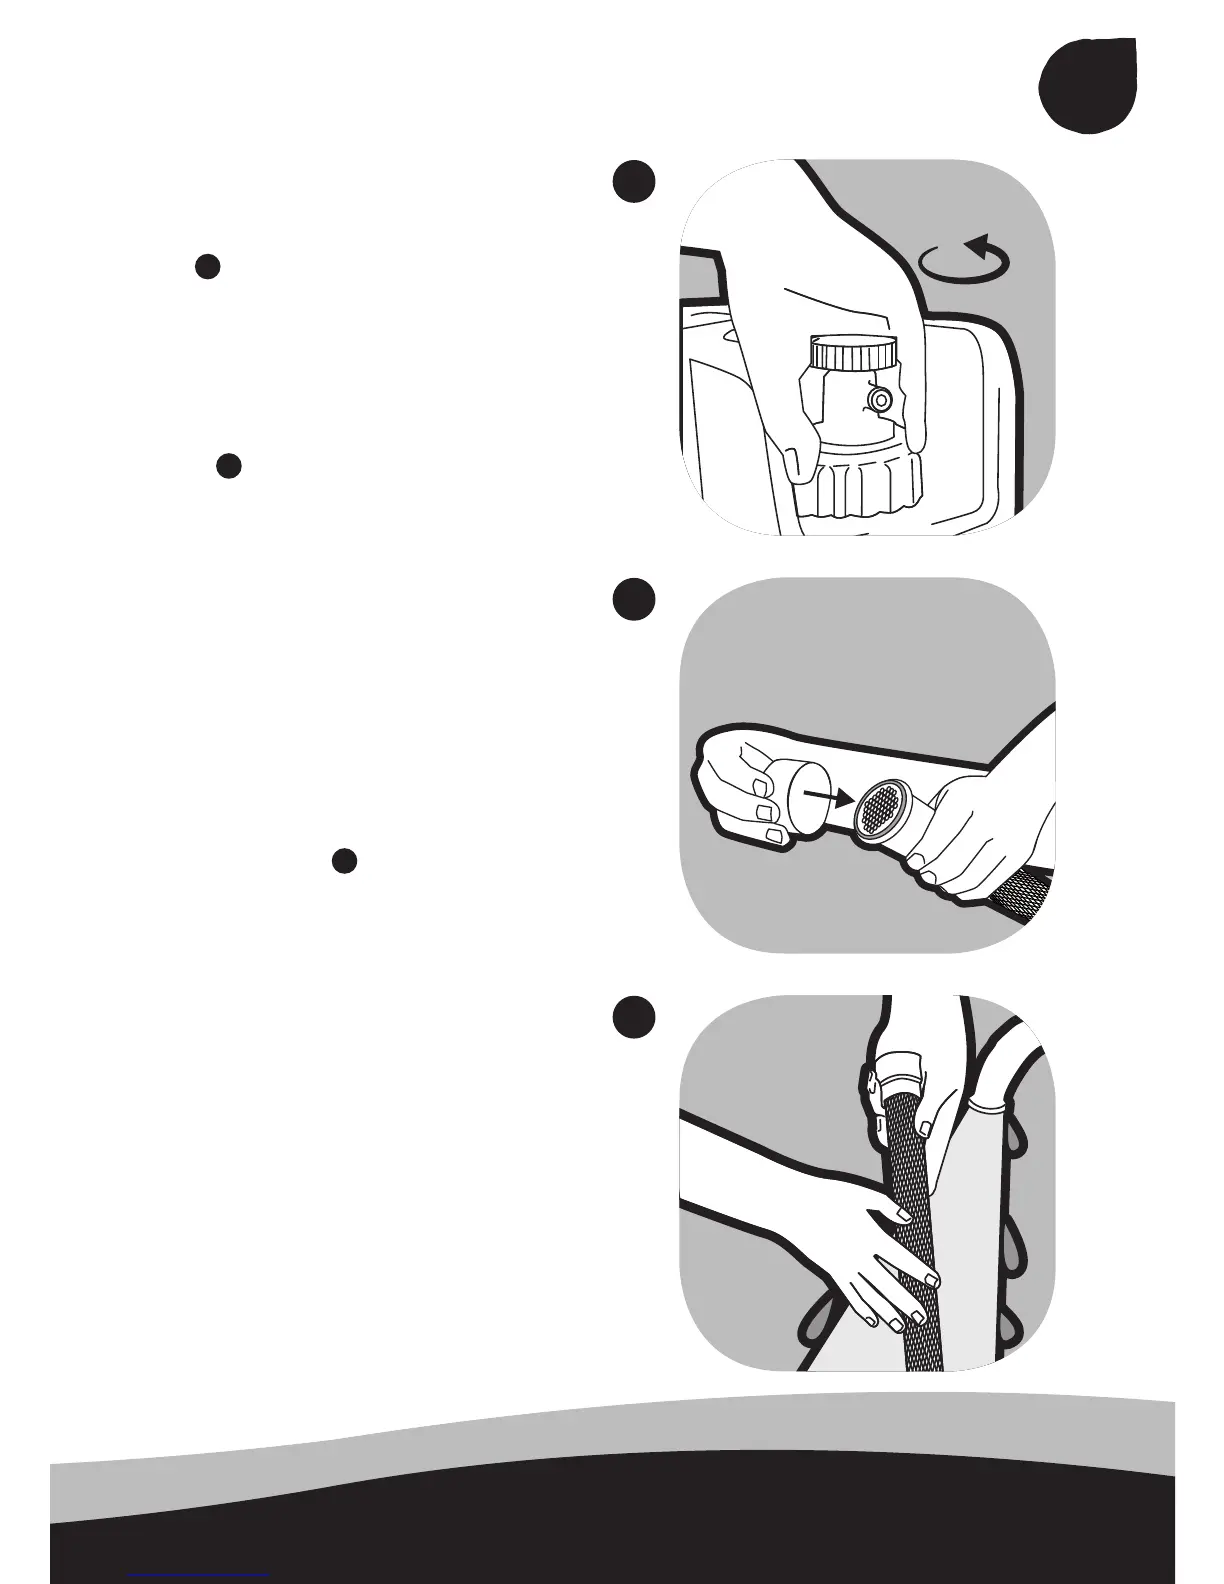
At home
• Empty the jerrycan of water.
• Unscrew and remove the tap cap and
tap.
1
• Remove the lter from the jerrycan and
remove the rubber o-ring (keep the o-ring
clean and safe).
• Put the protective cap provided over the
end of the cartridge, after removing the
o-ring
2
(THIS IS VERY IMPORTANT
as it prevents contaminated water from
entering the clean water area within the
cartridge. If you fail to do this you risk
contaminating the safe water area of the
cartridge and the cartridge may need
to be replaced.)
• It is now safe to soak the cartridge in a
basin of water. By gently agitating the
water, dirt and other matter will be
dislodged from the surface of the
membranes. When washing keep one
hand on the protective cap to prevent it
from slipping off.
3
• Flush this water away and repeat several
times as necessary. You may use warm
(not hot) water for this process and you
may also run the tap over the cartridge.
• Leave the cartridge to drain for 1 hour.
• Re-assemble the jerrycan (Long term
storage - page 17)
1
2
3
 Loading...