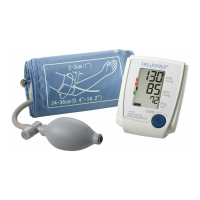
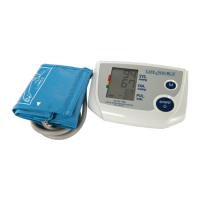
4. Watch the display screen. As pressure automatically decreases,
diastolic numbers should decline in increments of 2 to 5 mmHg.
If the exhaust velocity range is not within 2 to 5 mmHg, make
the following adjustment with the unit turned off:
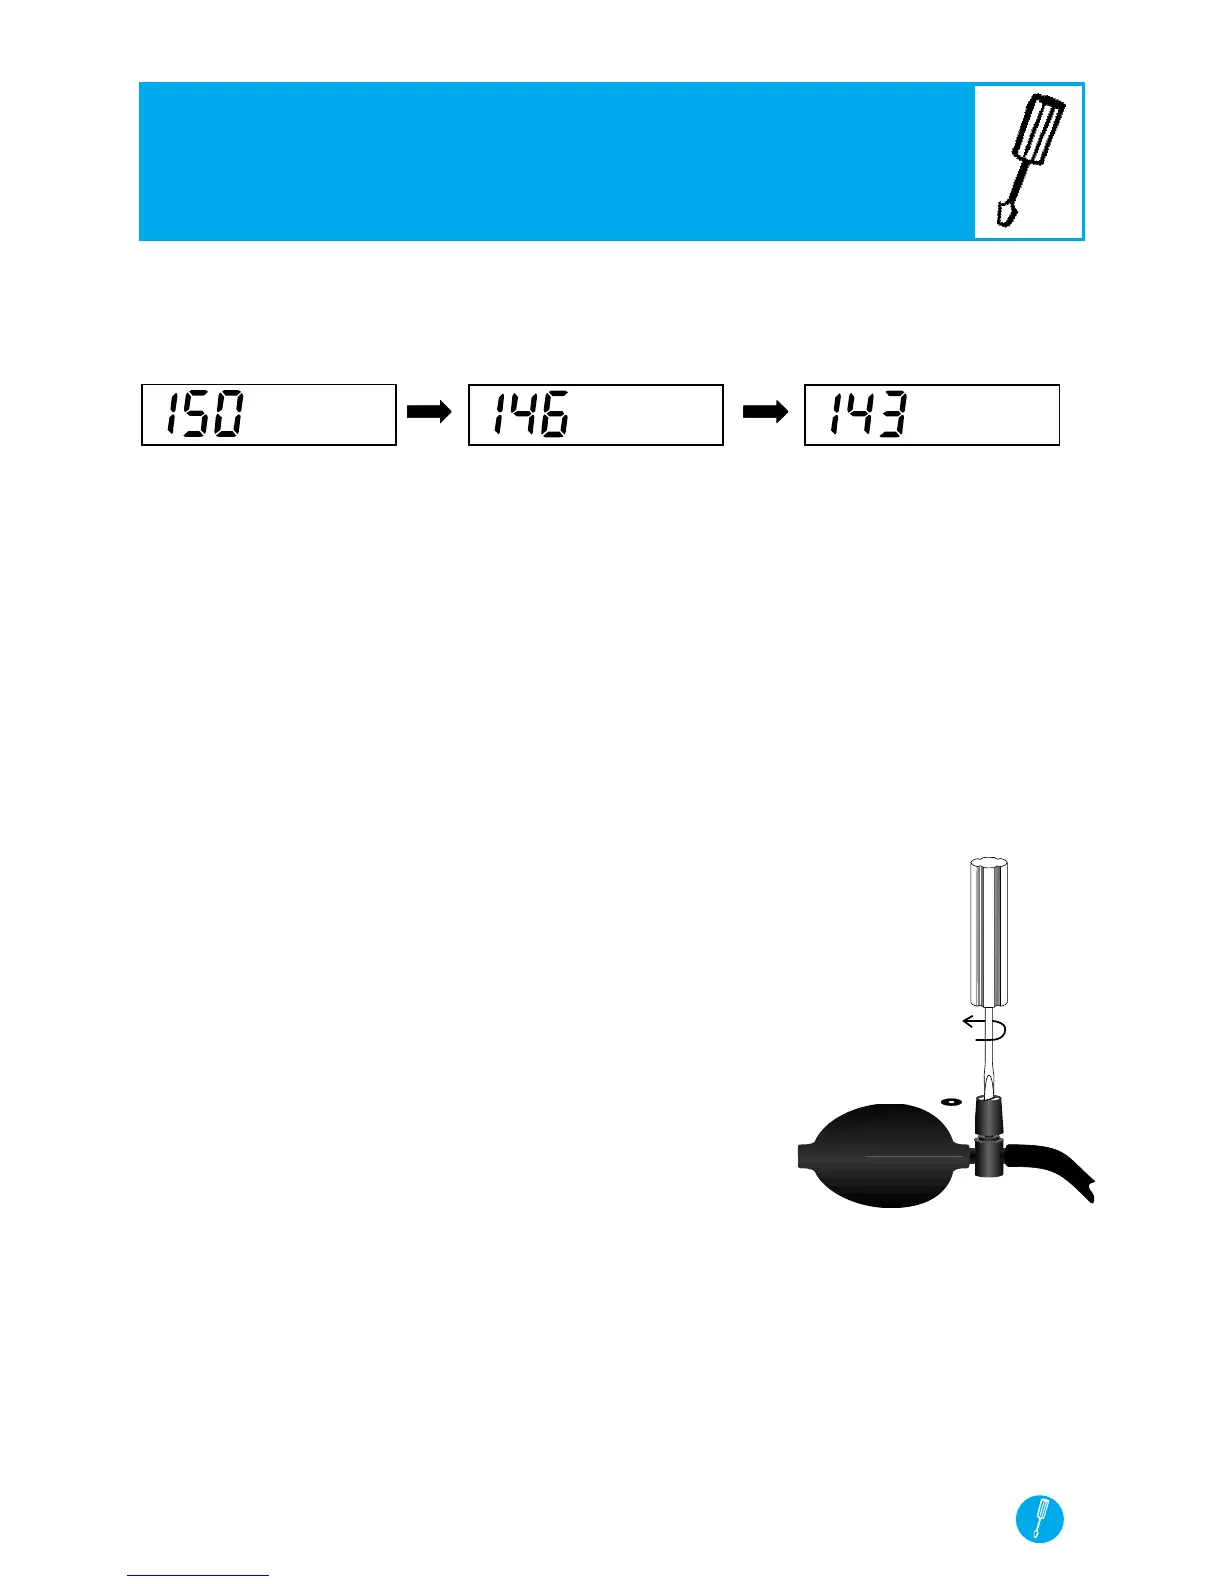
1. The adjustment screw is located on the exhaust valve
attached to the inflator bulb. It is covered by a thin grey
protection cap with a hole in the center. To remove and
discard the cap (you do not need to replace it), insert the end
of a paper clip and lift off to see the the gold adjustment
screw underneath.
2. Using a small screwdriver, rotate the adjustment
screw about 45 degrees clockwise (to raise the rate)
or counterclockwise (to lower the rate).
NOTE: This adjustment is very sensitive.
Turn screw very gradually.
3. Repeat the test until the exhaust velocity
is between 2 to 5 mmHg.
NOTE: Once the monitor is adjusted to a new cuff size, further adjust-
ments should not be required unless cuff size is changed again.
CHECK/ADJUST EXHAUST VELOCITY
12
LifeSource Health Line (Toll-Free): 1-888-726-9966