2
PARTS LIST
ID Part # Description Qty
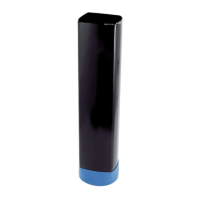
AA 1018892 Ground Sleeve 1
Hardware (HD9039)
AB 300111 3/8” x 3/4” Hex Bolt 1
AC 500058 Plastic Cap 2
AD 800051 Locking Tab 1
HARDWARE IS ACTUAL SIZE
AB
BEFORE BEGINNING
ASSEMBLY
A. If any parts are missing, call our Customer Service
Department.
B. Test fit all Bolts by inserting them into their respective holes.
If necessary, carefully scrape away any excess powder
coating buildup from inside the holes. Do not scrape away
all of the powder coating. Bare metal may rust.
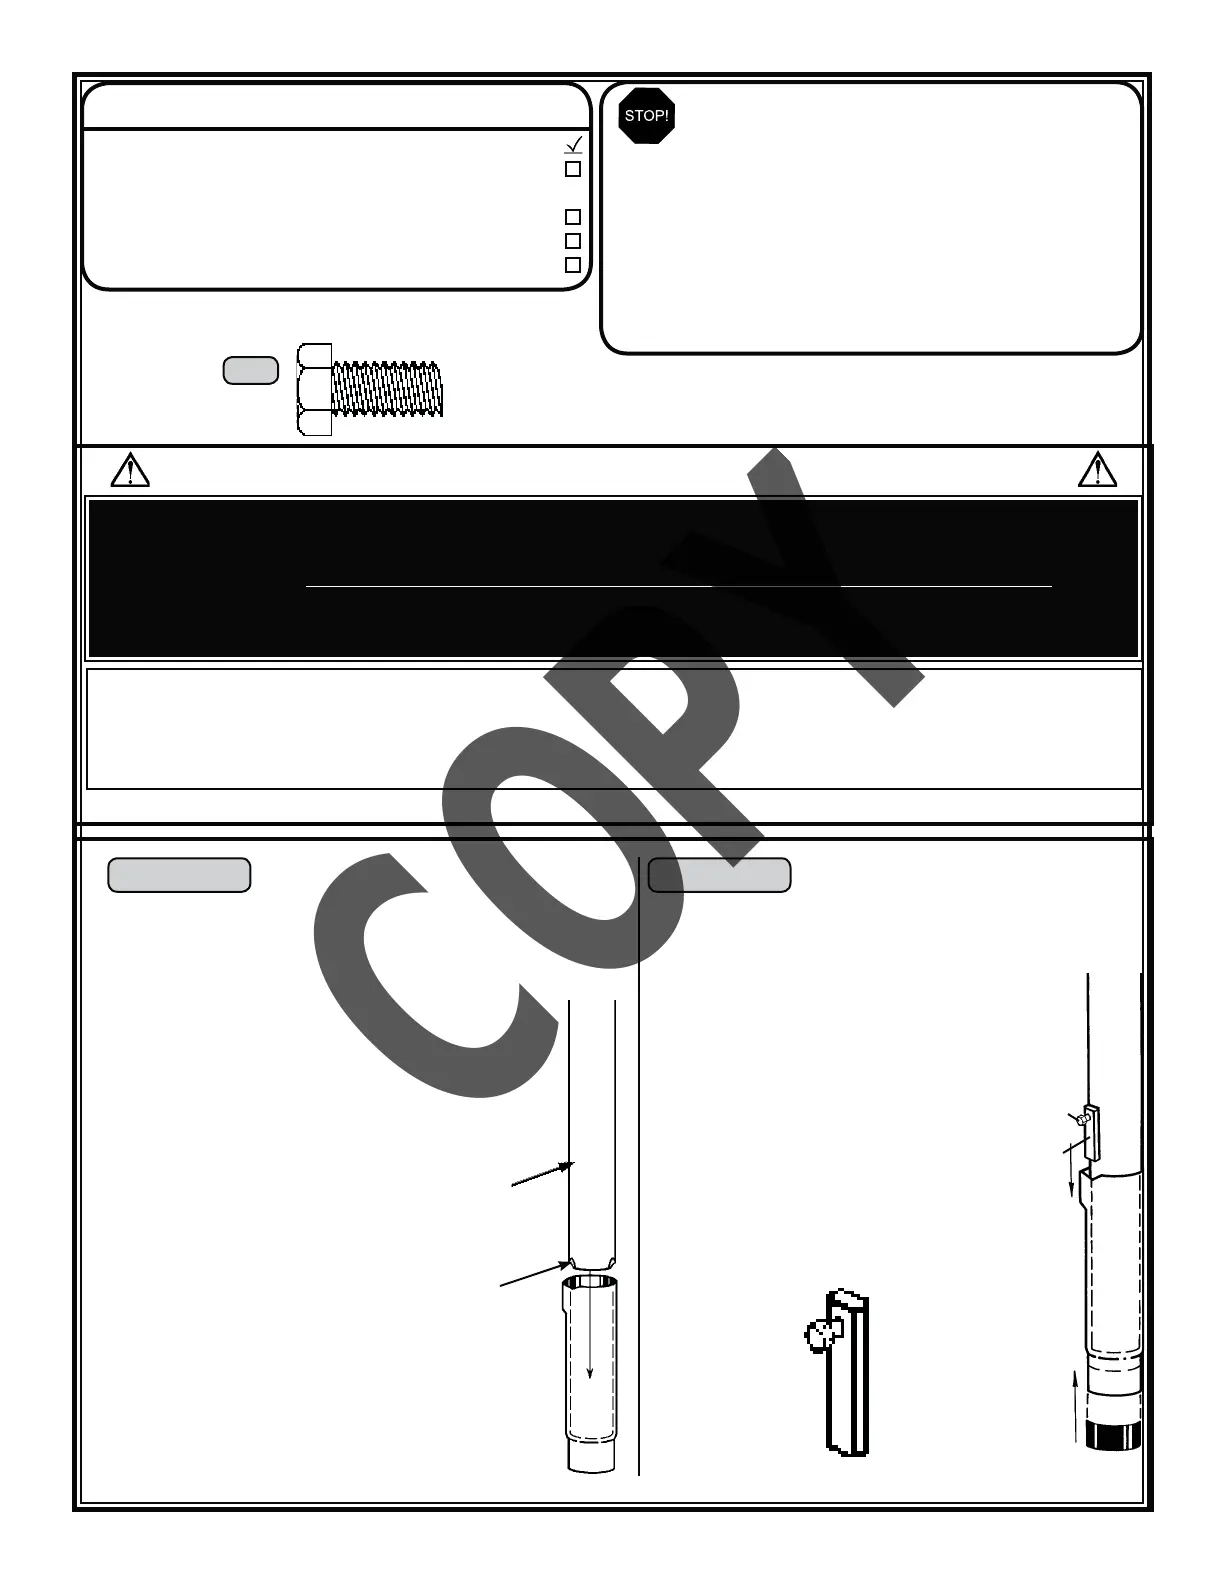
NOTE: This Ground Sleeve is for use with in-ground poles
only. The Bottom Pole section is not included with this
product. Use the Bottom Pole section from your purchased
Lifetime
®
system.
a. Insert the dimpled end of the Bottom Pole into the
Ground Sleeve (AA). Make sure the Bottom Pole
section fits completely into the Ground Sleeve.
b. Tap the pole and ground sleeve lightly on the ground
so they stay together during the cementing steps.
STEP 1 STEP 2
a. Insert the 3/8” x 3/4” Hex Bolt (AB) into the
hole of the Locking Tab (AD) and screw the
Bolt in until the end of the Bolt is flush with
the edge of the Tab.
b. Push the Locking Tab assembly into the slot
in the top of the Ground Sleeve as shown.
Push the Locking Tab in as far as it will go.
c. Tighten the Bolt just enough to hold the
Bottom Pole section in position. DO NOT
OVERTIGHTEN. The Bolt will be removed
later in the installation.
d. Place a Plastic Cap (AC) over the lower end
of the Ground Sleeve to prevent cement
from seeping in.
AD
AC
AB
AD
SAFETY INSTRUCTIONS
Most injuries are caused by misuse and/or not following instructions. Use caution when using this system.
Owner must ensure that all players know and follow these rules for safe operation of the system.
To ensure safety, do not attempt to assemble this system without following the instructions carefully. Check entire box and inside all packing material for parts and/or
additional instruction material. Before beginning assembly, read the instructions and identify parts using the hardware identifier and parts list in this document. Proper
and complete assembly, use and supervision are essential for proper orientation and to reduce the risk of accident or injury. A high probability of serious injury exists if
this system is not installed, maintained, and operated properly.
FAILURE TO FOLLOW THESE WARNINGS MAY RESULT IN SERIOUS INJURY OR PROPERTY DAMAGE AND WILL VOID WARRANTY.
t*GVTJOHBMBEEFSEVSJOHBTTFNCMZVTFFYUSFNFDBVUJPO
t5XPDBQBCMFBEVMUTBSFSFDPNNFOEFEGPSUIJTPQFSBUJPO
t"TTFNCMFUIFQPMFTFDUJPOTQSPQFSMZJGBQQMJDBCMF'BJMVSFUPEPTPDPVMEDBVTFUIFQPMFTFDUJPOTUPTFQBSBUFEVSJOHQMBZ
t#FGPSFEJHHJOHDPOUBDUVUJMJUZDPNQBOZUPMPDBUFVOEFSHSPVOEQPXFSDBCMFTHBTBOEXBUFSMJOFT&OTVSFUIBUUIFSFBSFOPPWFSIFBE
power lines within 20 ft. (7m) radius of pole location.
AB
Bottom
Pole
dimples
AA