11
NO TOOLS AND HARDWARE REQUIRED / AUCUN OUTIL OU QUINCAILLERIE REQUIS / NINGÚN INSTRUMENTAL O HERRAJE REQUERIDO
X SECTION 1 (CONTINUED) / SECTION 1 (SUITE) / SECCIÓN 1 (CONTINUACIÓN)
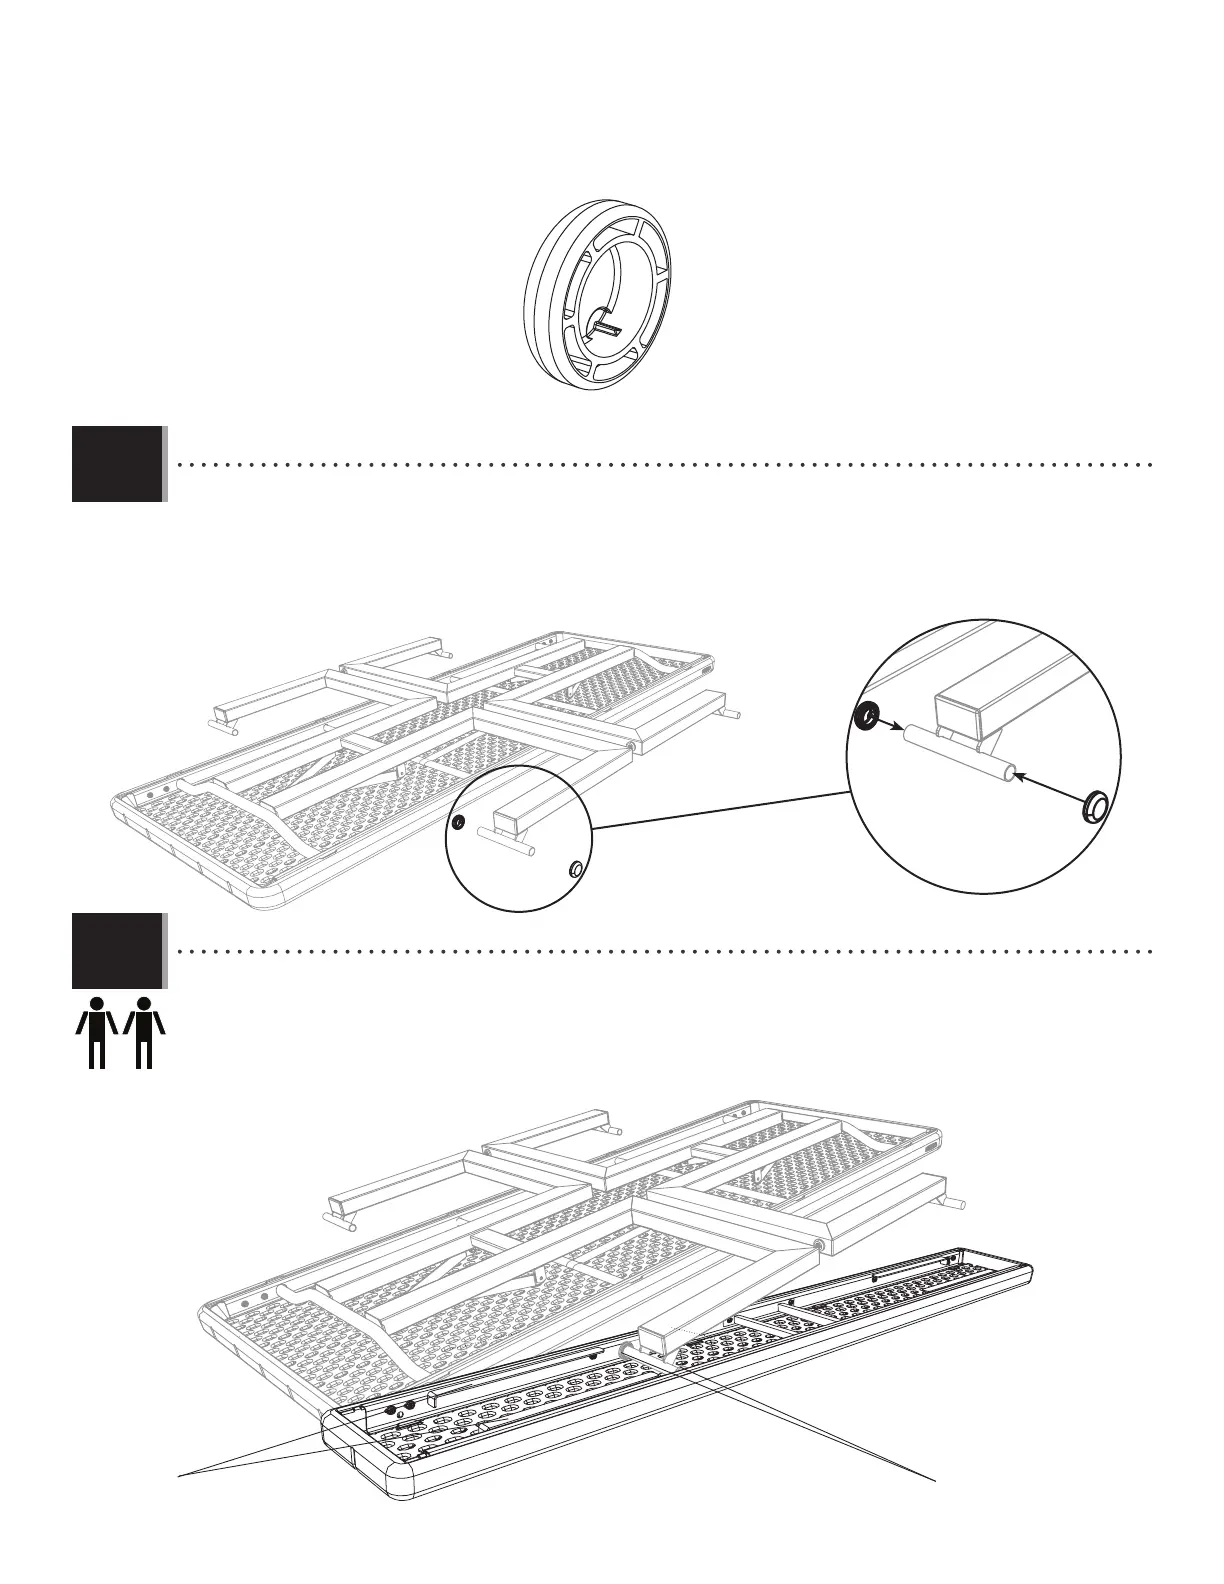
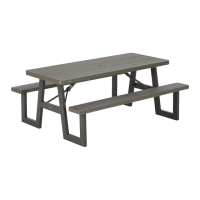
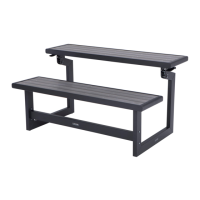
• Place a bench assembly (BWN) underneath one of the legs and slide the sliding end caps under the glide rails of the
bench assembly as indicated.
• Poser un ensemble du banc (BWN) sous les pieds de table, et insérer les capuchons glissants sous les rails comme
indiqué.
• Colocar un conjunto de banco (BWN) debajo una de las patas, y deslizar los tapones corredizos debajo los rieles como se
indica.
Glide rails / Rails / Rieles
Sliding end caps / Capuchons glissants / Tapones corredizos
BWN
1.6
1.7
X SECTION 1 (CONTINUED) / SECTION 1 (SUITE) / SECCIÓN 1 (CONTINUACIÓN)
BWI
BWI
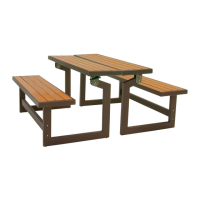
• Lay the table legs and table leg braces down fl at on the table top. Place a sliding end cap (BWI) on the ends of one of the
tubes on a table leg as indicated.
• Étendre les pieds et les supports de pied par le dessus de table. Attacher un capuchon glissant (BWI) sur les extrémités
d’un tube de pied comme indiqué.
• Extender las patas y los soportes por el tablero. Colocar un tapón corredizo (BWI) sobre cada extremo de los tubos de
patas en forma de «W» como se indica.
BWI (x2)