12
NO TOOLS AND HARDWARE REQUIRED / AUCUN OUTIL OU QUINCAILLERIE REQUIS / NINGÚN INSTRUMENTAL O HERRAJE REQUERIDO
X SECTION 1 (CONTINUED) / SECTION 1 (SUITE) / SECCIÓN 1 (CONTINUACIÓN)X SECTION 1 (CONTINUED) / SECTION 1 (SUITE) / SECCIÓN 1 (CONTINUACIÓN)
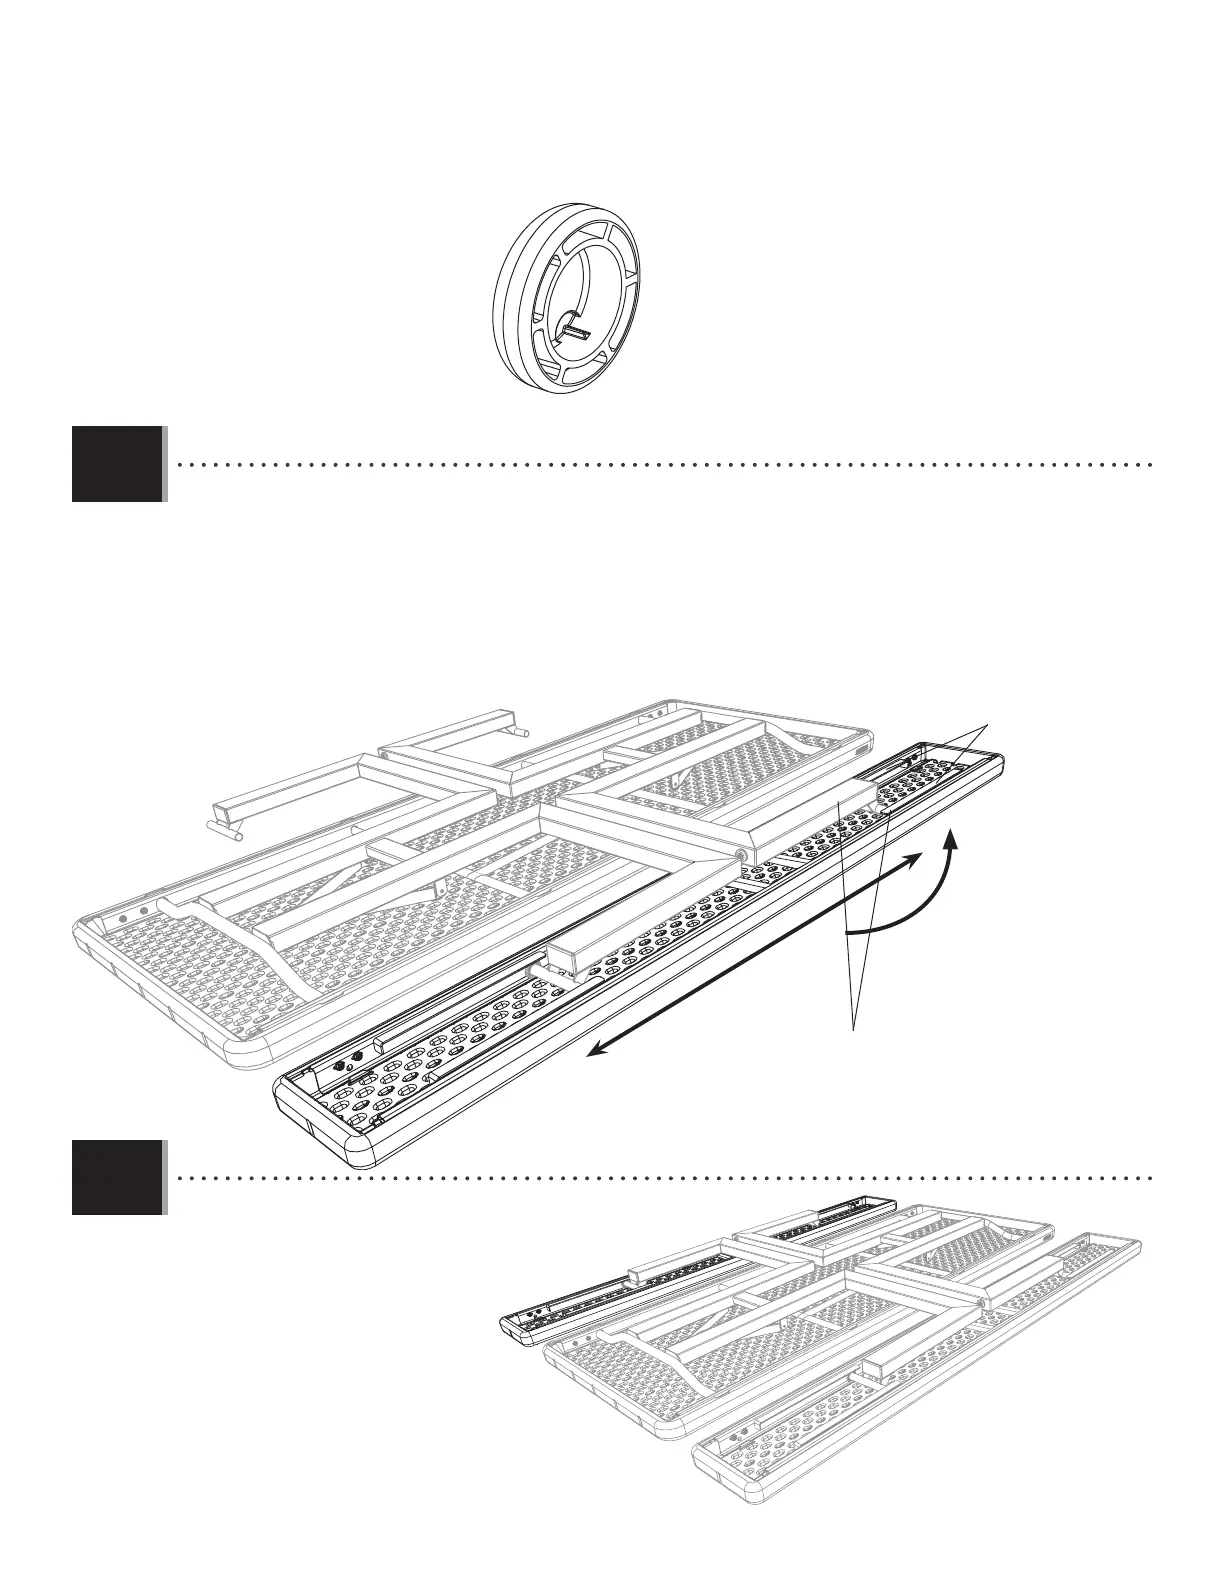
1.8
1.9
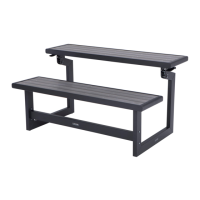
Glide rails / Rails / Rieles
• Attach two (2) sliding end caps (BWI) to the tube on the other table leg, and lift the bench assembly upward until the
sliding end caps rest inside the underside of the bench. Position the bench so all four sliding end caps are under
the glide rails.
• Attacher deux (2) capuchons glissants (BWI) au tube sur l’autre pied, et soulever l’ensemble de banc en haut jusqu’aux
capuchons glissants sur l’autre tube se posent à l’intérieur de la surface inférieure du banc. Ranger le banc pour
que les quatre capuchons glissants soient au-dessous des rails.
• Colocar dos (2) tapones corredizos (BWI) sobre los extremos del tubo de la otra pata, y levantar el banco hacia arriba
hasta que los tapones corredizos en la pata se queden adentro del superfi cie inferior del banco. Colocar el banco
para que todos los cuatro tapones corredizos estén debajo de los rieles.
Sliding end caps / Capuchons glissants / Tapones corredizos
• Repeat steps 1.6–1.8 for the second bench.
• Répéter étapes 1.6 – 1.8 pour l’autre banc.
• Repetir pasos 1.6–1.8 para el otro banco.
BWI (x6)