14
NO TOOLS AND HARDWARE REQUIRED / AUCUN OUTIL OU QUINCAILLERIE REQUIS / NINGÚN INSTRUMENTAL O HERRAJE REQUERIDO
X SECTION 1 (CONTINUED) / SECTION 1 (SUITE) / SECCIÓN 1 (CONTINUACIÓN)
BWH (x8)
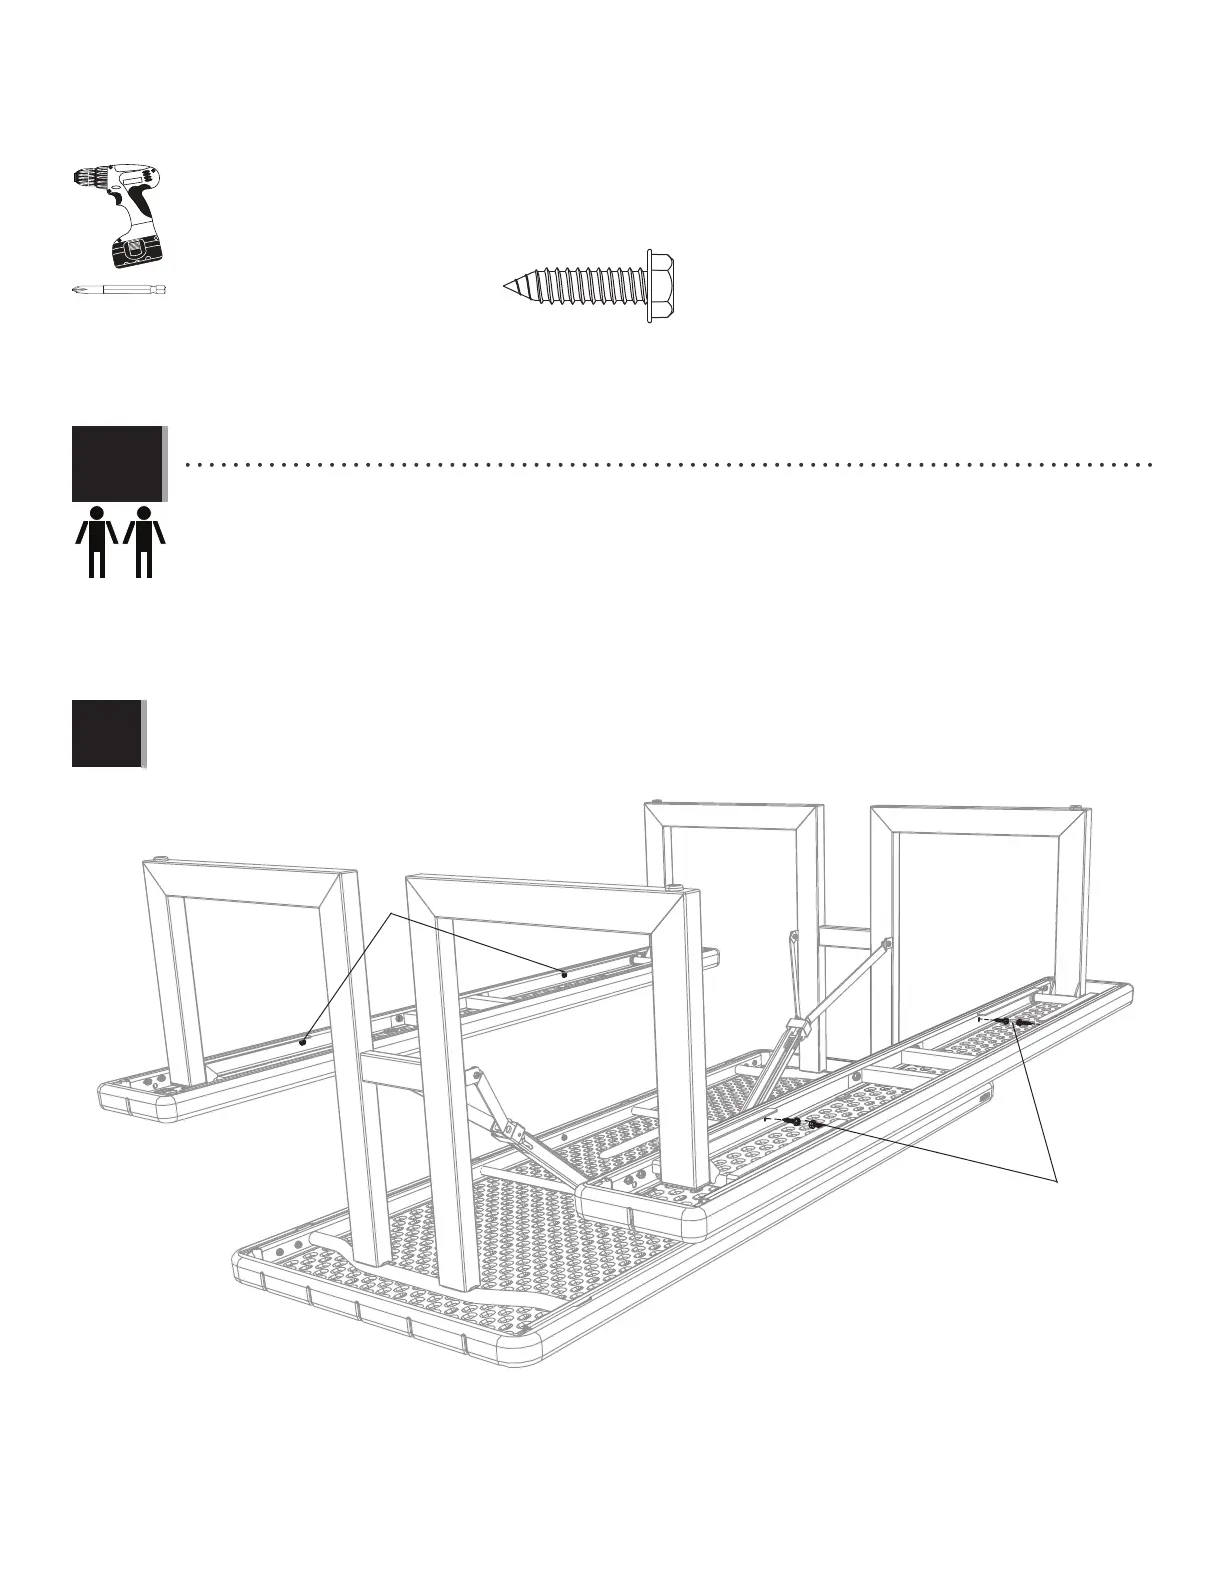
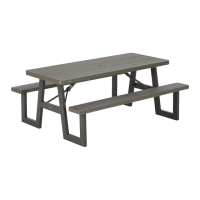
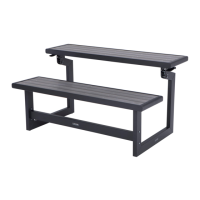
• While another adult holds the table legs upright, insert four (4) screws (BWH) through the holes in the bench
channels and into the bench as shown to keep the sliding end caps under the glide rails. Do not overtighten. These
screws help keep the legs in the glide rails.
• Pendant qu’un autre adulte maintient les pieds verticaux, insérer quatre (4) vis (BWH) à travers les trous dans les
canaux et le banc comme indiqué pour garder les capuchons glissants sous les rails. Ne pas serrer excessivement. Ces vis
aident à garder les pieds sous les rails.
• Mientras que otro adulto mantenga las patas verticales, insertar cuatro (4) tornillos (BWH) a través de los agujeros en
los canales del banco y dentro del banco como se muestra para prevenir la salida de los rieles. No apretar demasiado los
tornillos. Estos tornillos ayuda a guardar las patas debajo los rieles.
BWH
BWH
X SECTION 1 (CONTINUED) / SECTION 1 (SUITE) / SECCIÓN 1 (CONTINUACIÓN)
• Repeat this step for the other bench.
• Répéter cette étape pour l’autre banc.
• Repetir este paso para el otro banco.
!
1.12