31
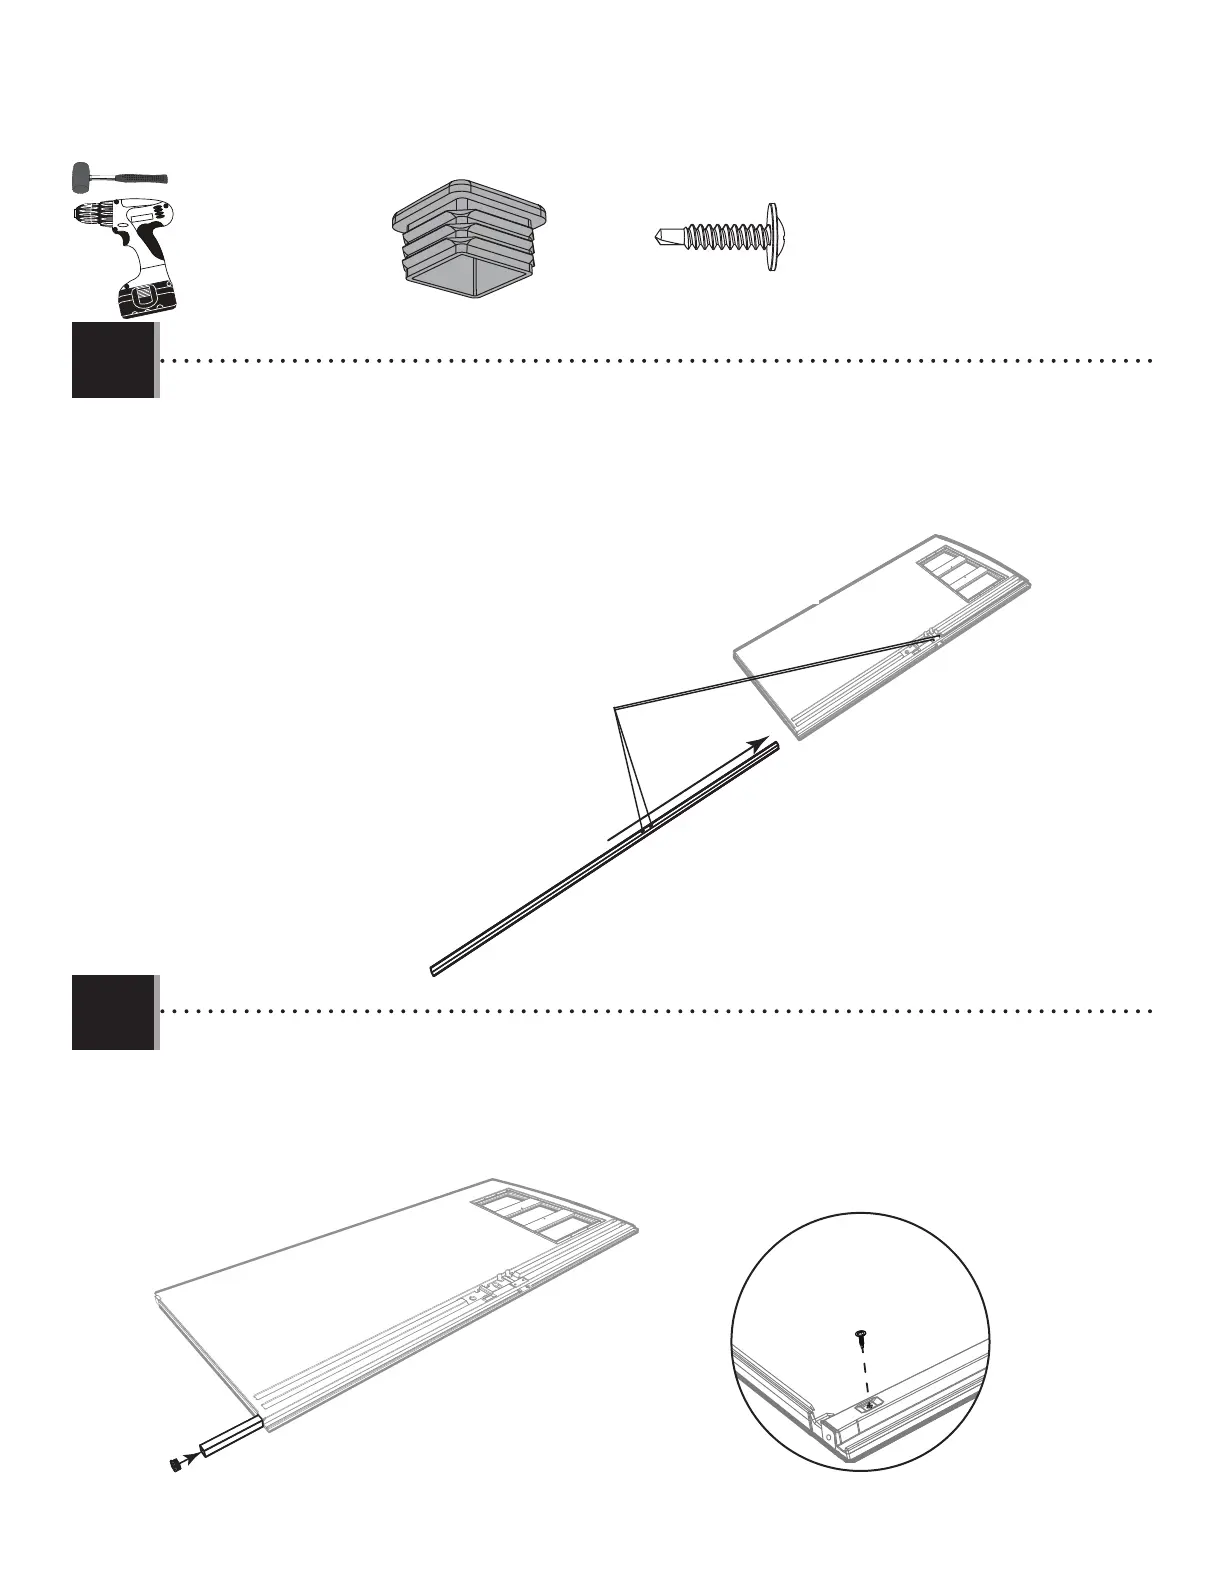
TOOLS AND HARDWARE REQUIRED / OUTILS ET QUINCAILLERIE REQUIS / INSTRUMENTAL Y HERRAJE REQUERIDOS
X SECTION 5 (CONTINUED) / SECTION 5 (SUITE) / SECCIÓN 5 (CONTINUACIÓN)
BBH (x1)
EDW
BDK
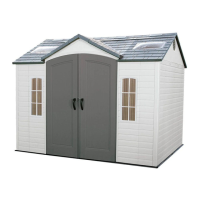
• Slide a square tube (EDW) into the hole in the right door (BDK) until a few inches remain out of the door. The end with the hole goes at
the top.
• Faire glisser le tube carré (EDW) à travers le trou de la porte droite (BDK) jusqu’à ce qu’il dépasse de quelques centimètres
de la porte. L’extrémité avec le trou va en haut.
• Deslizar el tubo cuadrado (EDW) adentro del agujero en la puerta derecha (BDK) hasta que el tubo cuelgue unas pulgadas de
la puerta. El extremo con el agujero va al tope.
BHH
• Align these holes in the next step
• Aligner ces trous à l’étape suivante
• Alinear estos agujeros en el paso siguiente
5.2
5.1
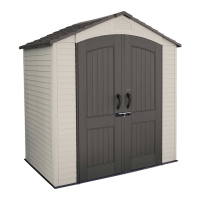
• Insert an end cap (BBH) into the end of the tube, and fi nish inserting the tube until fl ush with bottom of door. Then,
use a drill to insert a self-drilling screw (CHK) to hold it in place.
• Insérer un capuchon (BBH) dans l’extrémité du tube, et terminer d’insérer le tube jusqu’à ce qu’il soit à ras au bord
inférieur de la porte. Puis, utiliser une perceuse pour insérer une vis autotaraudeuse (CHK) pour la maintenir en place.
• Insertar un tapon (BBH) en el extremo del tubo, y terminar de insertar el tubo hasta se alinee con la parte inferior
de la puerta. Después, usar un taladro eléctrico para insertar un tornillo auto-perforante (CHK) para mantenerlo en su
lugar.
CHK
CHK (x1)