6
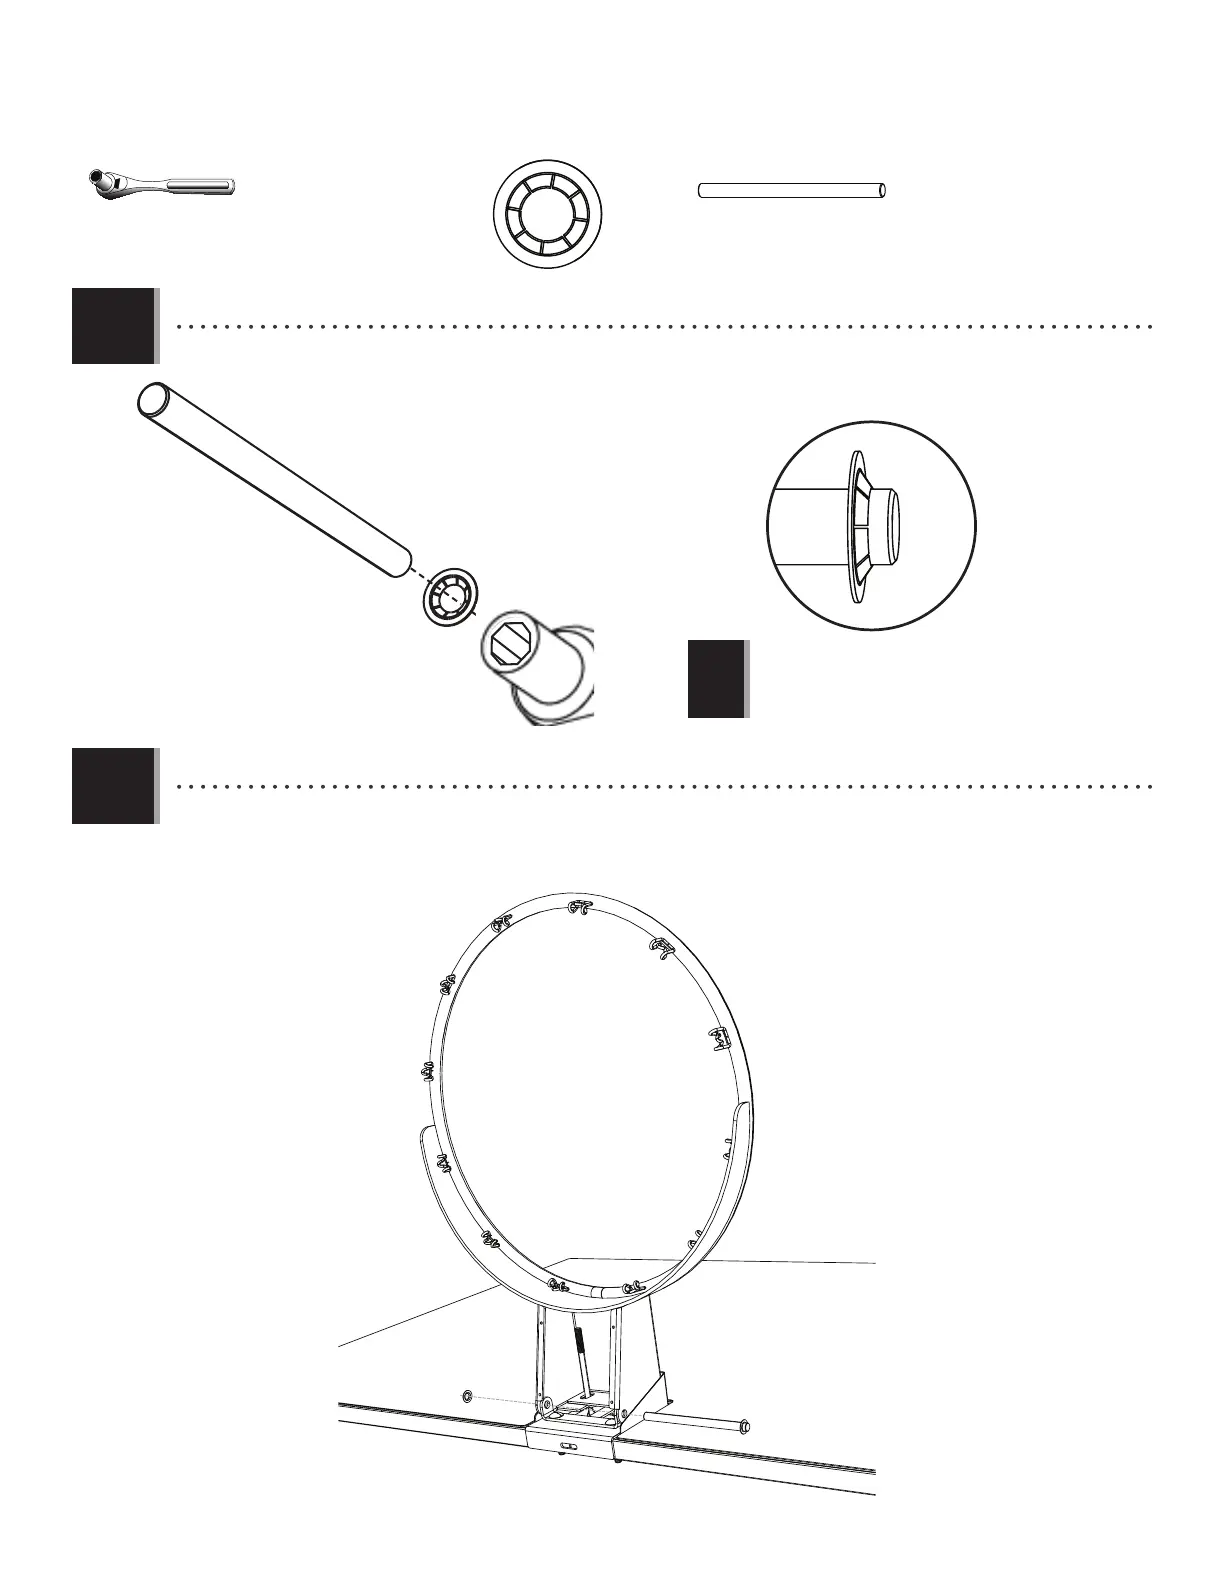
TOOLS AND HARDWARE REQUIRED
SECTION 1 (CONTINUED)
1.5
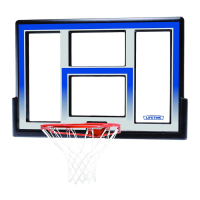
• Turn the backboard on its back and position the Rim (ALX) inside the Plastic Guard as shown. Slide the end of the
Axle (ABQ) through the Rim and the Rim Pivot Bracket (APY). Press the Push Nut (AAQ) onto the end of the Axle. Use the
1/2” (13 mm) socket head to secure the Push Nut if needed.
AAQ (x2)
1/2" (≈13 mm)
(x2)
1.4
• Use the 1/2” socket head from the socket-head wrench to press one Push Nut (AAQ) onto one end of the Axle (ABQ).
• The Push Nut should rest about 1/4" from
the end of the Axle. If the Push Nut slips
on too far, continue sliding it to the other
end of the Axle to remove it and try again.
AAQ
ABQ
1/2" (≈13 mm) Socket Head
!
AAQ
ABQ
ALX
ABQ (x1)
25% of actual size